
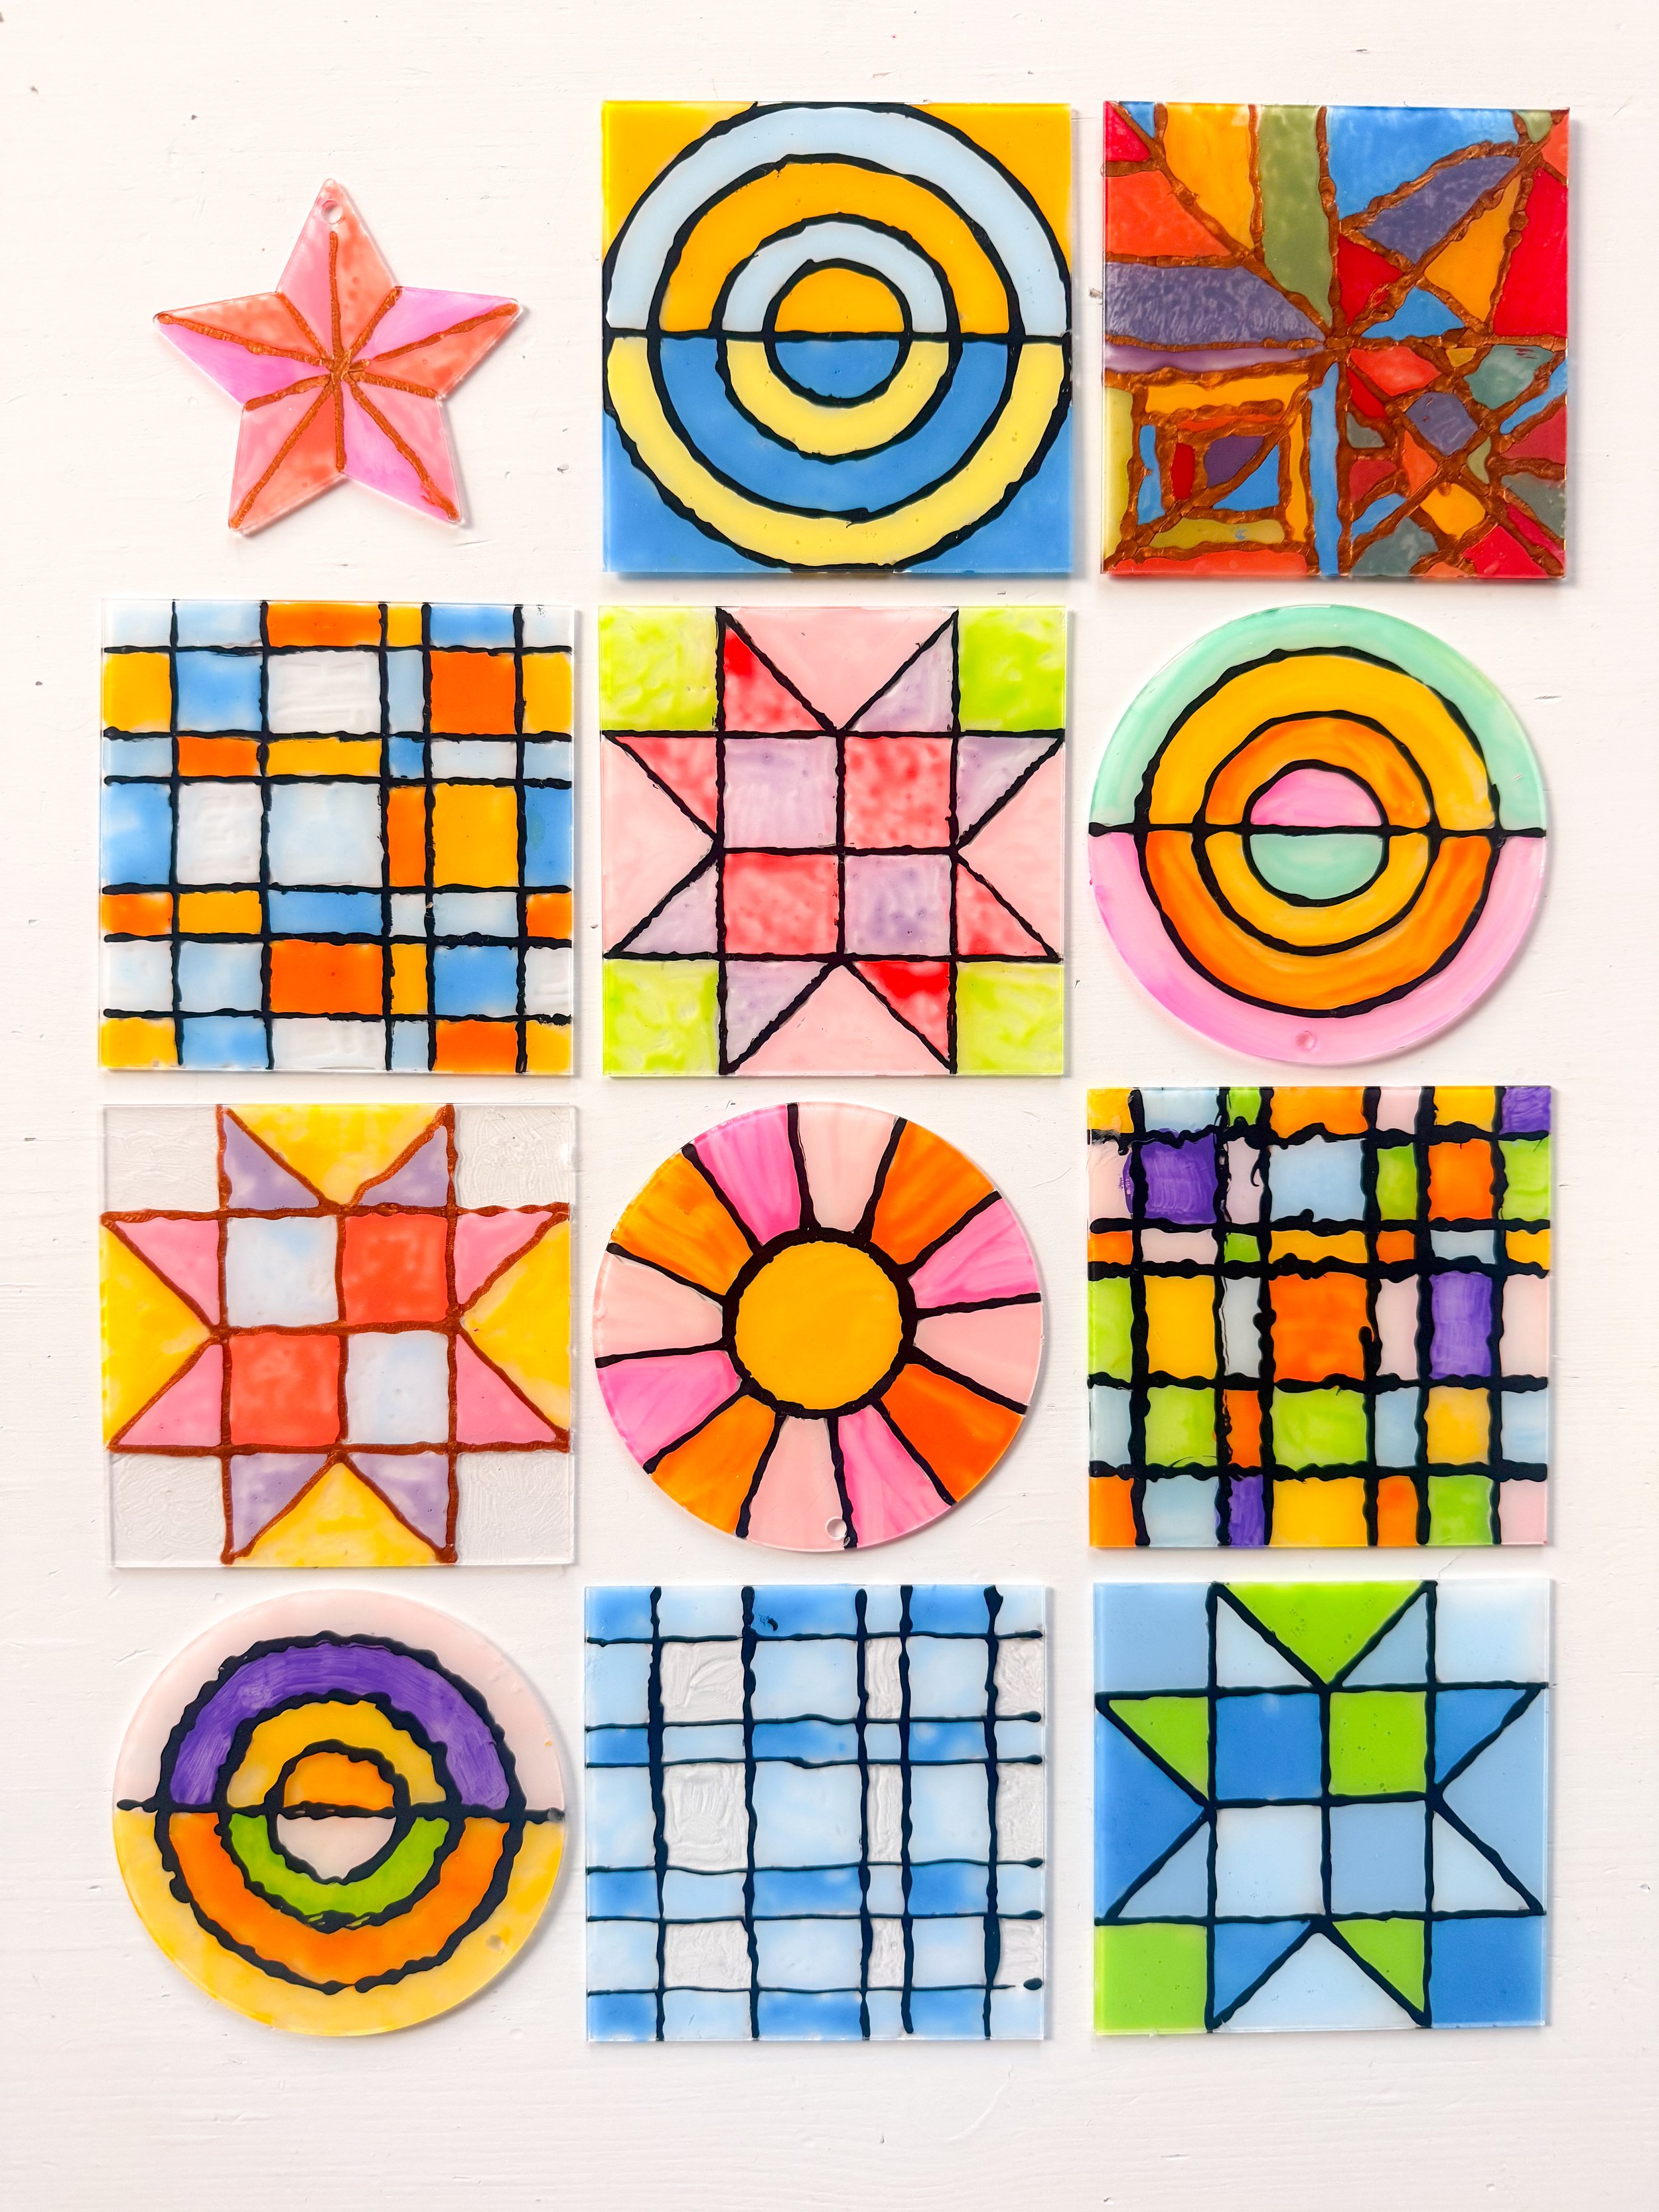
90s Summer Craft Series: Faux Stained Glass
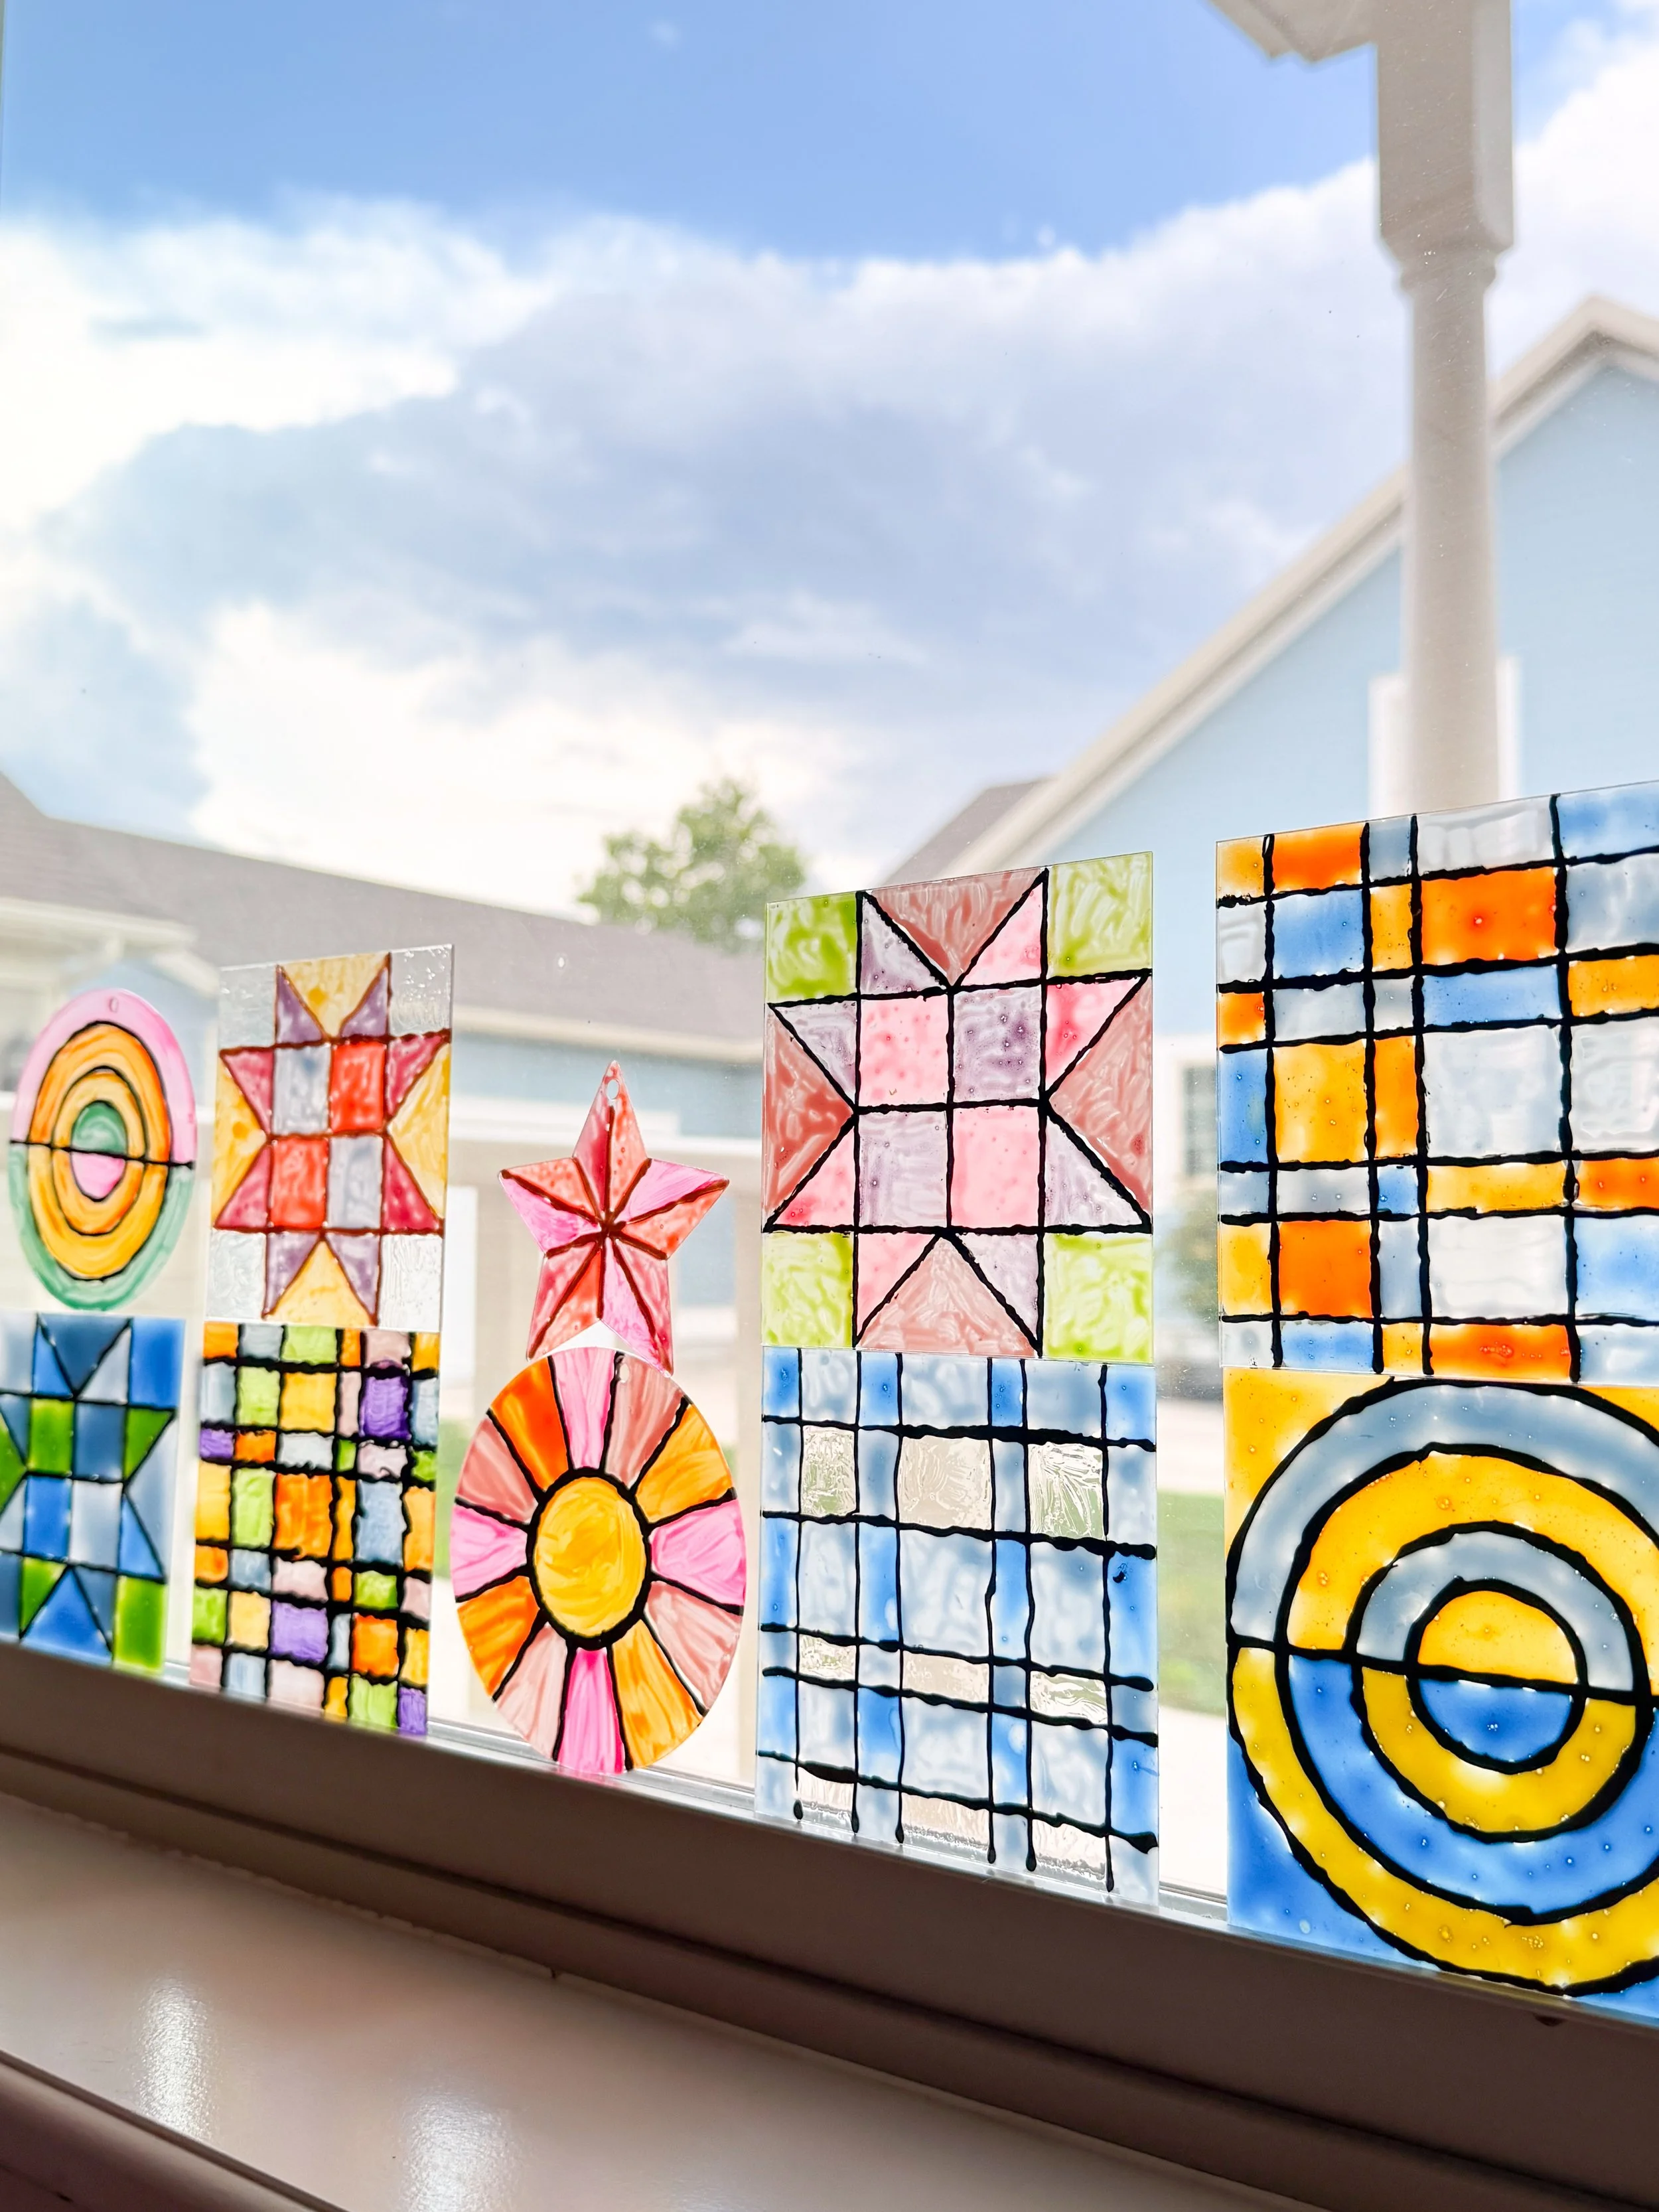
One creative area I would love to try is stained glass. I love a beautiful stained glass window or even just a small stained glass window hanging. The problem is that stained glass requires quite a few special tools and a well-ventilated and spacious area. While I know I can go to a studio to create, I still haven’t done it yet. Maybe I just need to make it happen! In the meantime, I wanted to find a faux stained glass project that didn’t require all of the special tools, sharp class pieces, and hot soldering iron.
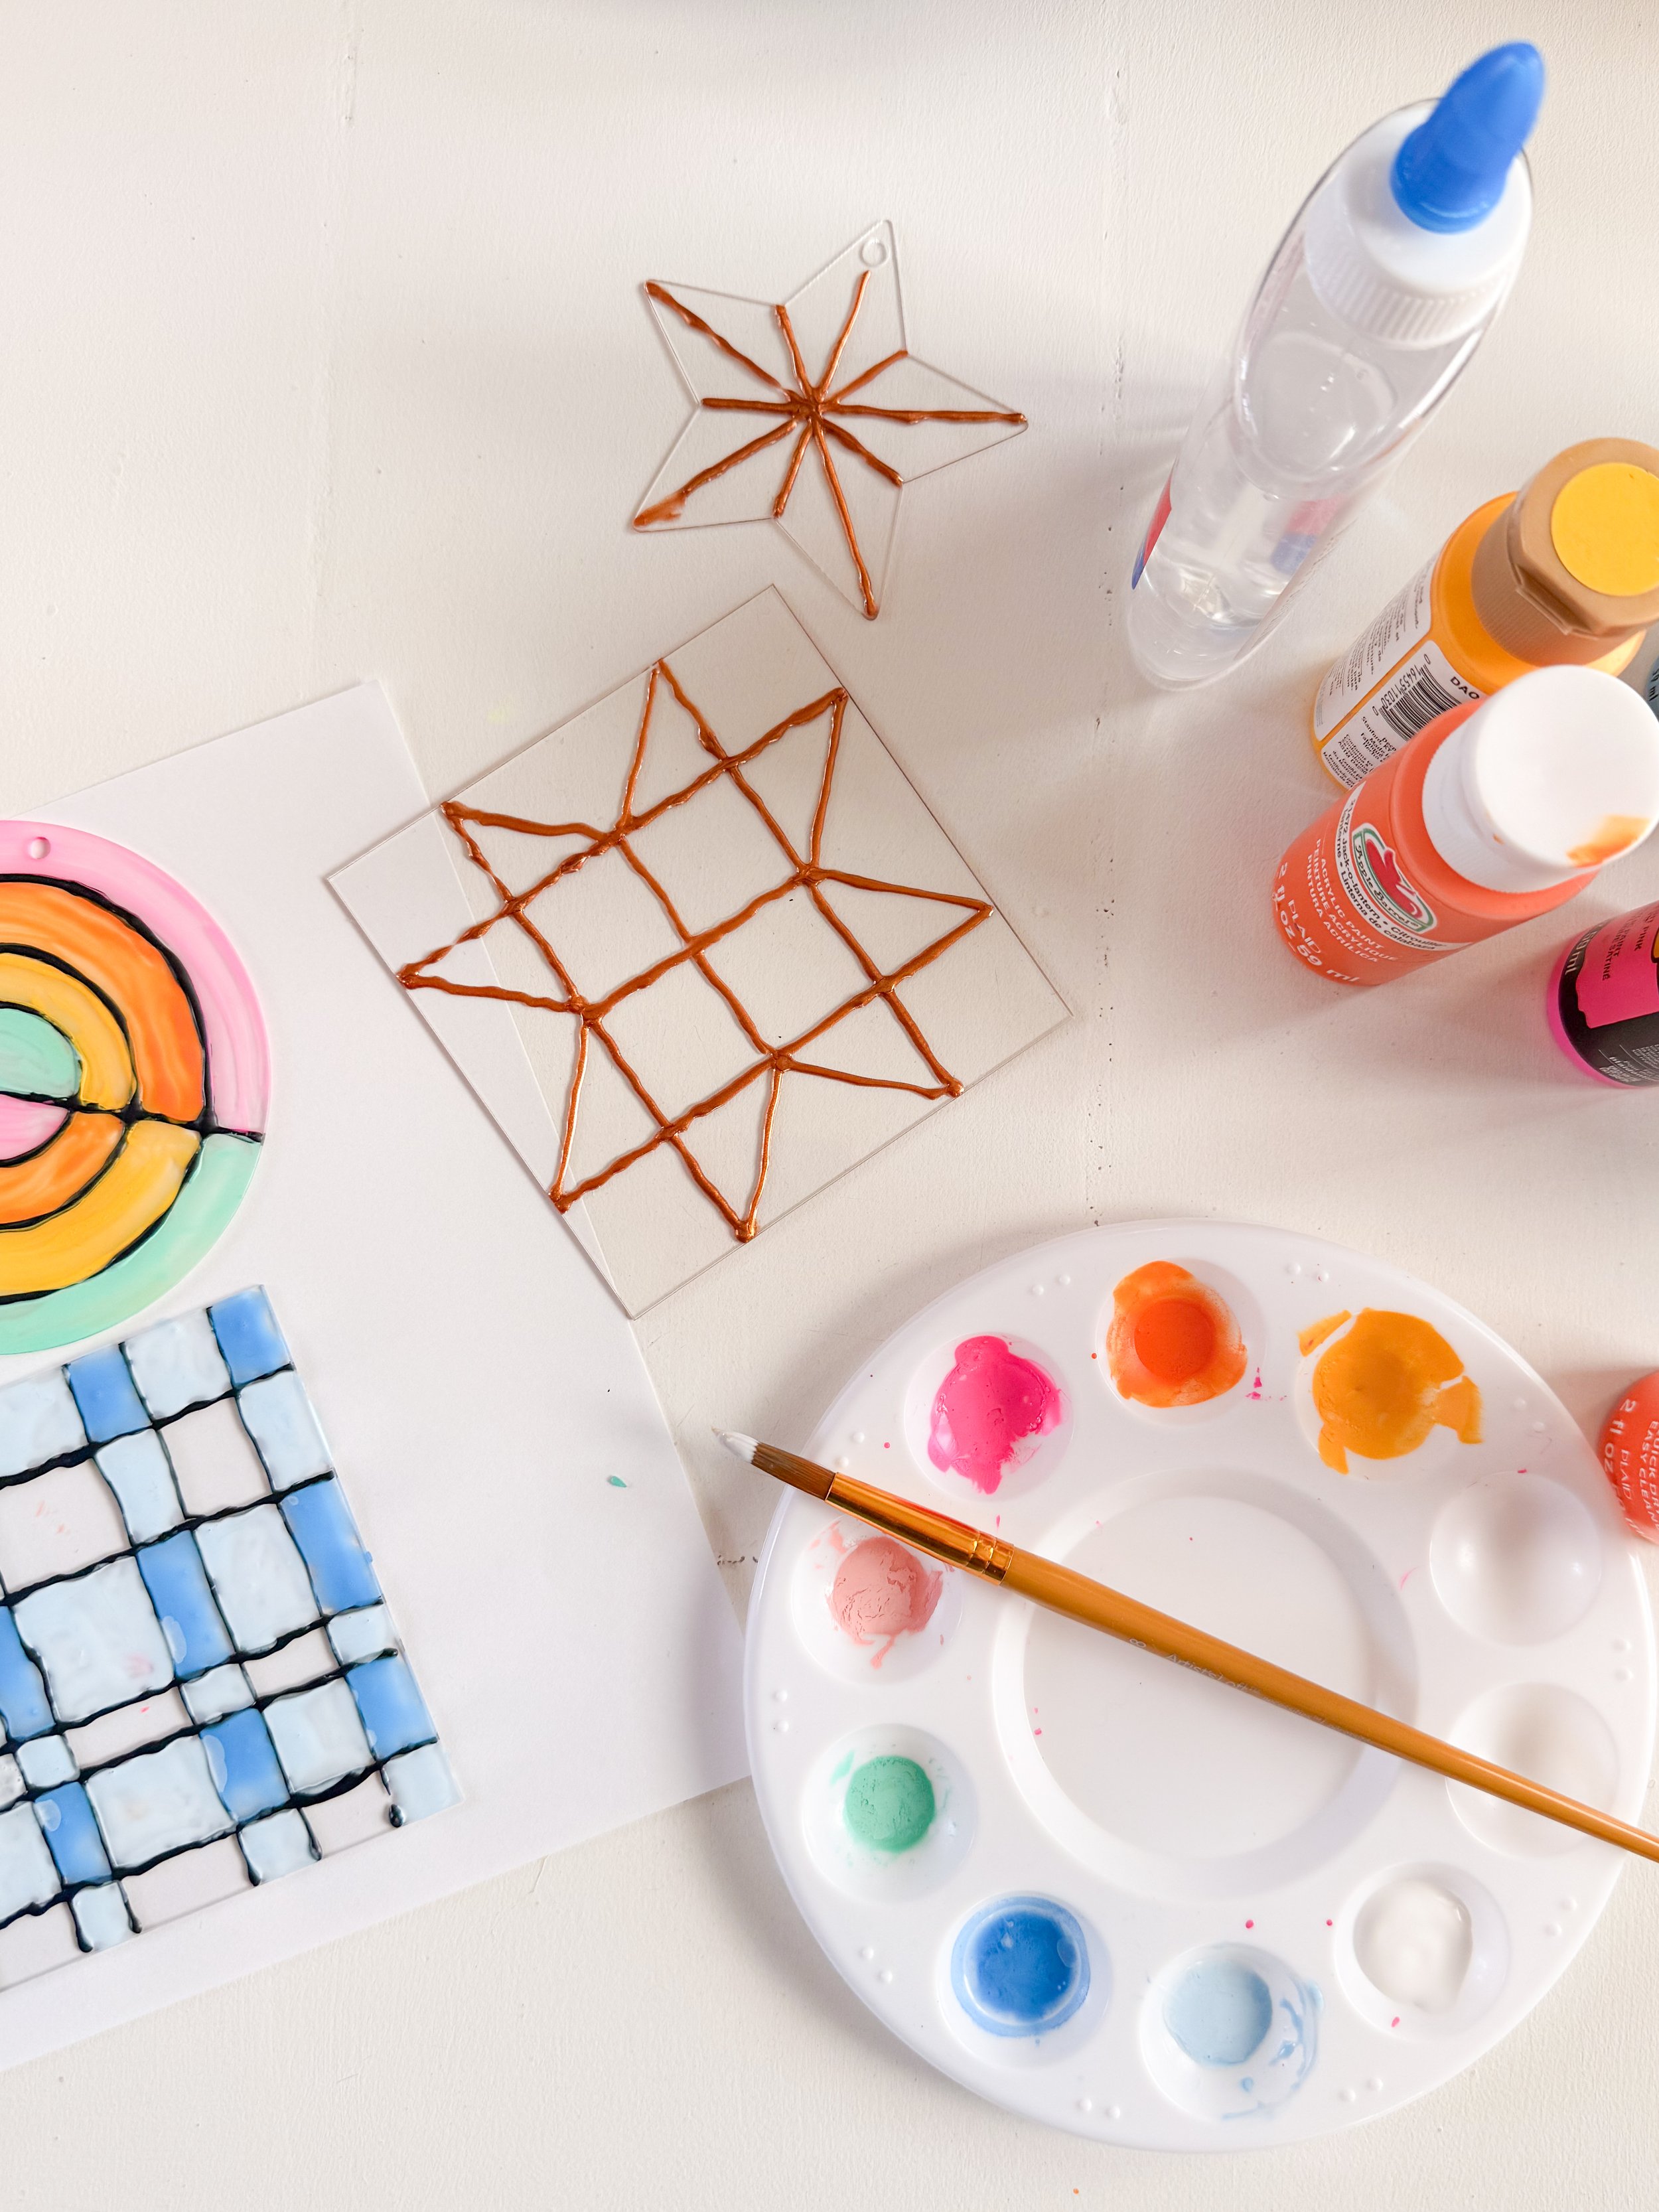
For our 90s summer craft this week, we made faux stained glass designs. Using clear acrylic shapes, leading paint, and acrylic paint mixed with a little glue, we created our own stained glass. It was much safer than the real thing! This project does take two days to complete as the black leading paint needs to dry before the colored paint can be applied. I kept the supplies out on the table for a few days, and my kids went back a few times to make more! You do need to be a little patient with this project, as the leading does need to dry before you can add the colors!
Supplies
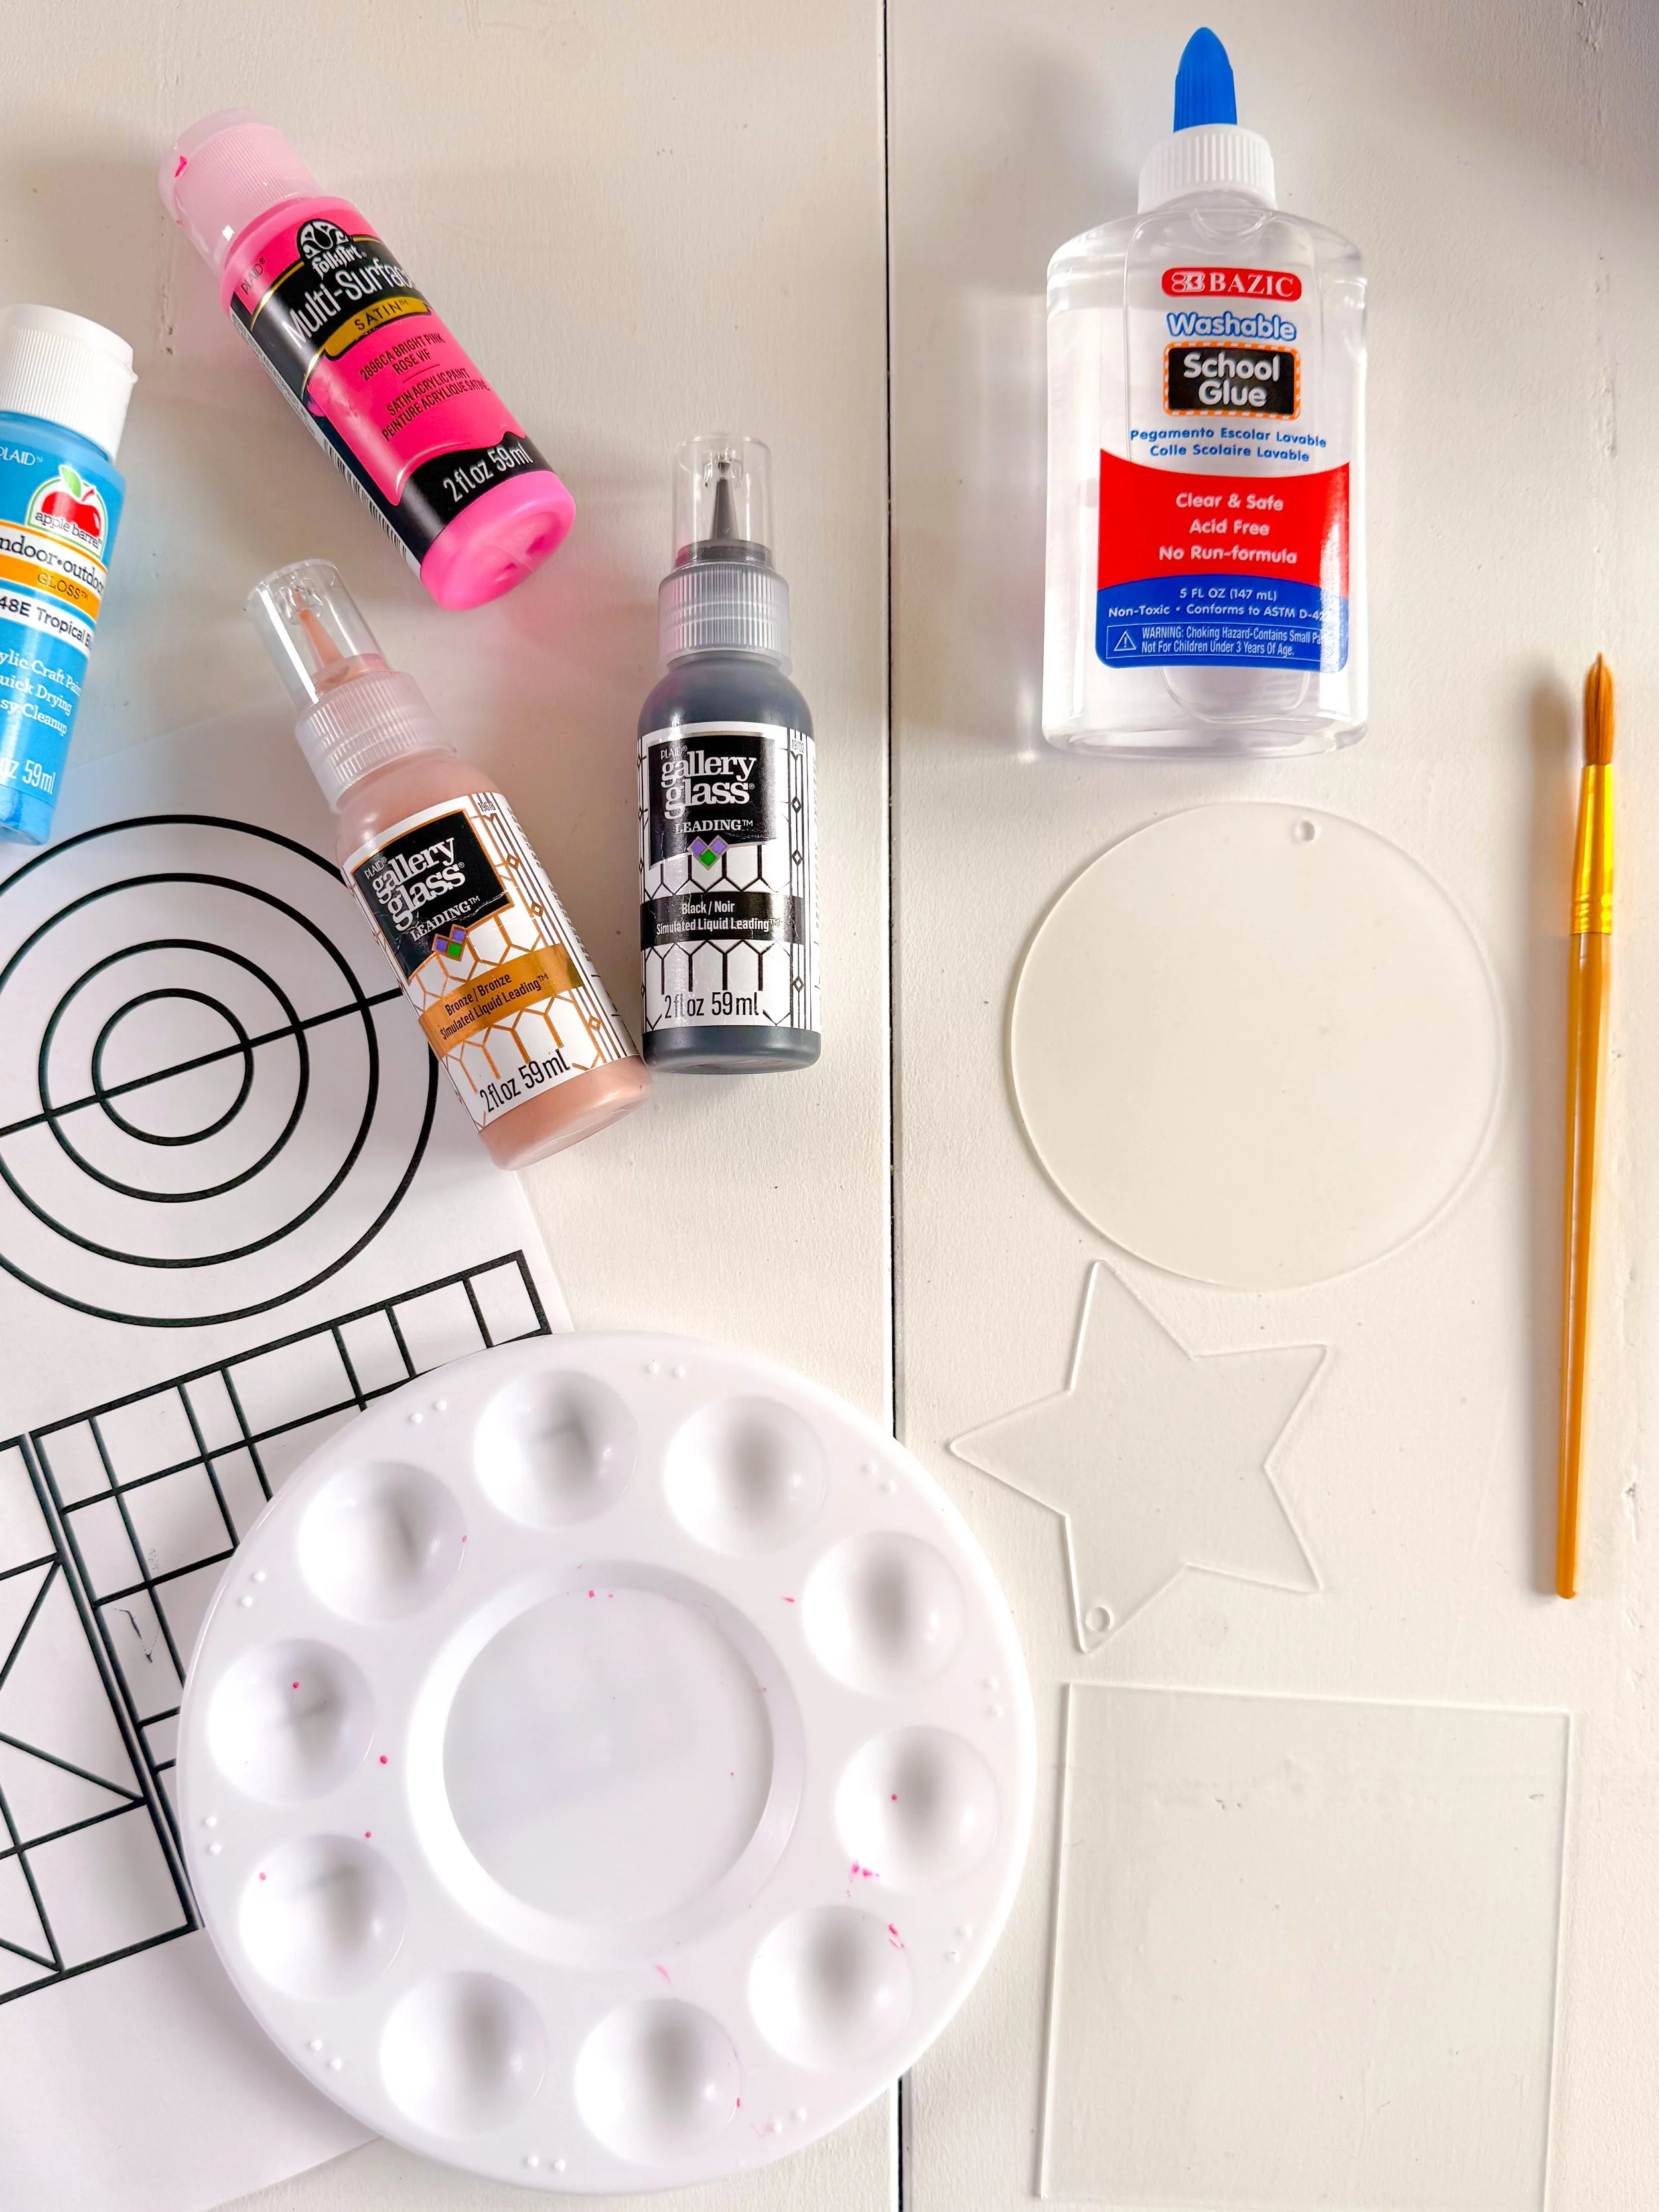
Clear acrylic shapes. I bought circles, squares, and stars. Most of these will come with holes in the top for hanging, but my squares were solid. I bought circles and squares that were 4” in diameter, and the template below is sized for 4” shapes.
Black and/or gold leading paint. I used the brand Gallery Glass from Amazon. Make sure you get the leading and not just the glass paint. They look similar, but they have different purposes! Leading is thicker for the lines, while the glass paint is thinner for filling in the spaces.
Clear school glue. I bought this knock off brand from Amazon because it was less expensive, and it did the trick!
Acrylic Paint. You probably already have paint in your craft stash at home, so use what you have! If you really don’t own any paint, you could go buy a few bottles from Michael’s or Walmart or you can find a set from Amazon like this one.
Paint brushes. You will want some smaller brushes for this project. I own this set from Amazon, and I have used them over and over again for projects.
Paint trays or palettes. You will want something to mix and hold your paint. Because we are mixing paint with school glue, it gets a little runnier. I love these palettes because they have little wells so that the paint doesn’t spread. I bought a 12 pack of these years ago, and we use them all the time. We wait for the paint to dry, then pop it out to clean!
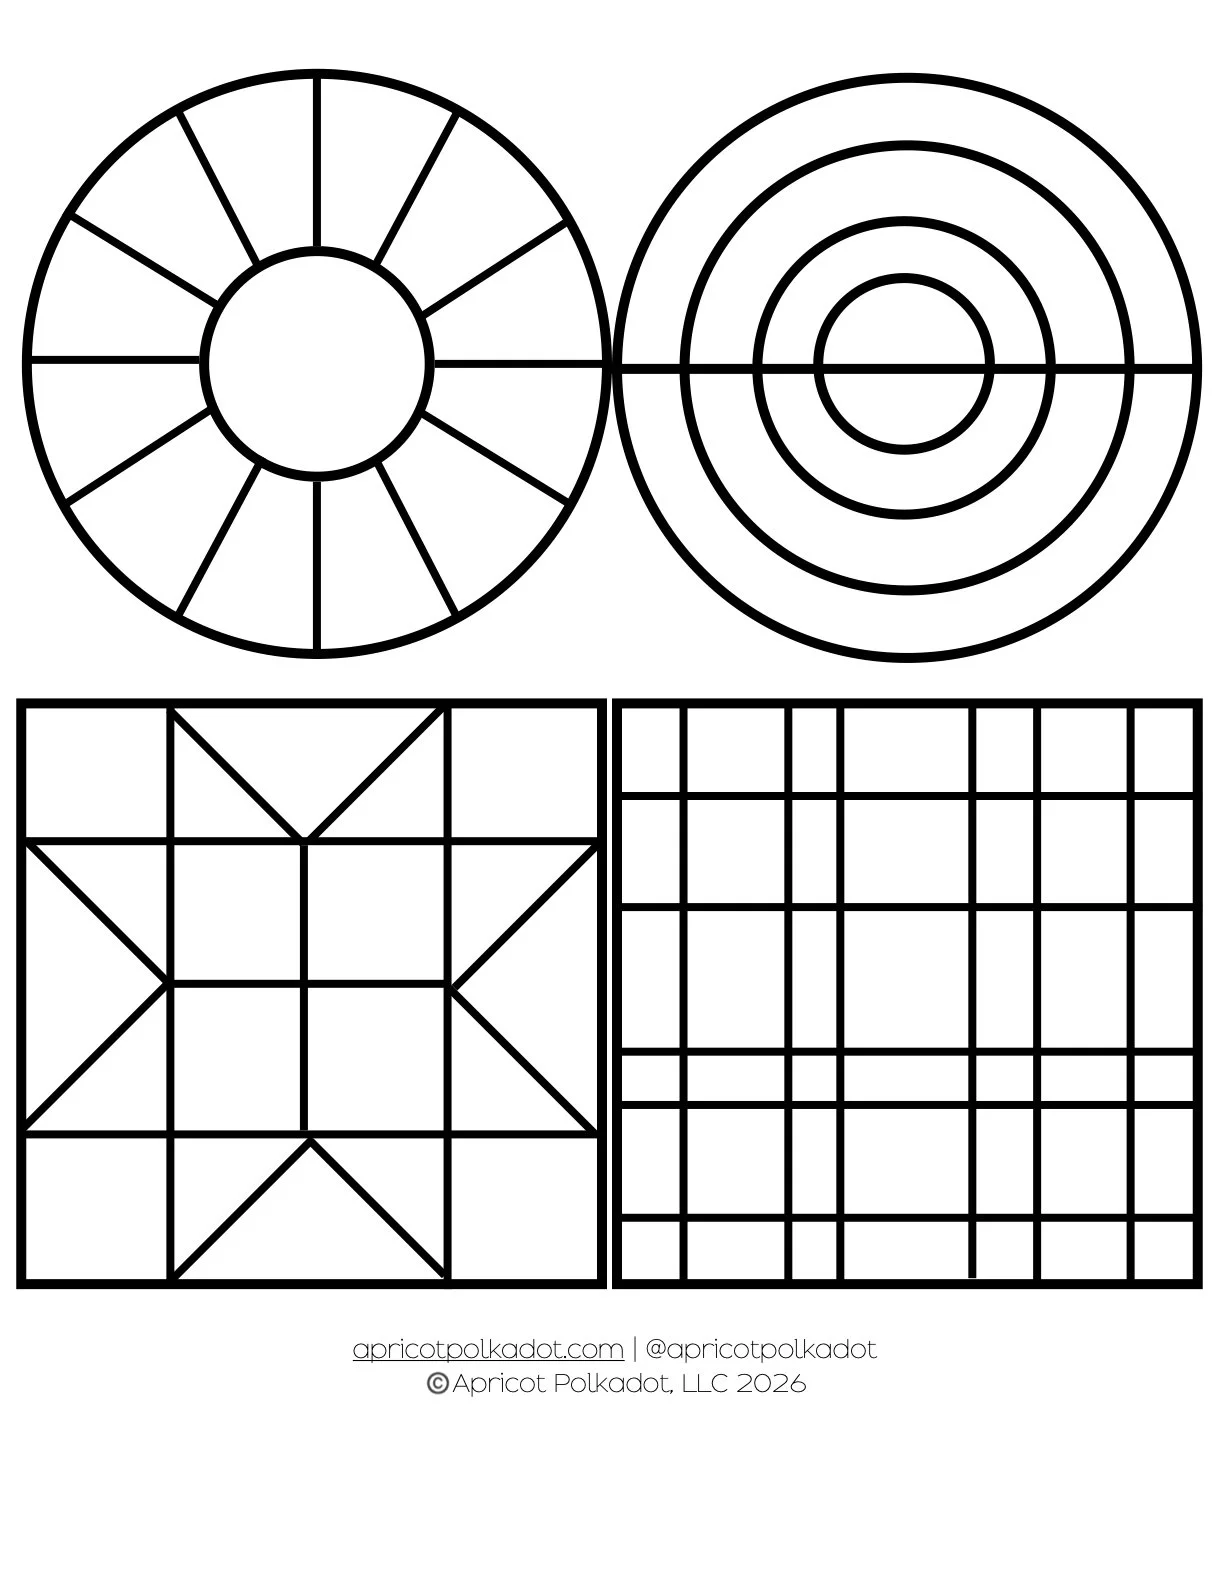
Template. I created a quick little template for us to trace, but you can totally create your own or just freehand it! You can download the printable template here!
How To
Cover your workspace with paper or a wipe-off table cloth. You may also want to put on apron or old clothing that won’t be ruined if paint gets on them.
Print the template above or create your own.
Make sure the backing is peeled off of both sides of your acrylic shapes.
Set the shape over the template, and begin using the leading paint to trace the lines. It is a little tricky to get the lines really straight. Just remember that when your creation is finished and dry, you can flip it over. The back side usually looks much better! You can also wipe off any mess ups while the paint is wet. Just use a paper towel and make sure it doesn’t leave any residue.
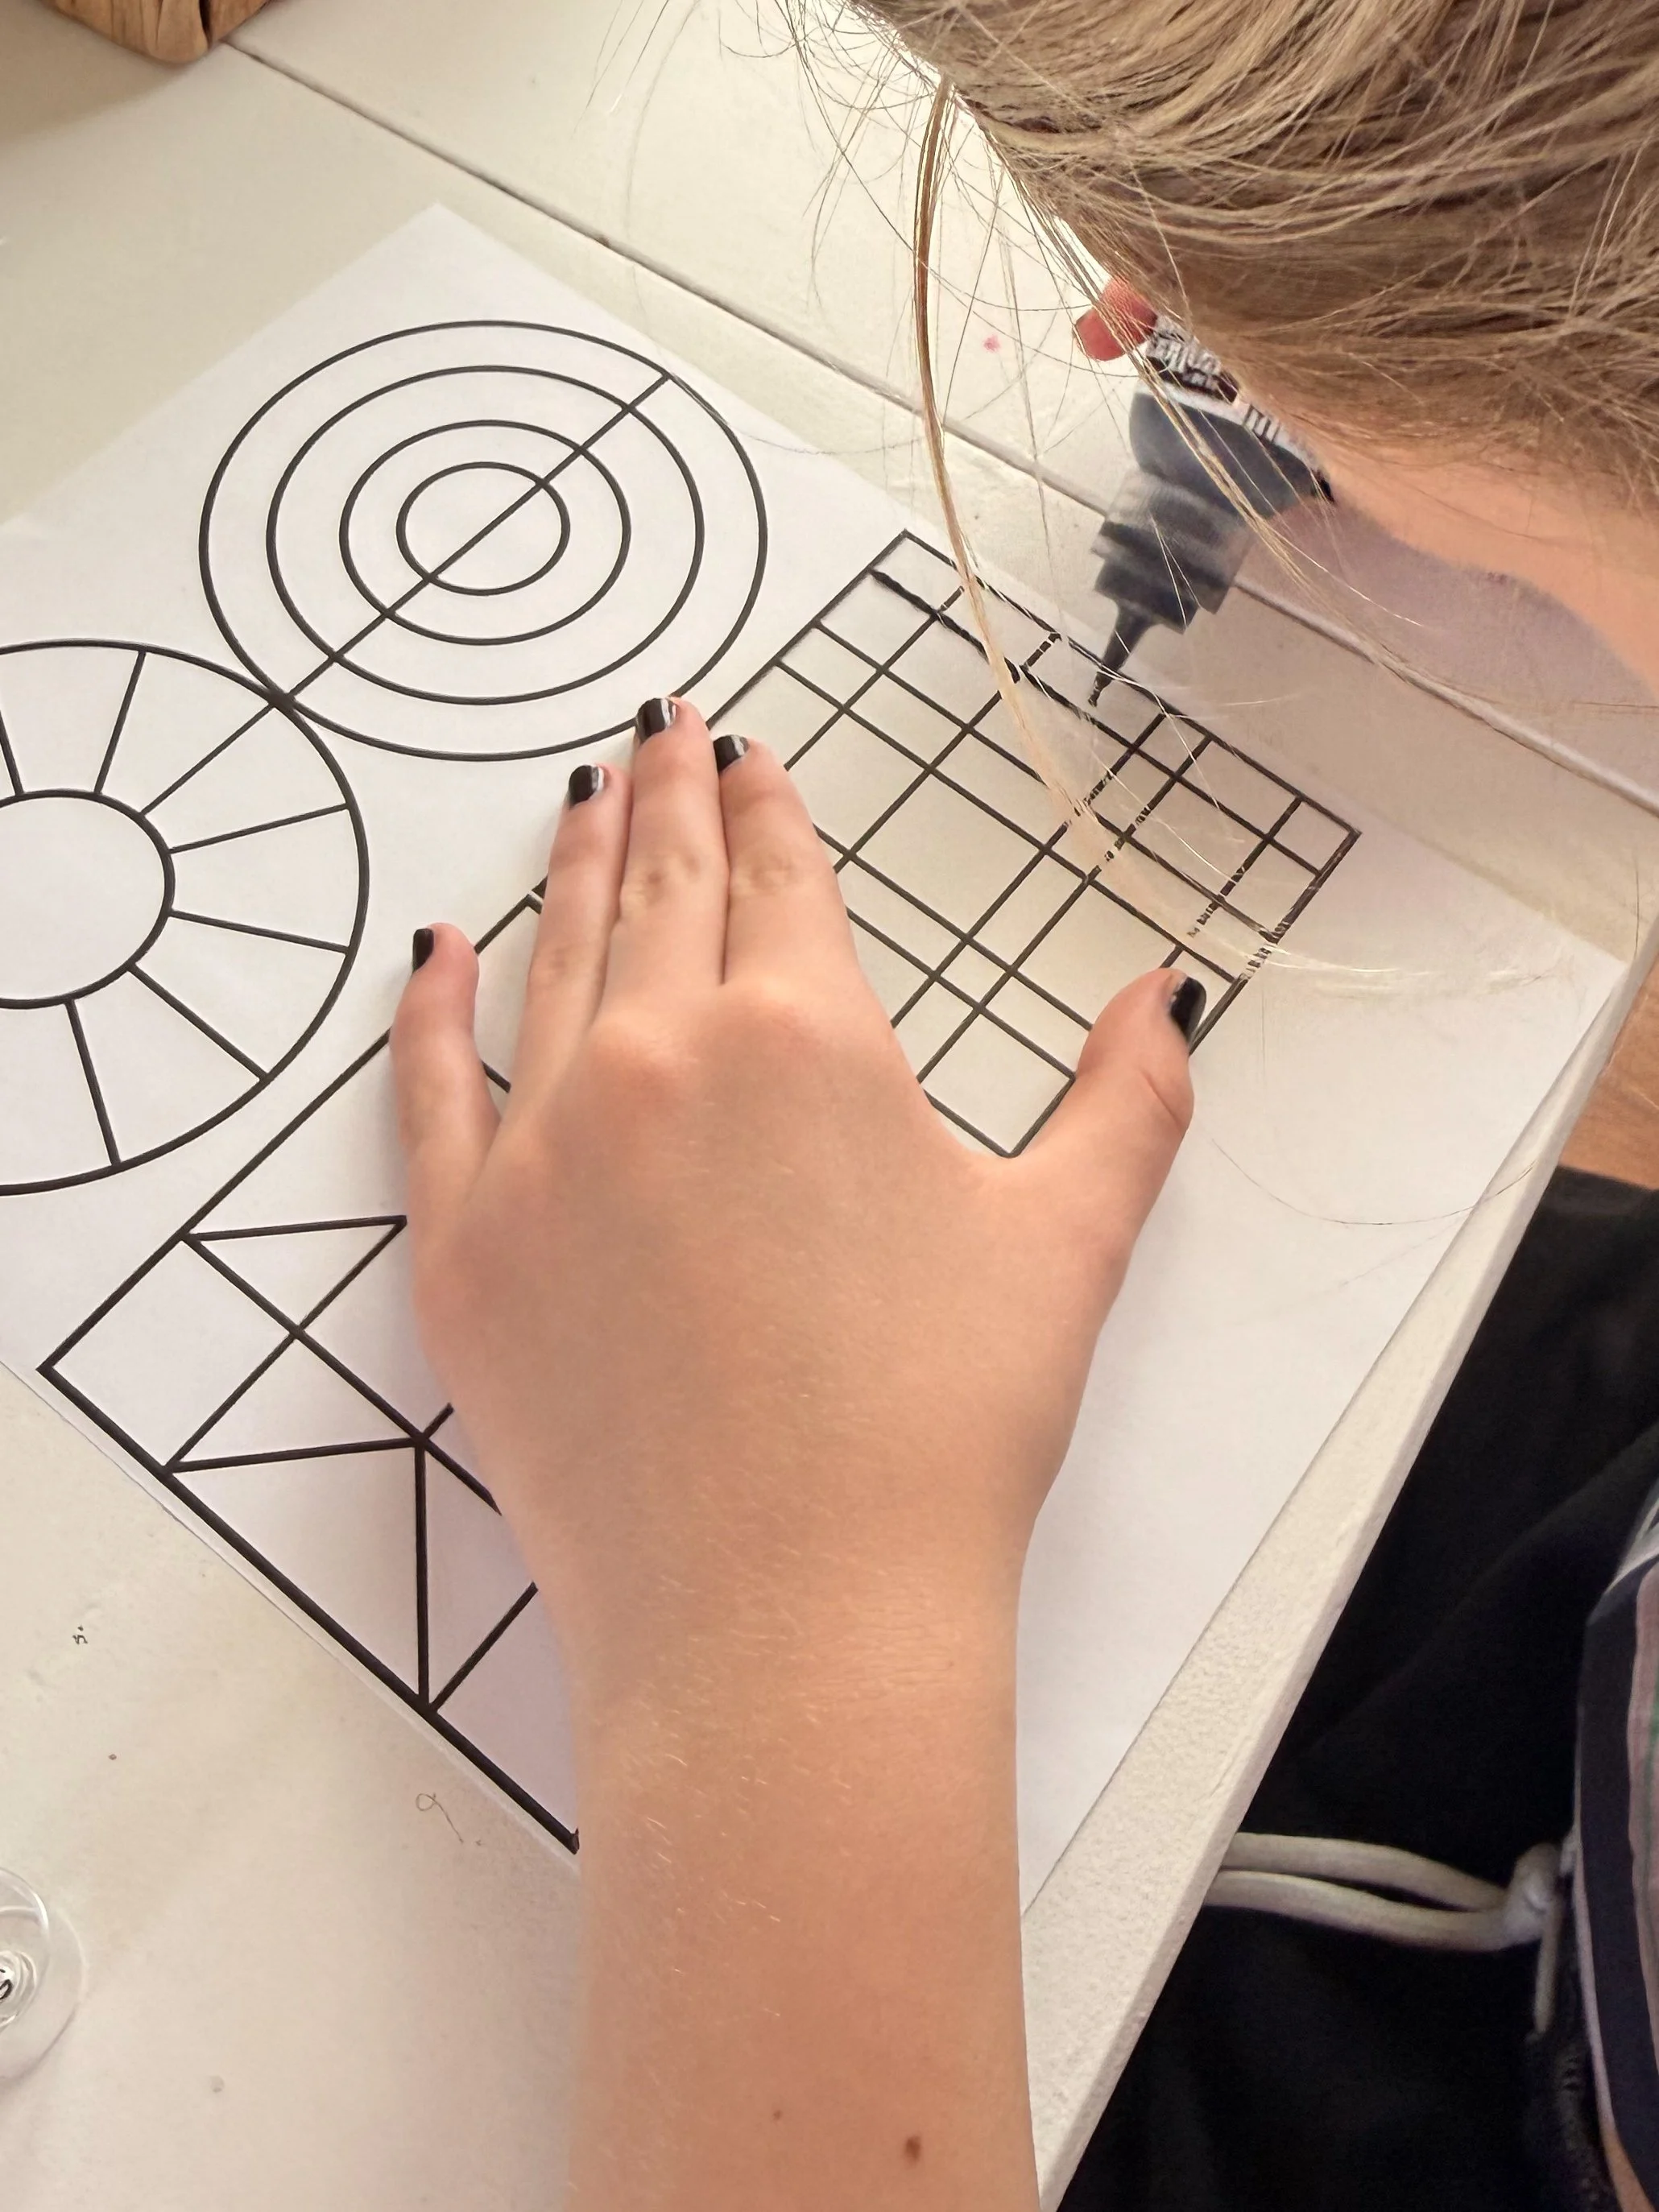
Take care when painting over existing lines as the paint will want to smear a bit. I found it better to stop at an intersecting line, then continue on the other side.
Wait for the paint to dry completely. We allowed ours to dry overnight, but they may be dry within a few hours depending on how thick the paint was applied.
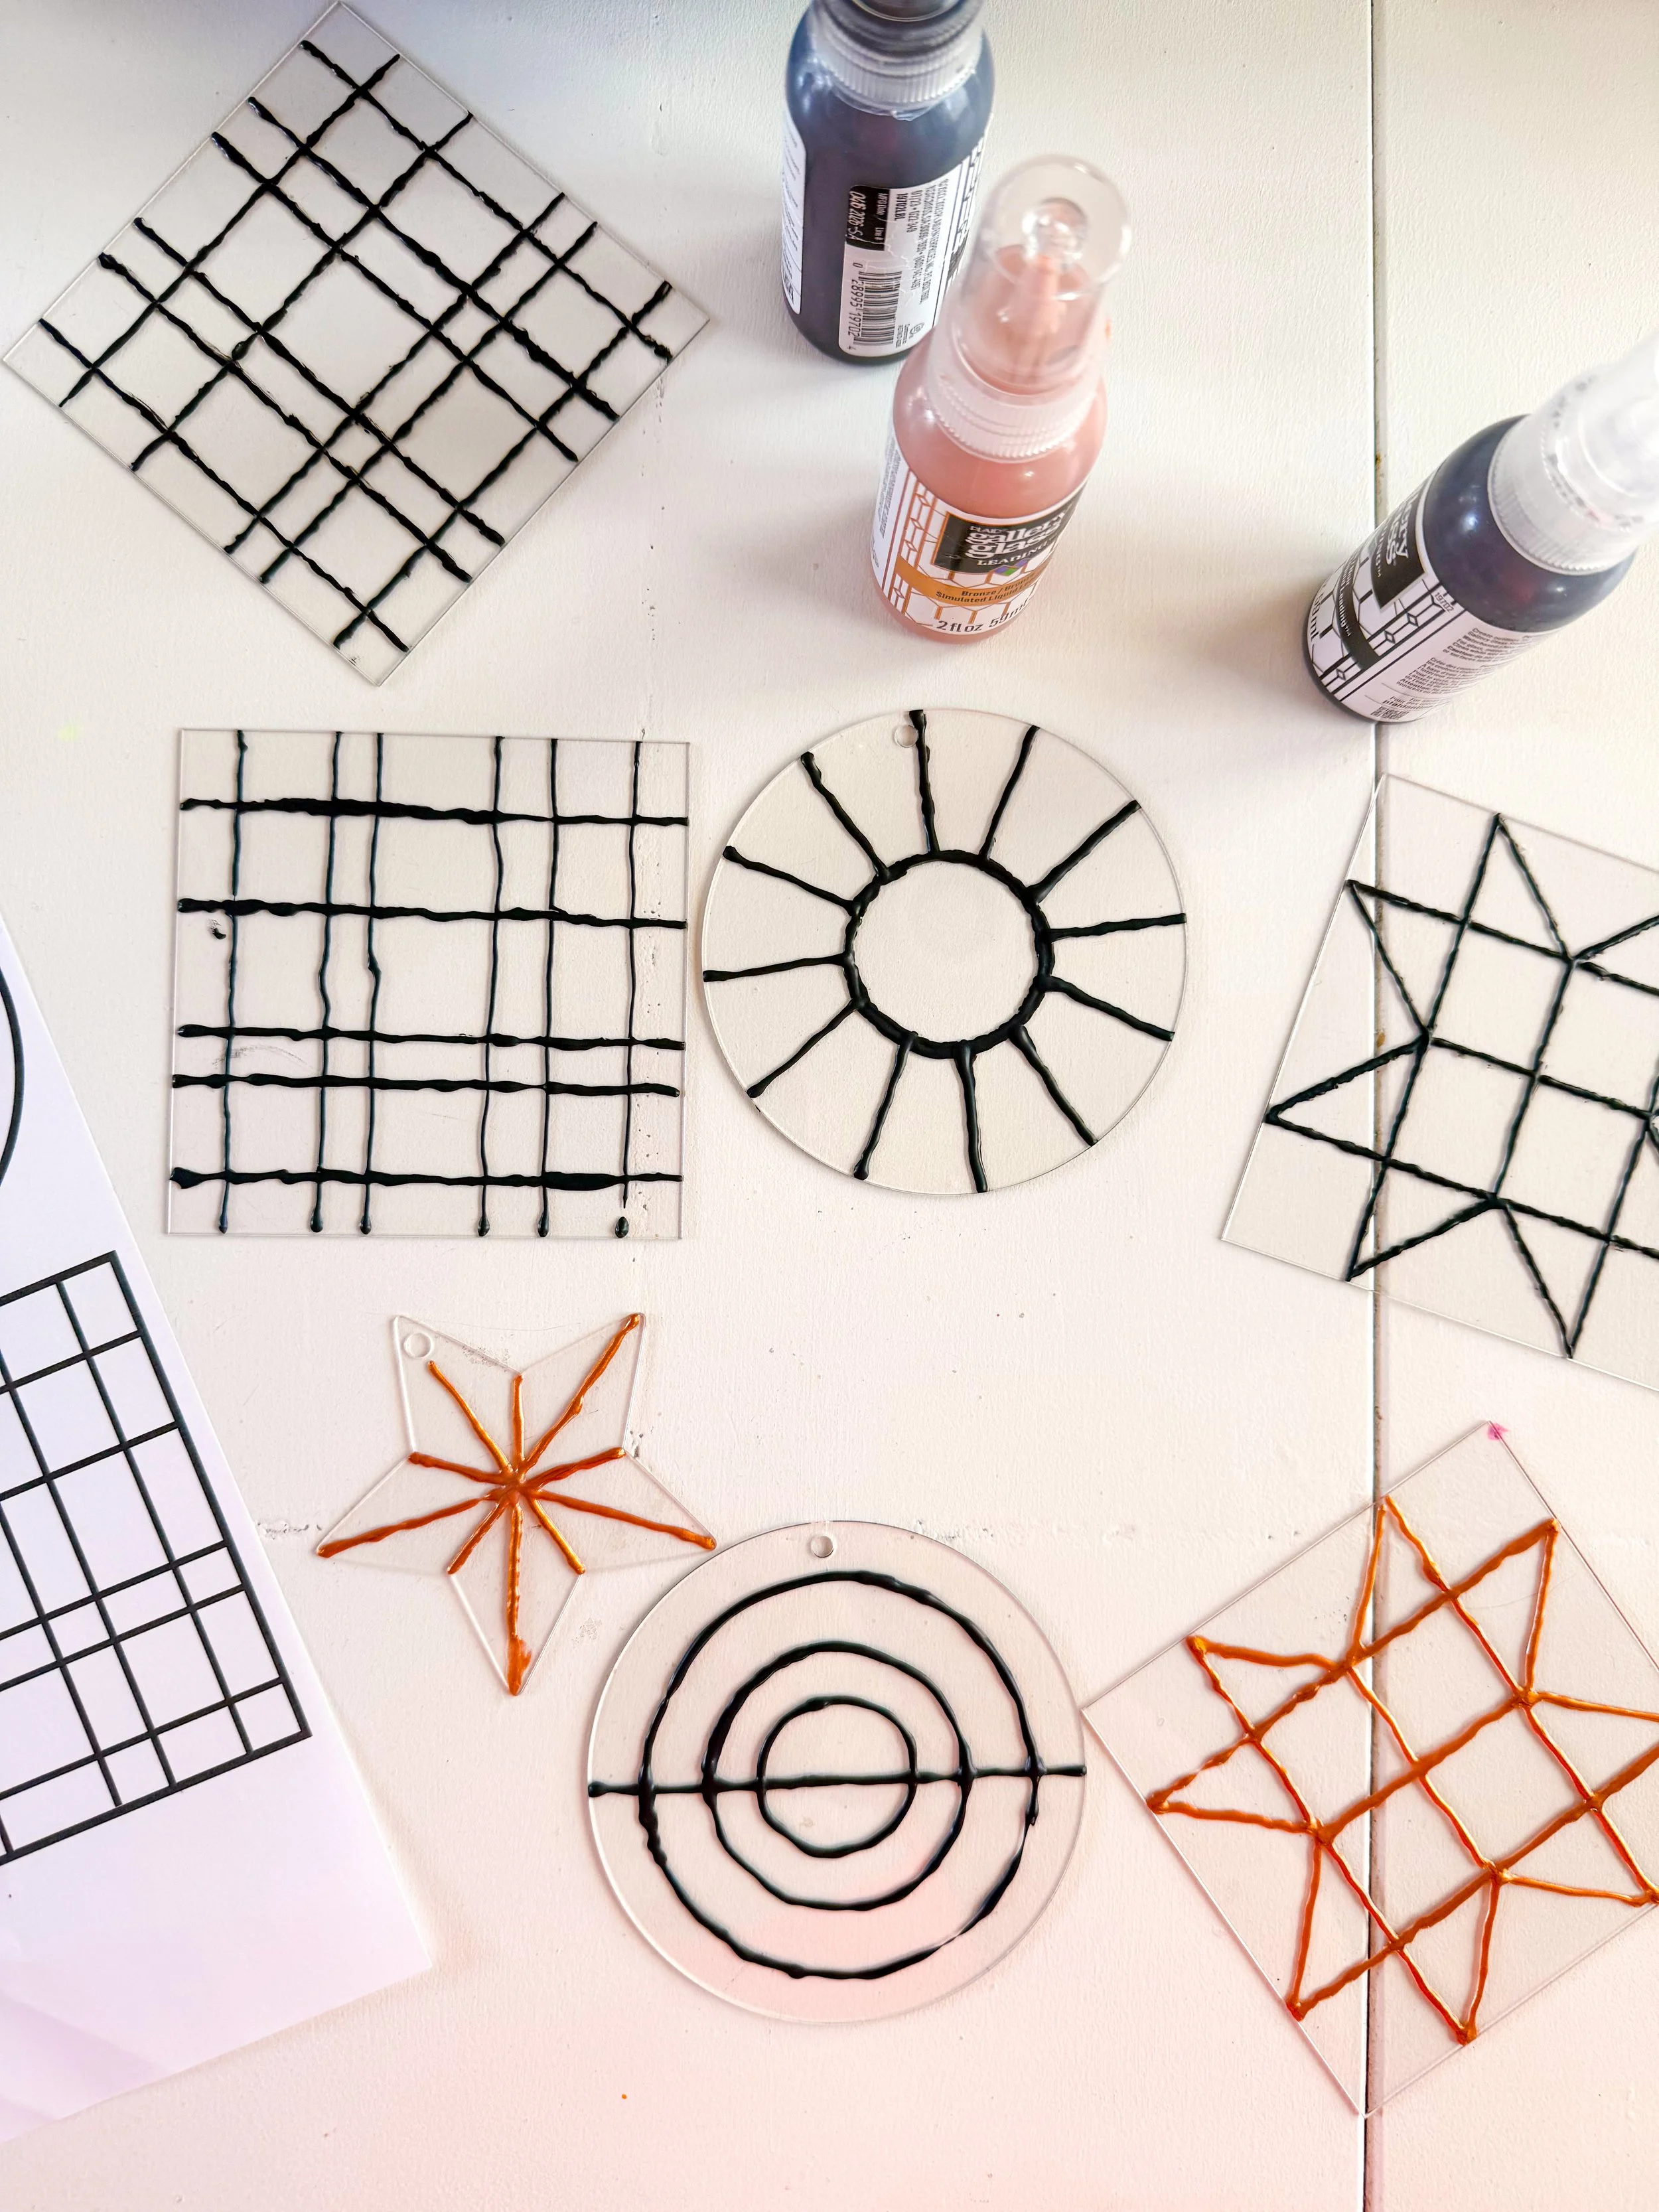
Once the leading paint is dry, begin mixing your “glass” paint. Squeeze a small amount of clear school glue into the paint palette, then add one drop of acrylic paint. For darker, less see-through colors, add more paint. For clearer, lighter paint, use more glue. Mix up the colors so that they are well blended.
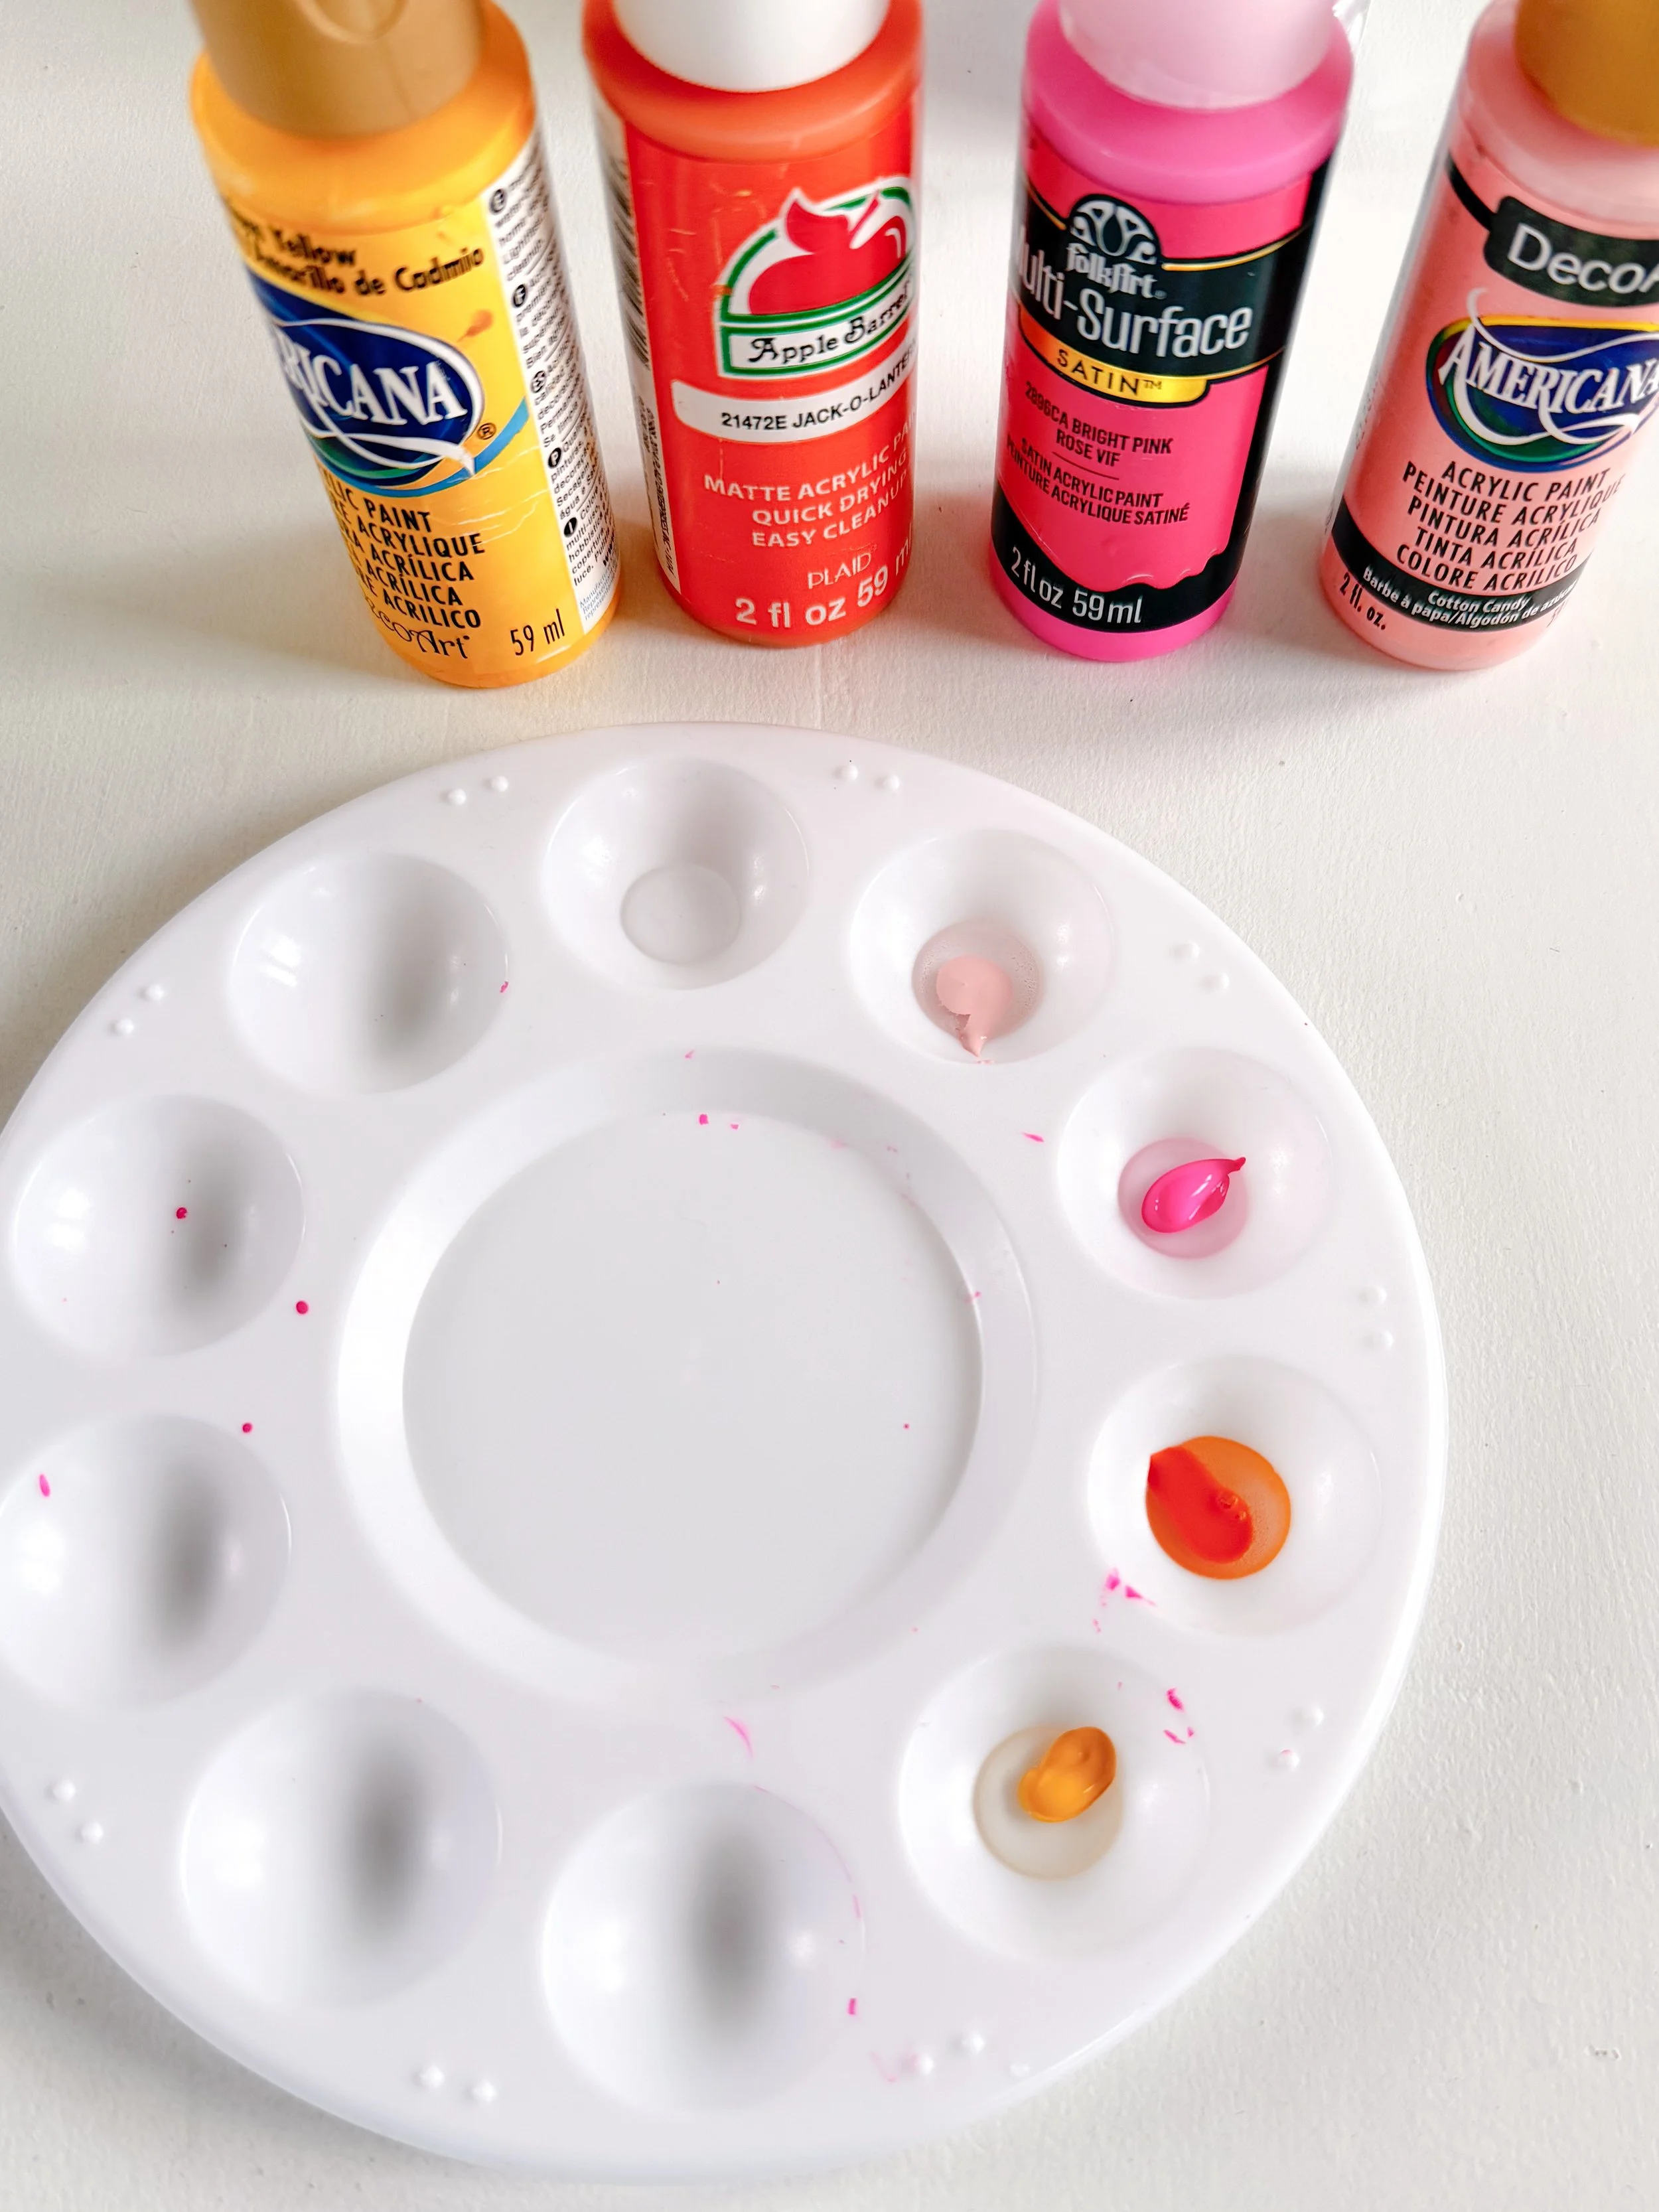
Use a small paint brush to paint your design. We found that dabbing rather than using long strokes with the paint brush created a more glass-like effect. You can clean your brush with water or with a paper towel in between colors.
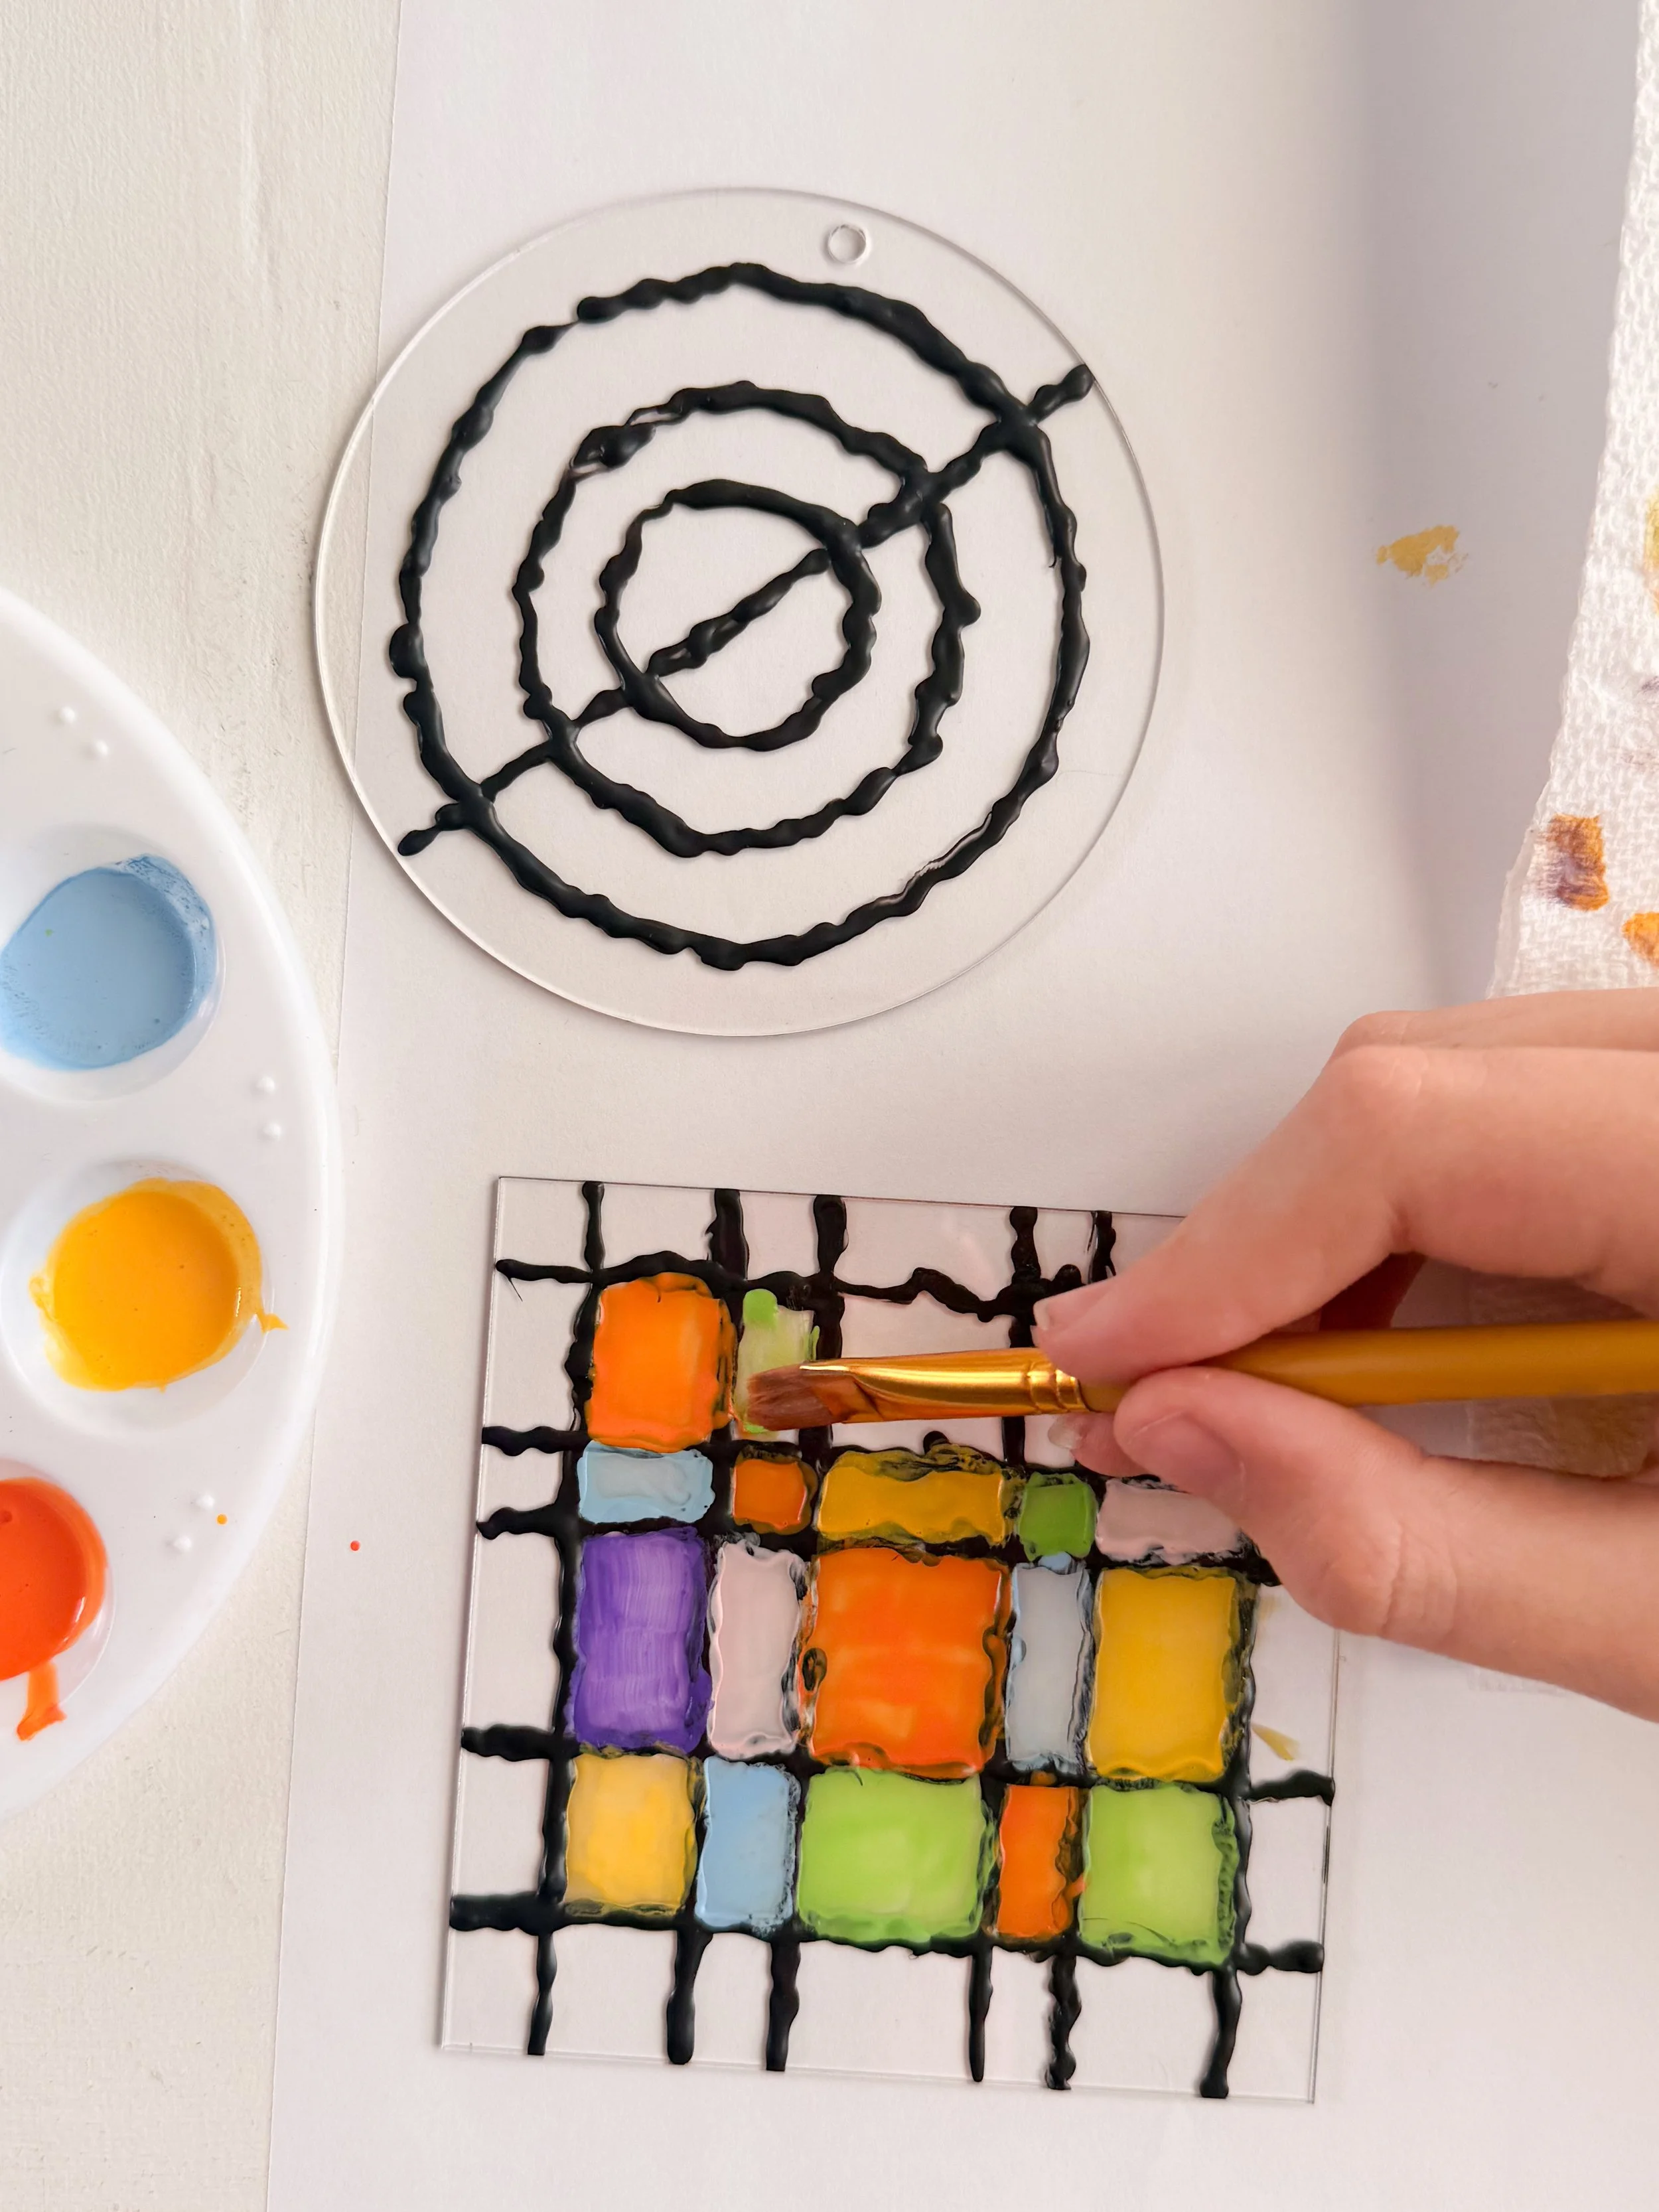
My son’s designs were a little squiggly, but we liked them that way!
Allow the paint to dry completely, then set in a window to see them shine!
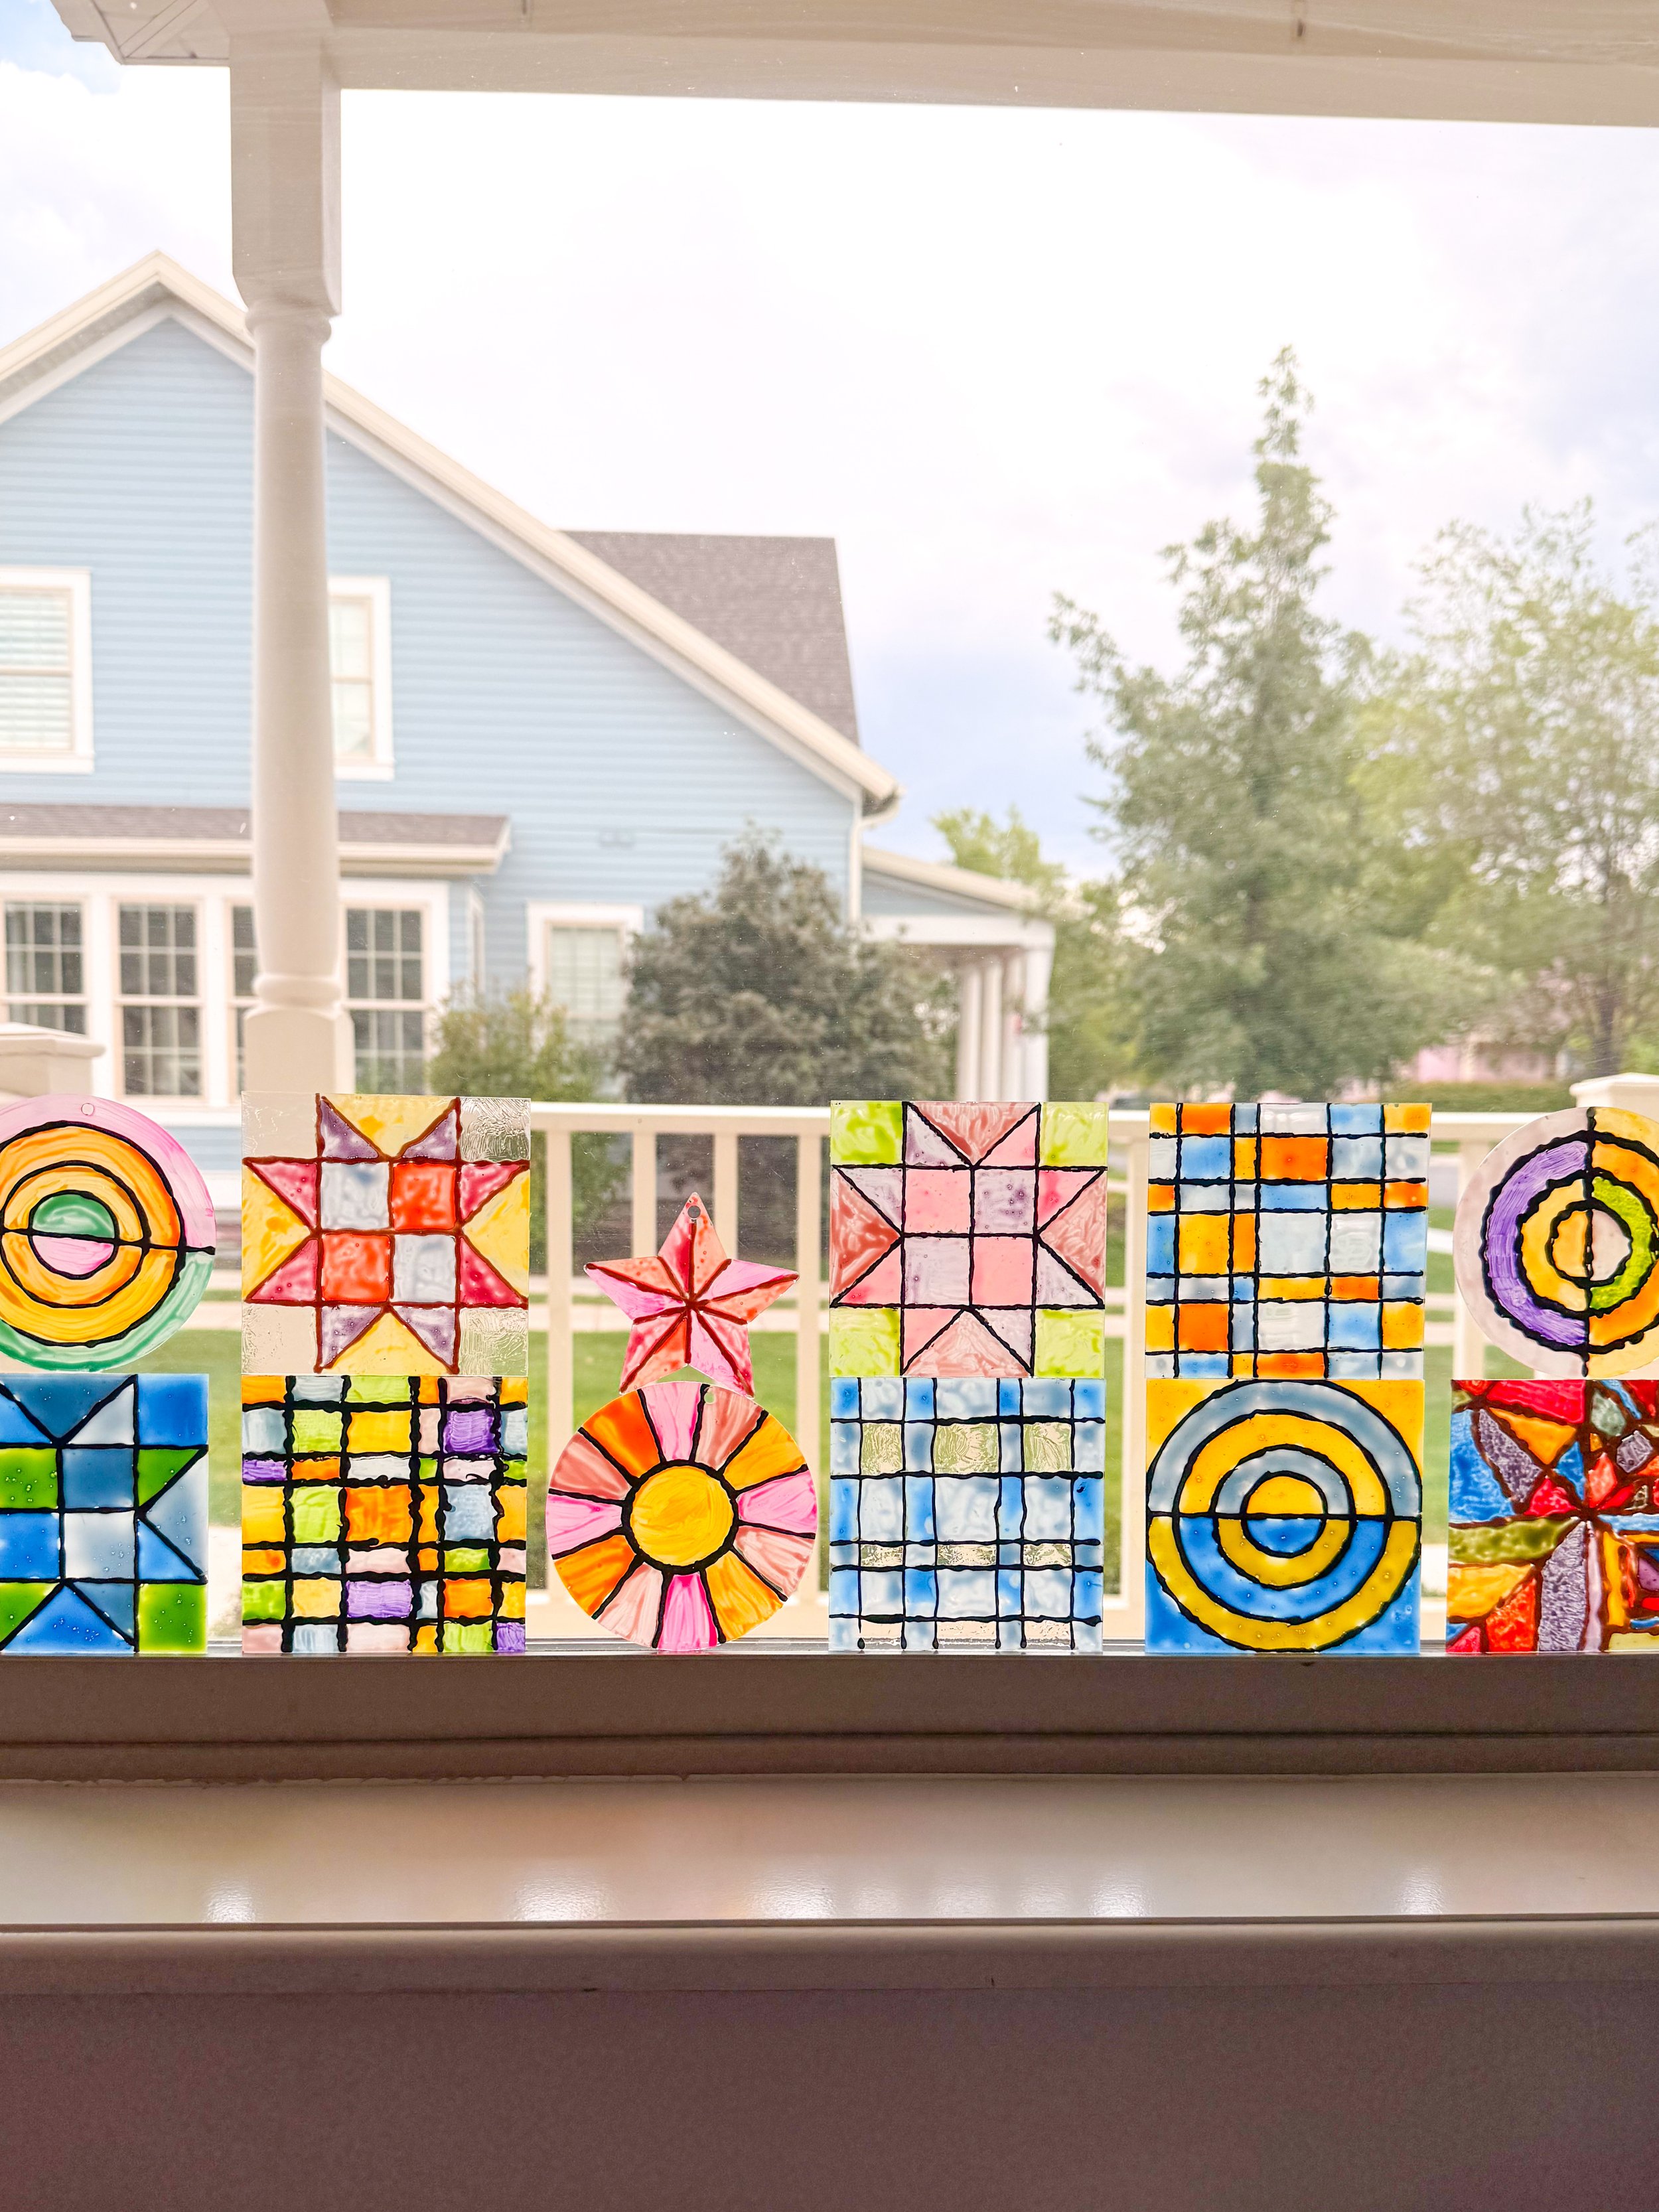
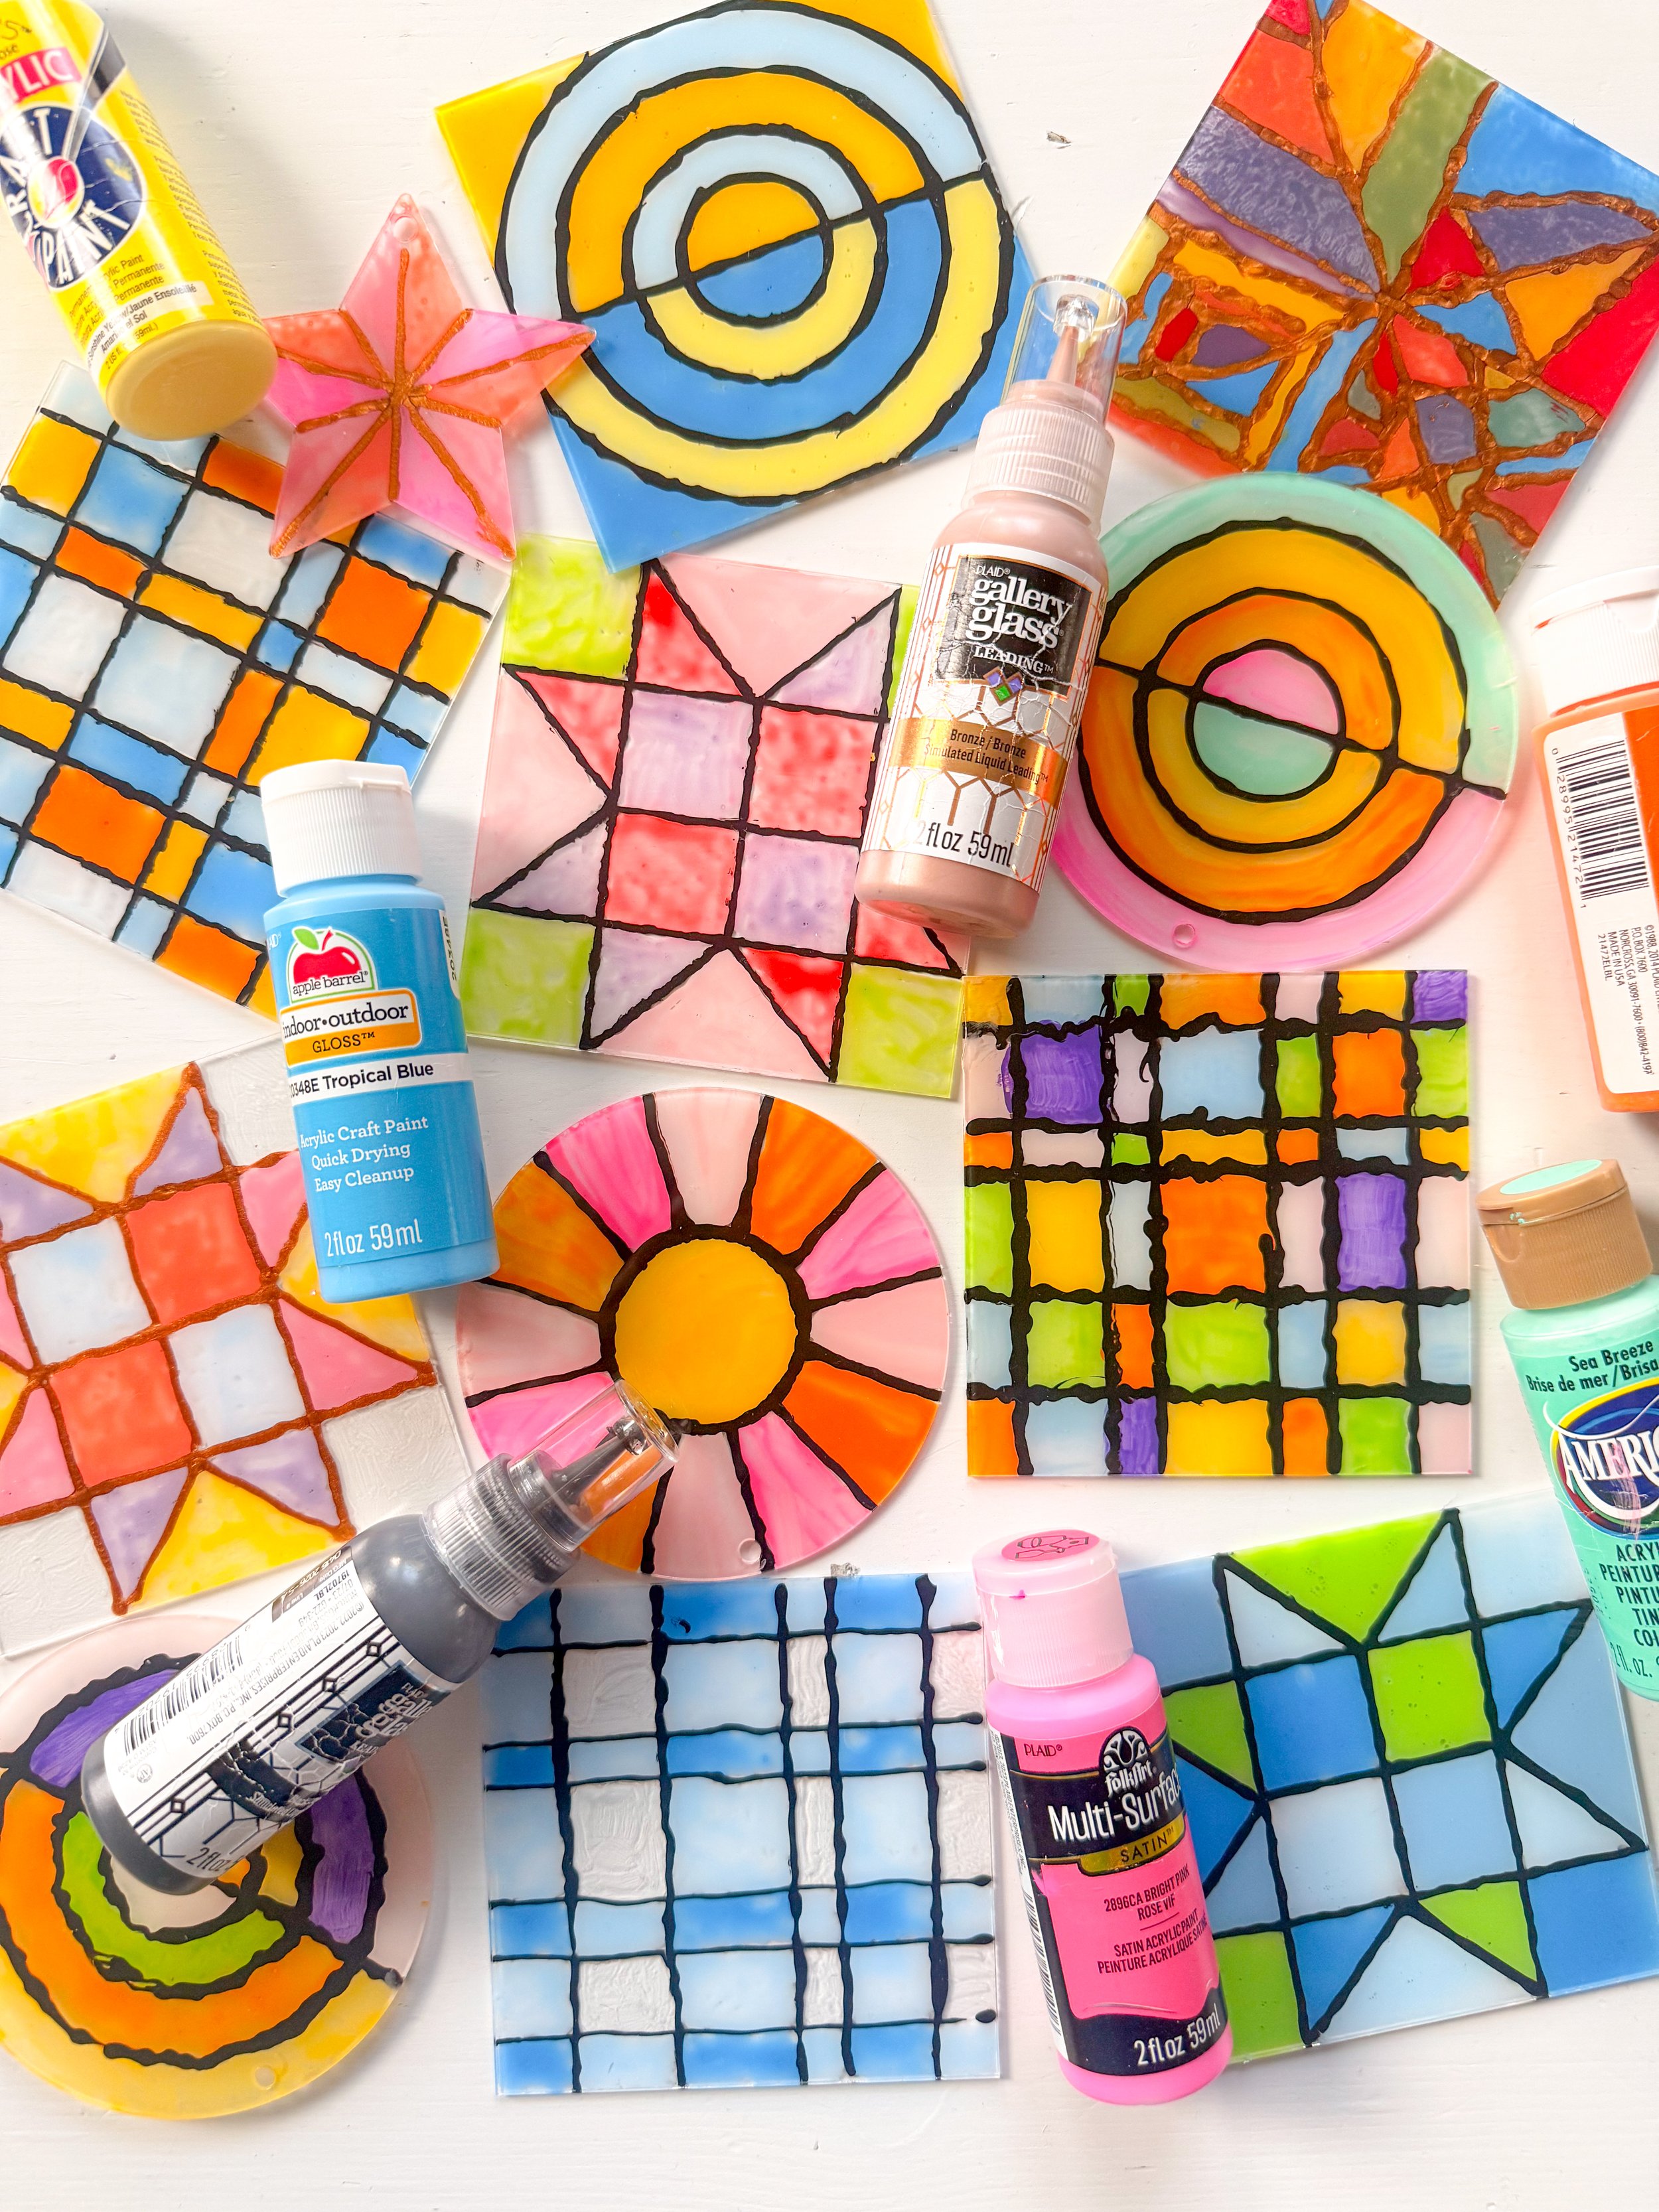
My kids and I really enjoyed this project. My son even spent two hours by himself mixing up paint colors and painting all the little nooks and crannies in his own design. It was great! Have fun creating your own designs and patterns, and put your little pieces of “stained glass” art in every window of your space!
