How To Make a Giant Pegboard Cross Stitch
As I was lying in bed one night reading a book, it hit me…I NEEDED to make a giant cross stitch! Maybe it was because it was late and I was a little loopy, or maybe it was because I wasn’t really very interested in the book I was reading, or maybe it was because I just am always thinking about new projects, but whatever it was, I knew I HAD to make one ASAP! So I started thinking…what has holes like cross stitch fabric but is bigger? A chain link fence? The holes seemed too big, and it didn’t seem very pretty. Plastic fencing? Still not quite what I was looking for. Pegboard? Perfect! Big enough to make a big design, but not overly huge. And it can be hung like artwork! I ran to Lowes the next day and had a big pegboard cut down so that I could make my cross stitch dreams come true! After seeing how easy this project is, I’m pretty sure you will be running to Lowes tomorrow to make your dreams come true too. :)

Supplies
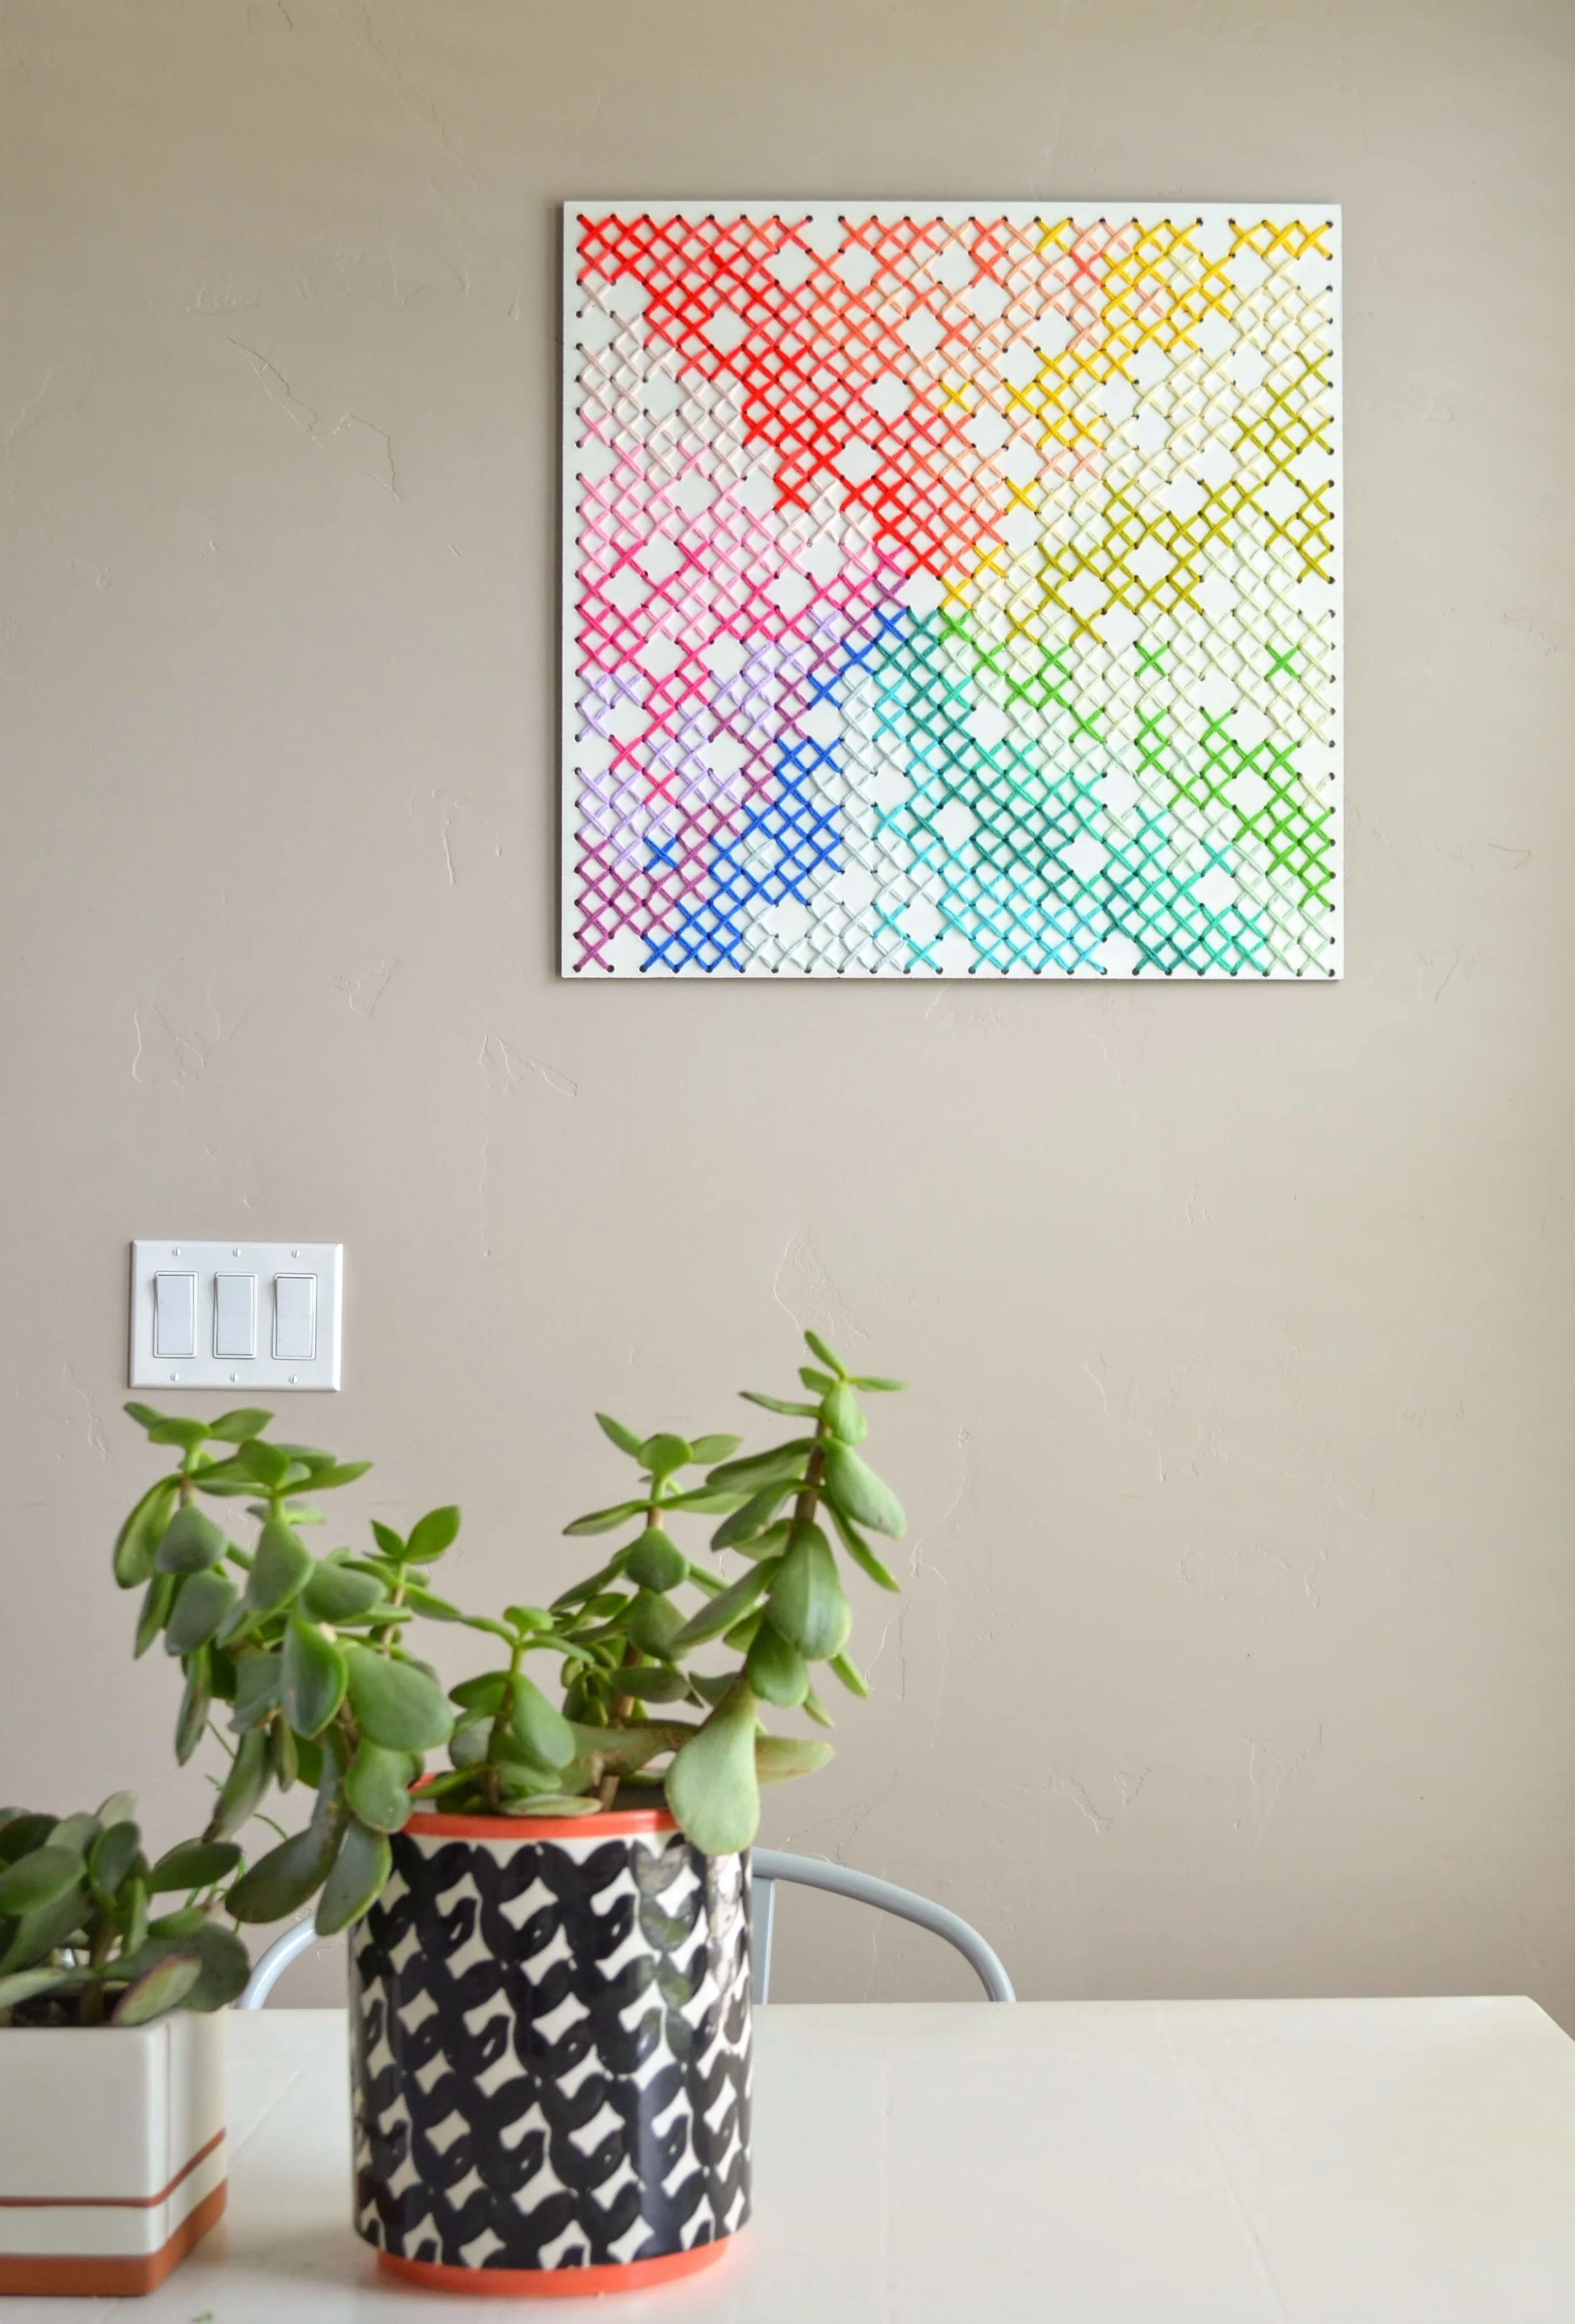
Pegboard. I bought mine at Lowes, and to avoid having to spray paint, I bought a board that was already white on one side. This board measured 4’ x 8’, so I had it cut down into eight 2’ x 2’ pieces.
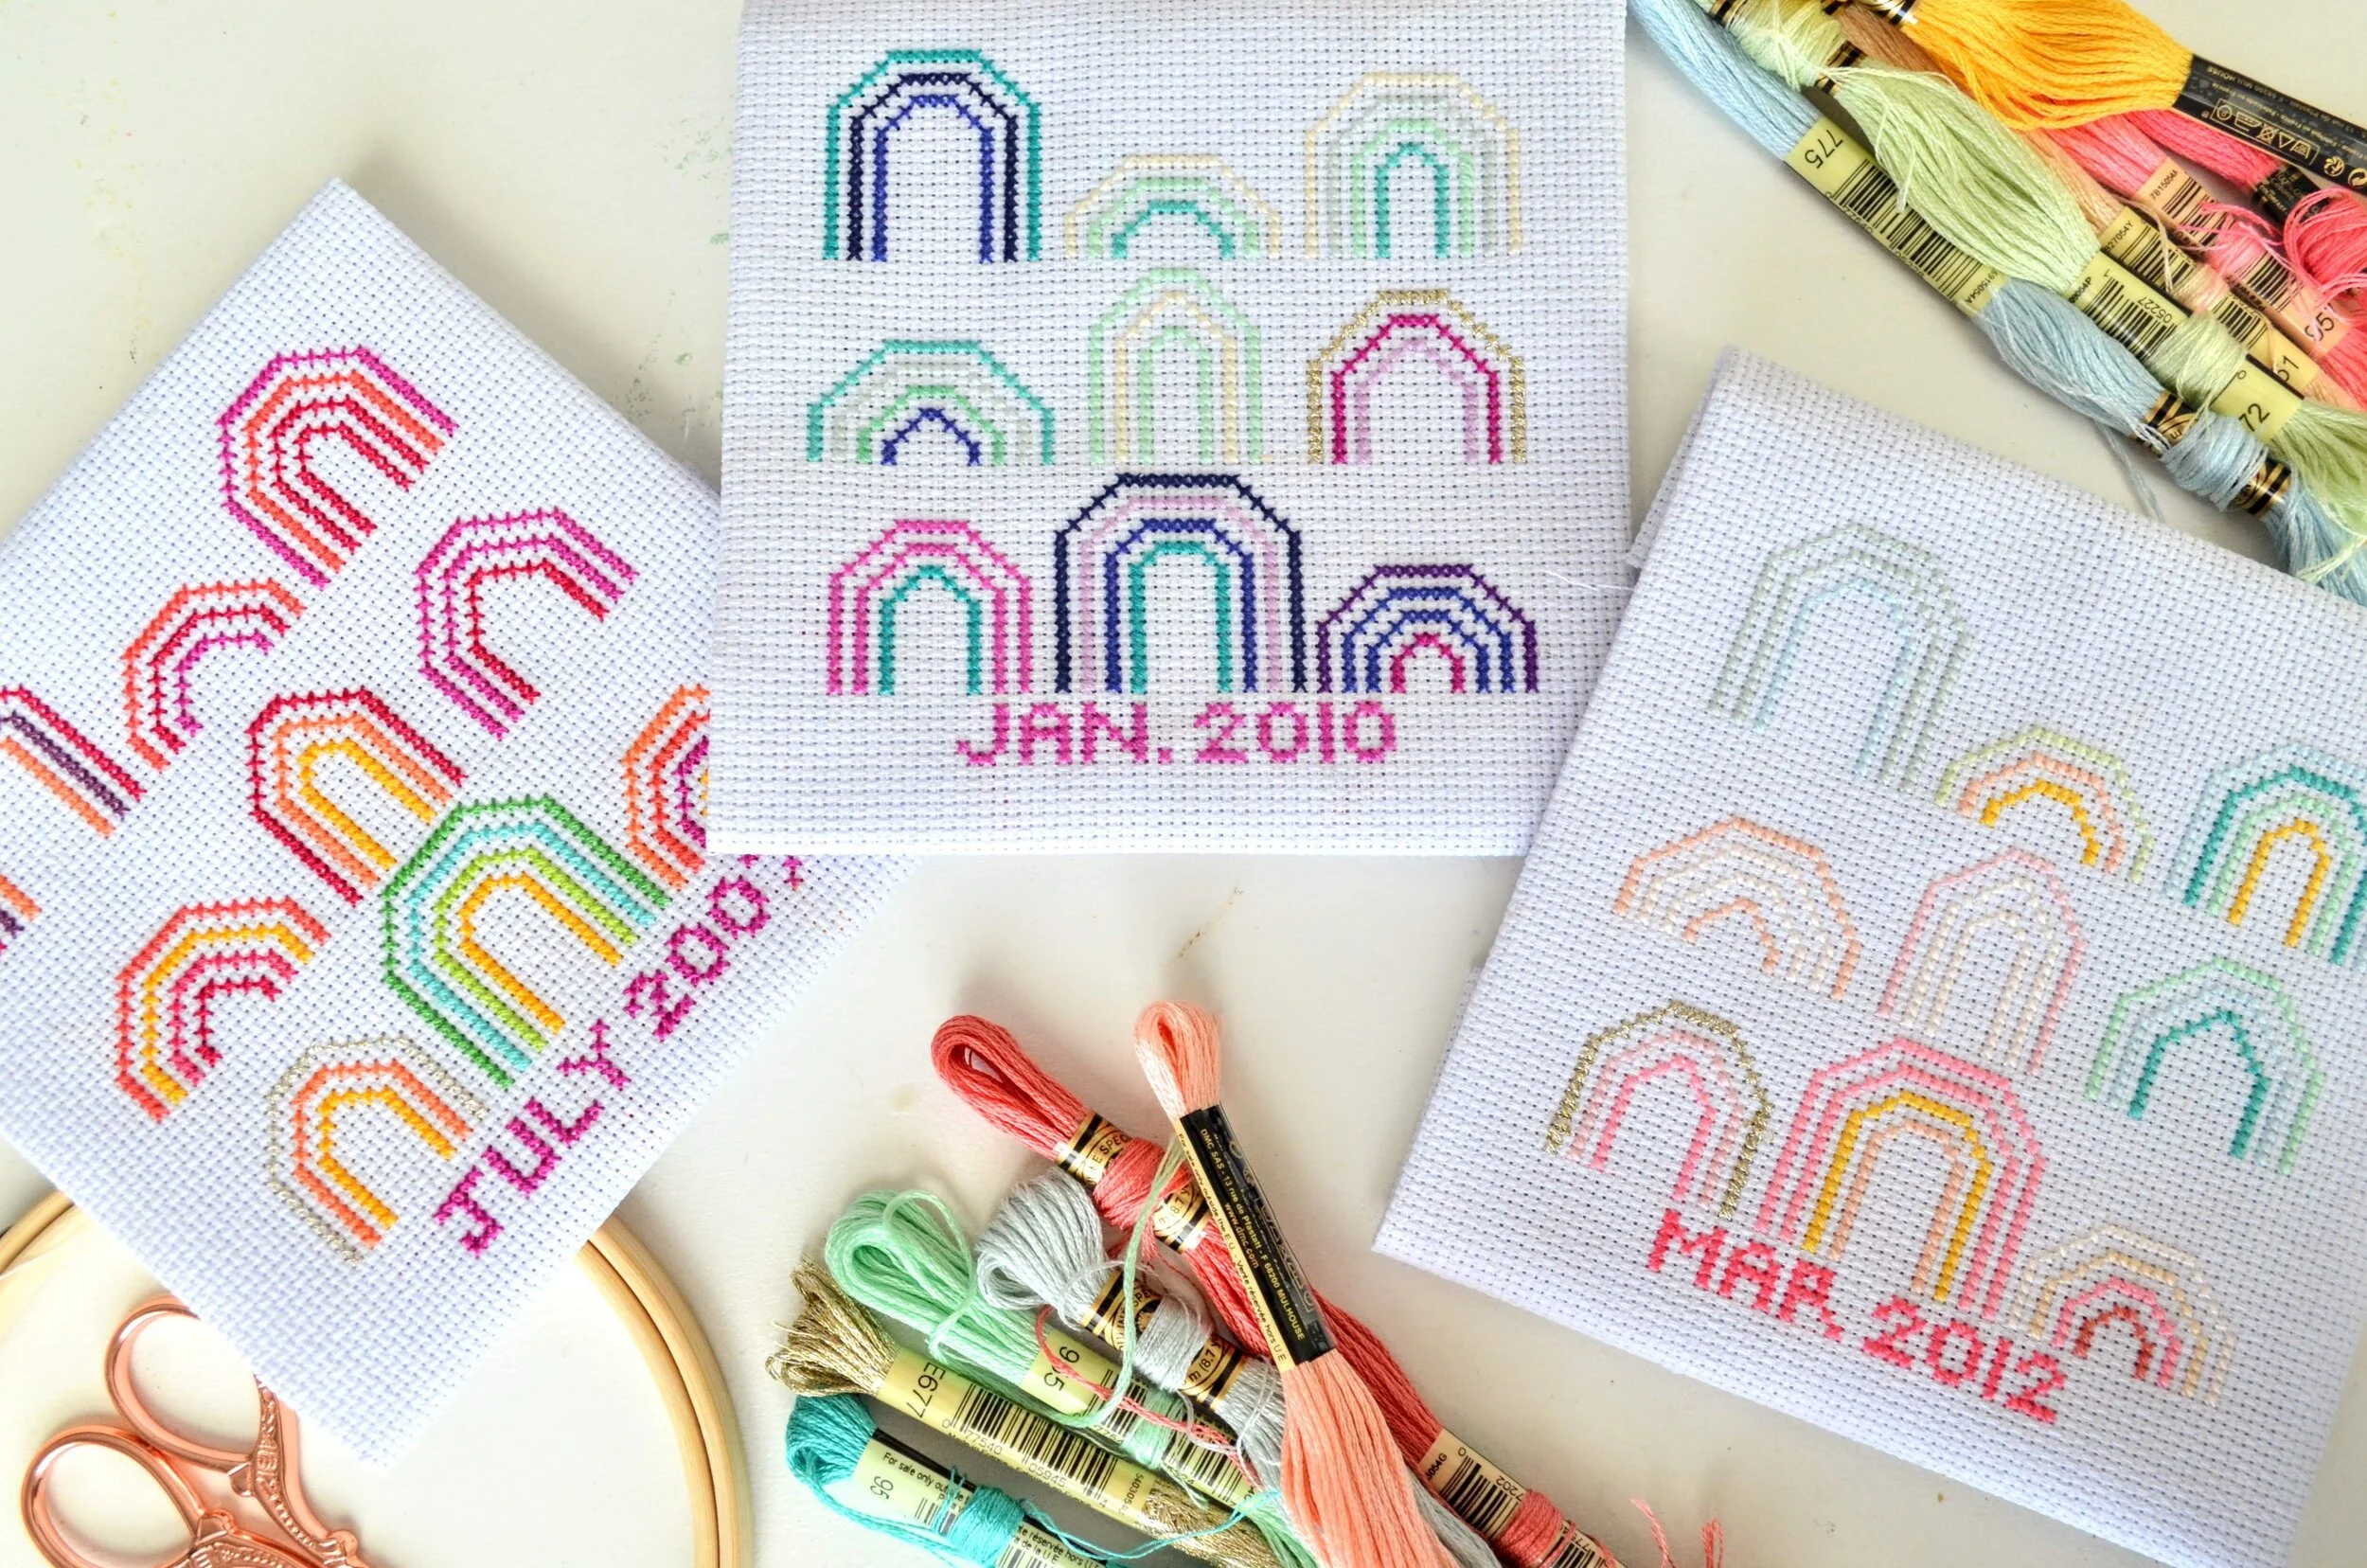
Yarn. This is a great yarn stash buster, so use up any yarn you might already have. If you want to create a rainbow gradient pattern like I did above and don’t have as many colors on hand, Amazon sells mini multipacks of yarn that come with quite a few colors. This one HERE comes with 30 different colors.
Scissors.
Large Yarn Needle. I like this metal kind HERE from Amazon. I also really love these plastic yarn needles. I use these needles all the time for garlands, crochet, etc., so they are good to have on hand.
Cross Stitch Grid. You can download my grid for a 23 square by 23 square here.
Optional: A trash bag or towel to set under your space while you are working to keep it clean from the pegboard mess.

How To:
Begin by cleaning off your pegboard as much as possible. Because the pegboard has had a bunch of little holes cut into it, it has a lot of brown dust and is a bit of a mess. I use a slightly damp towel to clean off the board, but be aware that the board will leave more mess as you are pulling yarn through the holes. I like to cover my area with a trash bag so that the clean up is a little easier. Or you could do it outside and sweep up the mess when you are done!
Plan out your design on your grid. The grid that I have available to download above is for a 2’ x 2’ piece of pegboard with 23 squares across and down. Adjust the grid for the size of your board. Then mark your grid with a marker to lay out your design. I like to find the center square to make sure it is centered well. The pattern for my rainbow design above is available for download at the bottom of this post.
If your design is fairly exact (like my heart), you may want to put a small pencil mark in the center of each square on the board so that you know where you need to cross stitch. I didn’t do this for my rainbow abstract design because it didn’t really matter where the stitches went. With the heart, however, I wanted it to be centered and symmetrical, so I put little pencil marks in the squares along the edge of the heart.

String your yarn onto your needle. Depending on the thickness of your yarn, you may want to double it up. I was using a regular thickness, so I did double up. A thick yarn, however, will probably be fine without being doubled. I like to work with about four feet of yarn at a time (so measure about eight if you are doubling), but you can easily work with less or more.

Start your stitching as you would any other cross stitch. I don’t like to tie knots in the string when I cross stitch. I like to secure the yarn in place by stitching over it. The benefit of not having knots on the back is that it will lie more flat if hanging on the wall. If it is easier for you to tie a knot, feel free, but make sure that your knot will not go through the large pegboard hole.

Continue to cross stitch into the squares where you want that color. I had to cut a few strands of the same color to fill in all the squares that I wanted. Remember that this pegboard is a little messy! Sometimes some of the dust will get into your yarn. Every once in a while, I would blow the dust off or pick slightly bigger pieces of the board out of the yarn. Brushing the dust off or blowing it off tends to work well. It also helps to have a trash bag or towel under your work surface to keep the mess to a minimum.

Continue to fill in your design using the colors of your choosing. Start a new color by going under a stitch on the back to hold the new yarn in place, just like to you started your first color. You can end colors the same way by stitching over or going under an existing stitch to hold those ends in place.
If you want to hang your artwork, you may want to attach picture hanging hooks to the back. Just make sure you use very small nails so that it doesn’t come through the other end. 3M picture hanging Velcro would be a great option for these.
You can even make your giant cross stitch functional! Use that pegboard to hang supplies in your craft room, hats in your bedroom, or keys by your door!


I love how the size of these big stitches makes a big statement. Cross stitch is typically a small, very detailed art. This makes it a little less detailed, but a lot more visible! You can even use the pegboard with pegs for functional space, and cross stitch around it! Pegboard just got a whole new look!