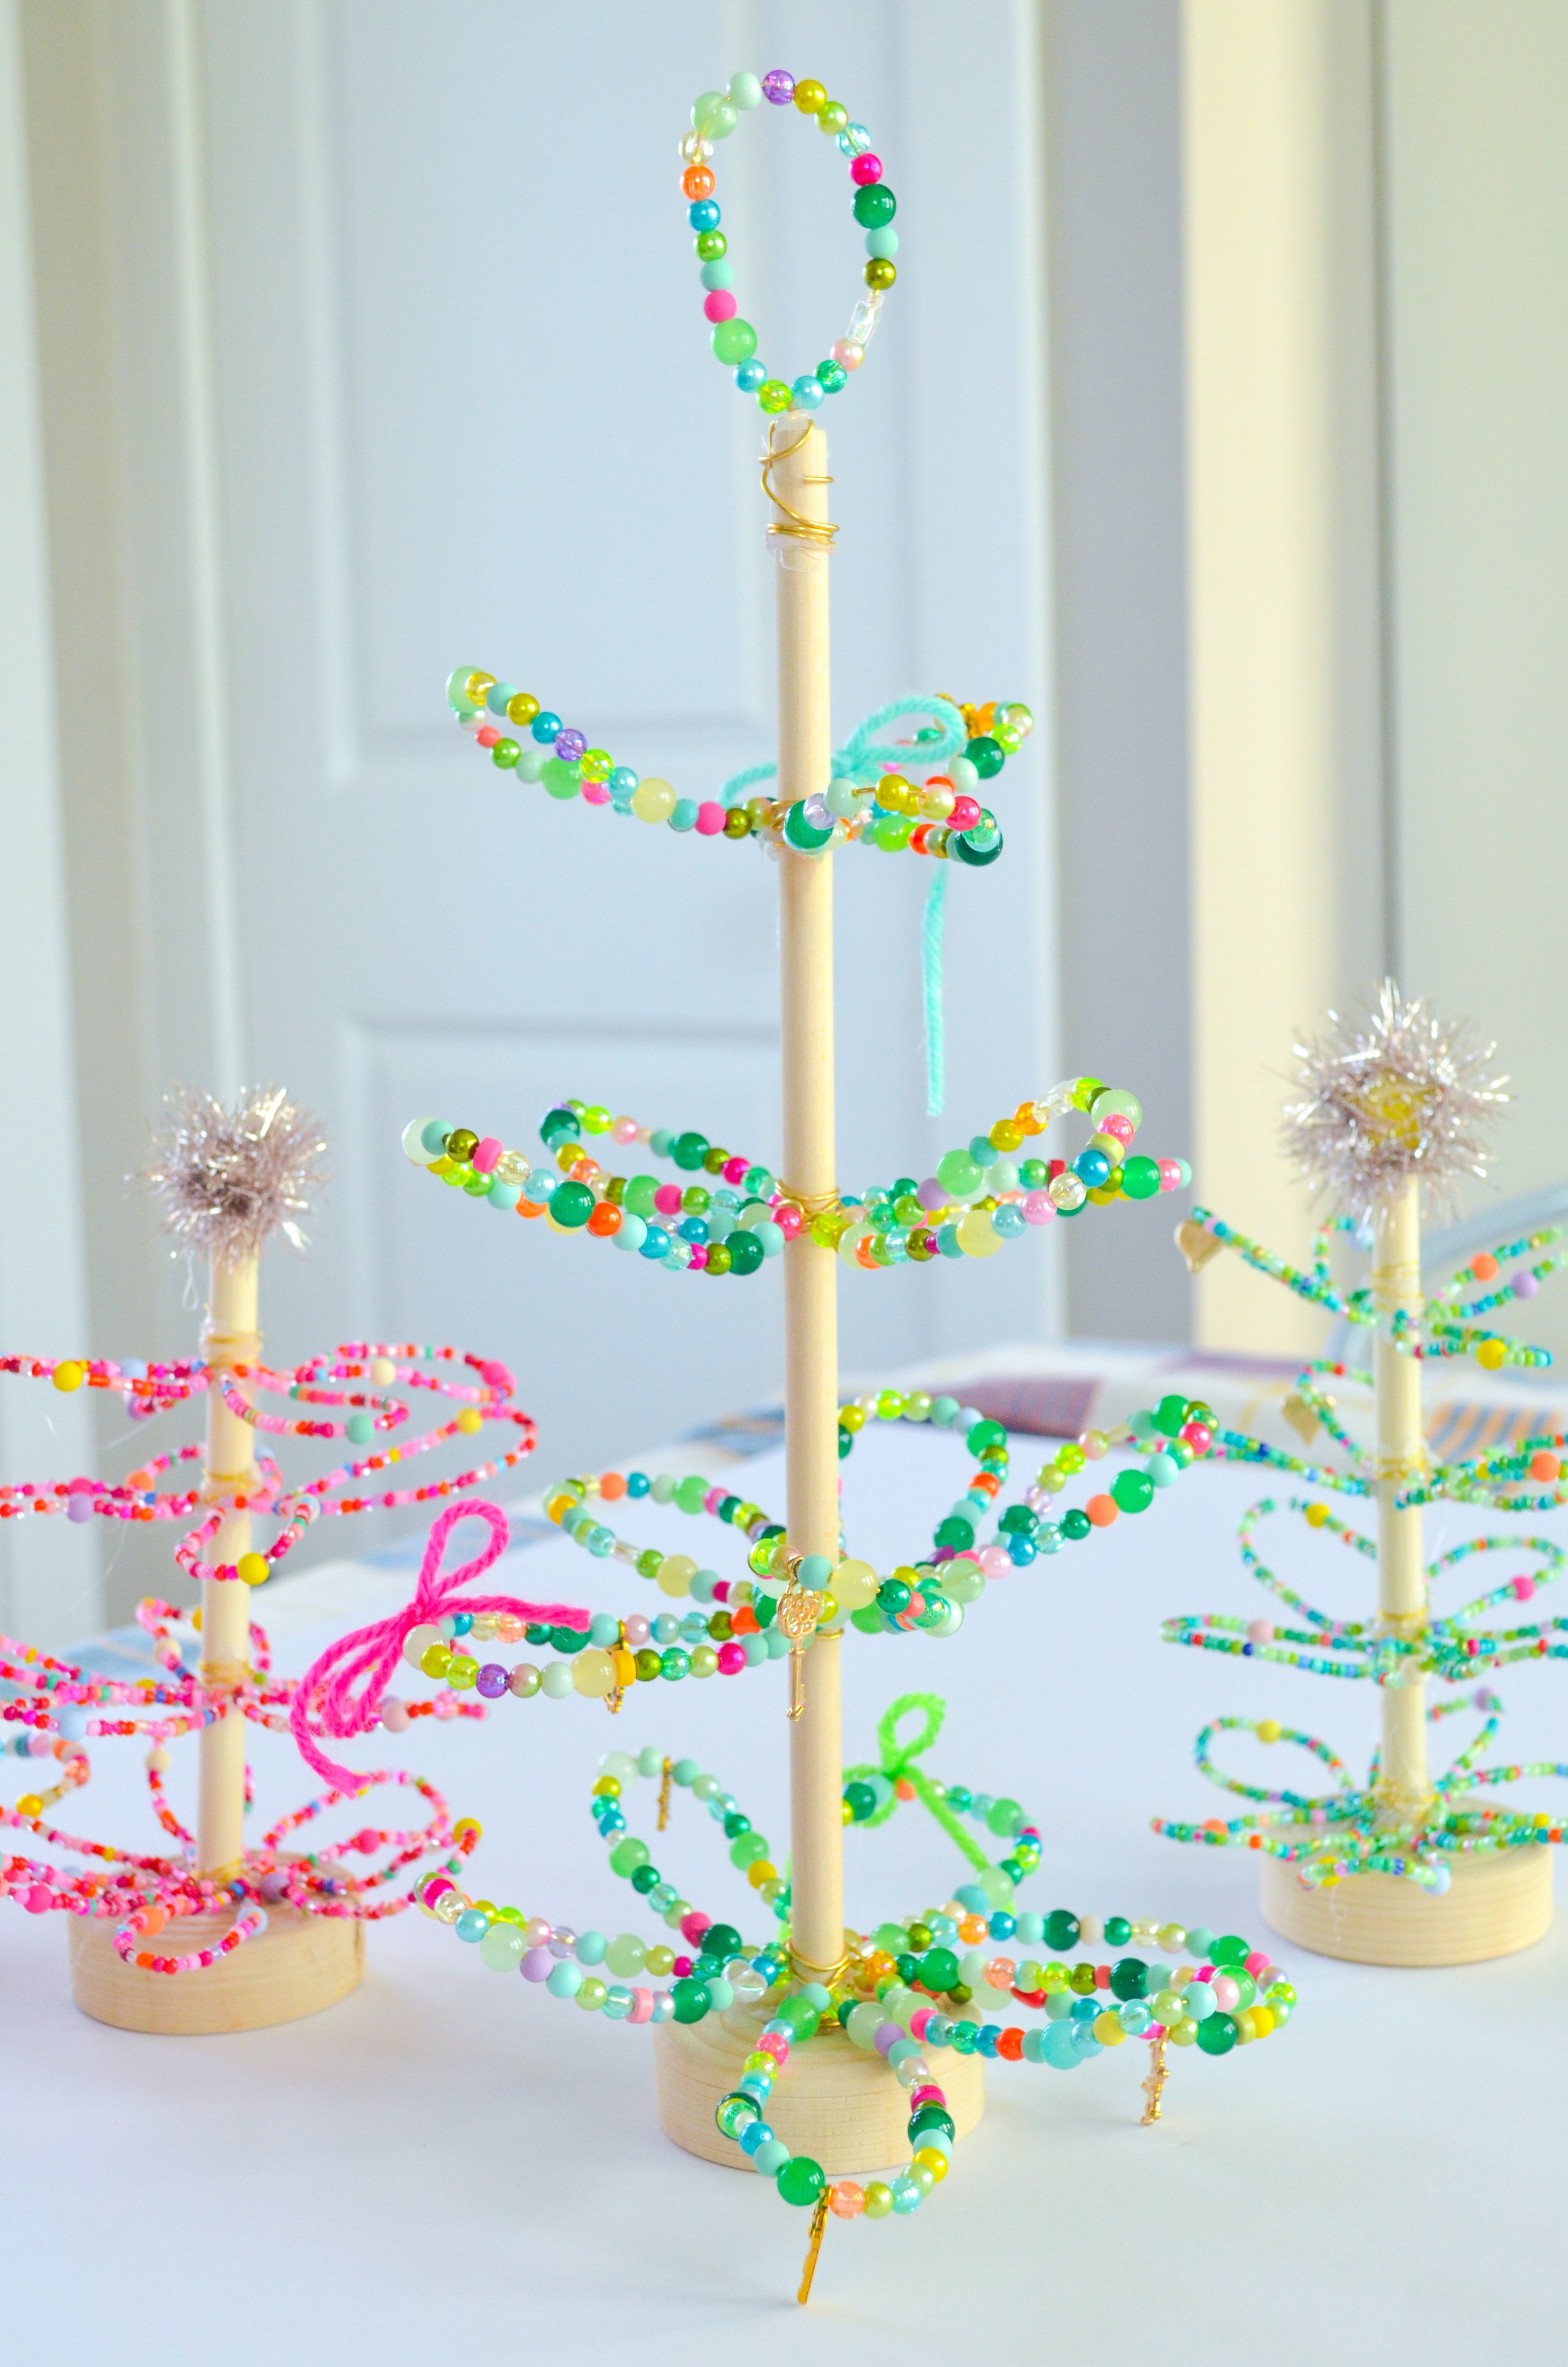
Beaded Christmas Trees
While doing some online shopping at Free People recently, a cute beaded tree caught my eye. The price was not actually terrible for Free People, but I loved the idea and knew that it was something I wanted to recreate. And not just duplicate, recreate in a few different ways! I’m sharing my first tree craft today: beaded Christmas trees. Keep your eyes open for two other versions of these trees using the same basic structure!
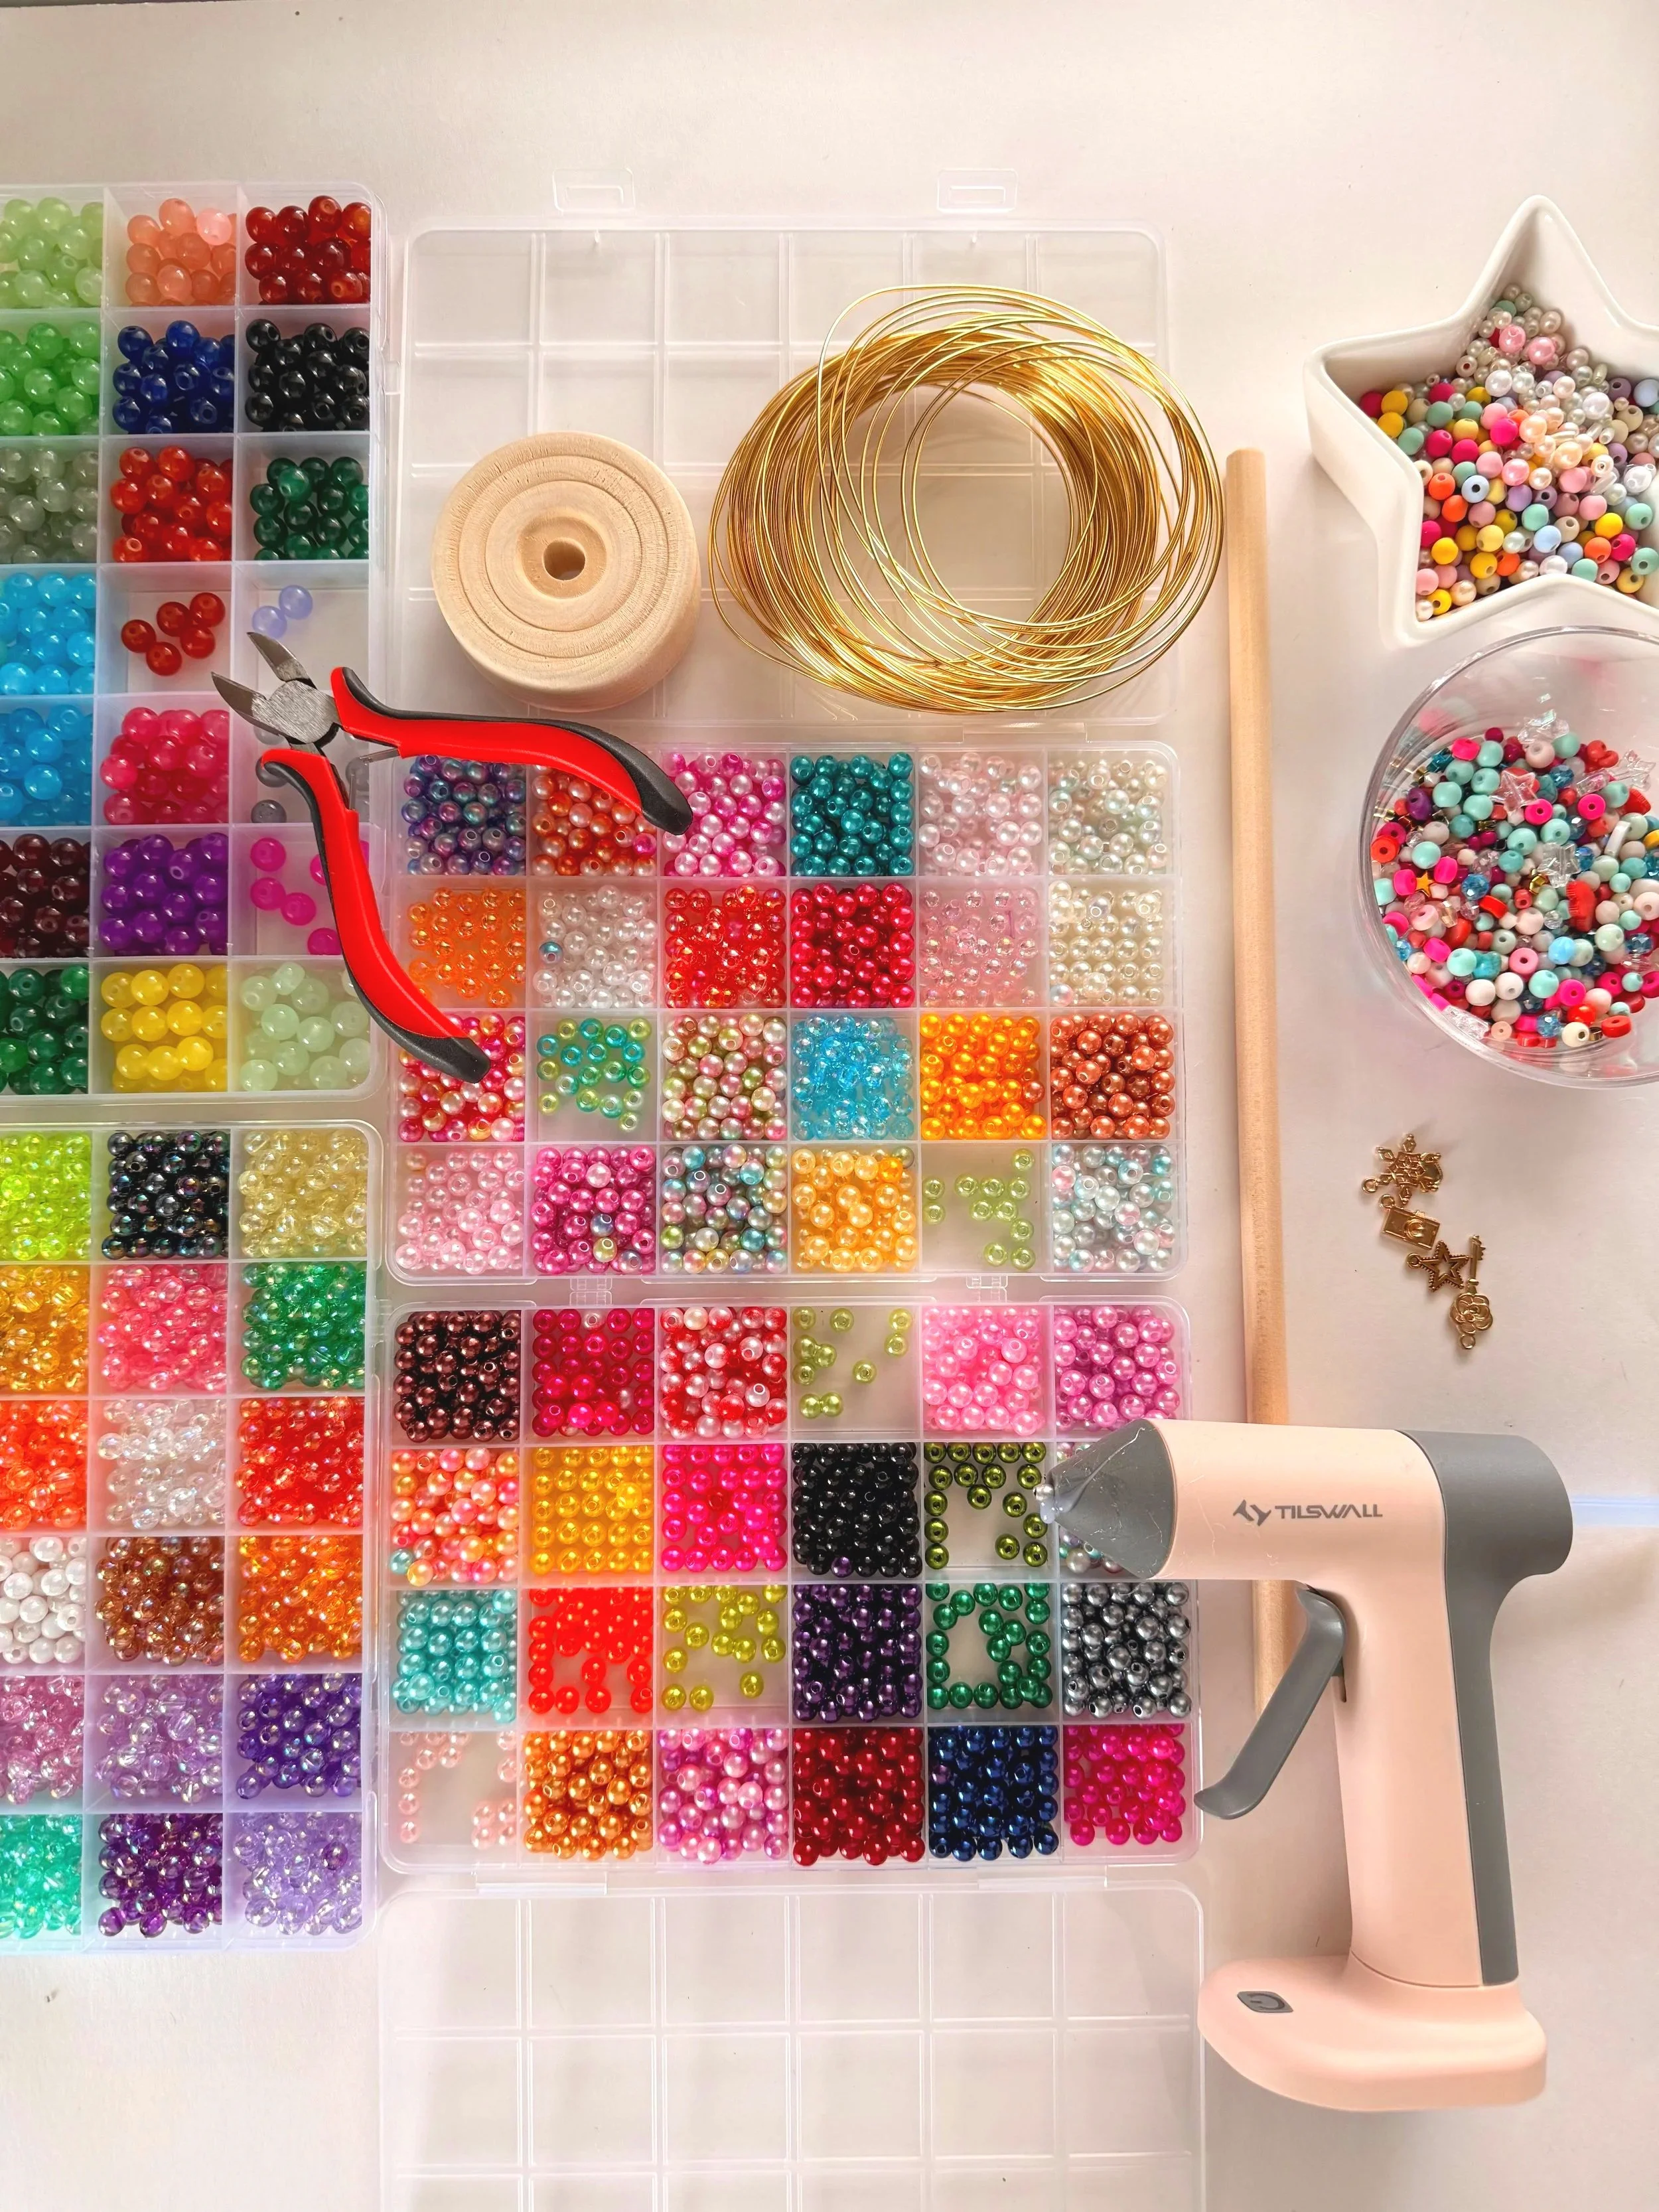
Materials
You can find my entire Amazon shopping list HERE!
Wood Dowels and Wood Bases - I am not handy with power tools, so I wanted to find wood bases that already had a hole in them. I was lucky enough to find some that worked perfectly with my dowels! I also ended up buying two sizes of dowels: some that are 12” and some that are 6”. I used 12” for this project.
Wire - You want to use a wire that is sturdy but flexible. It also has to be able to fit your beads. I used a 20 gauge wire that I found from Amazon.
Beads - I used primarily plastic beads for this project because I didn’t want my branches to be weighed down. I used a combination of these, these, and these and other beads that I had at home. I did occasionally add in a glass bead here and there, because I had them in my stash. I also added in some charms that I already had in my stash, but you can find cute charms, like this pack, from Amazon.
Hot Glue Gun and Glue sticks - I recently bought this cordless hot glue gun which is awesome for small projects like this. No cords to worry about!
Scissors or wire cutters, depending on how thick your wire is.
Yarn for making bows
How To
You can watch my video tutorial below to get the full details for these beaded trees. Here are a few pointers:
Add a bit of hot glue when starting new layers of wire on your tree. It will help keep the wire from sliding down the dowel. Also add a little hot glue to the base of each branch so that they will stick to the dowel and not move around.
Make sure your beads aren’t too heavy for the branches.
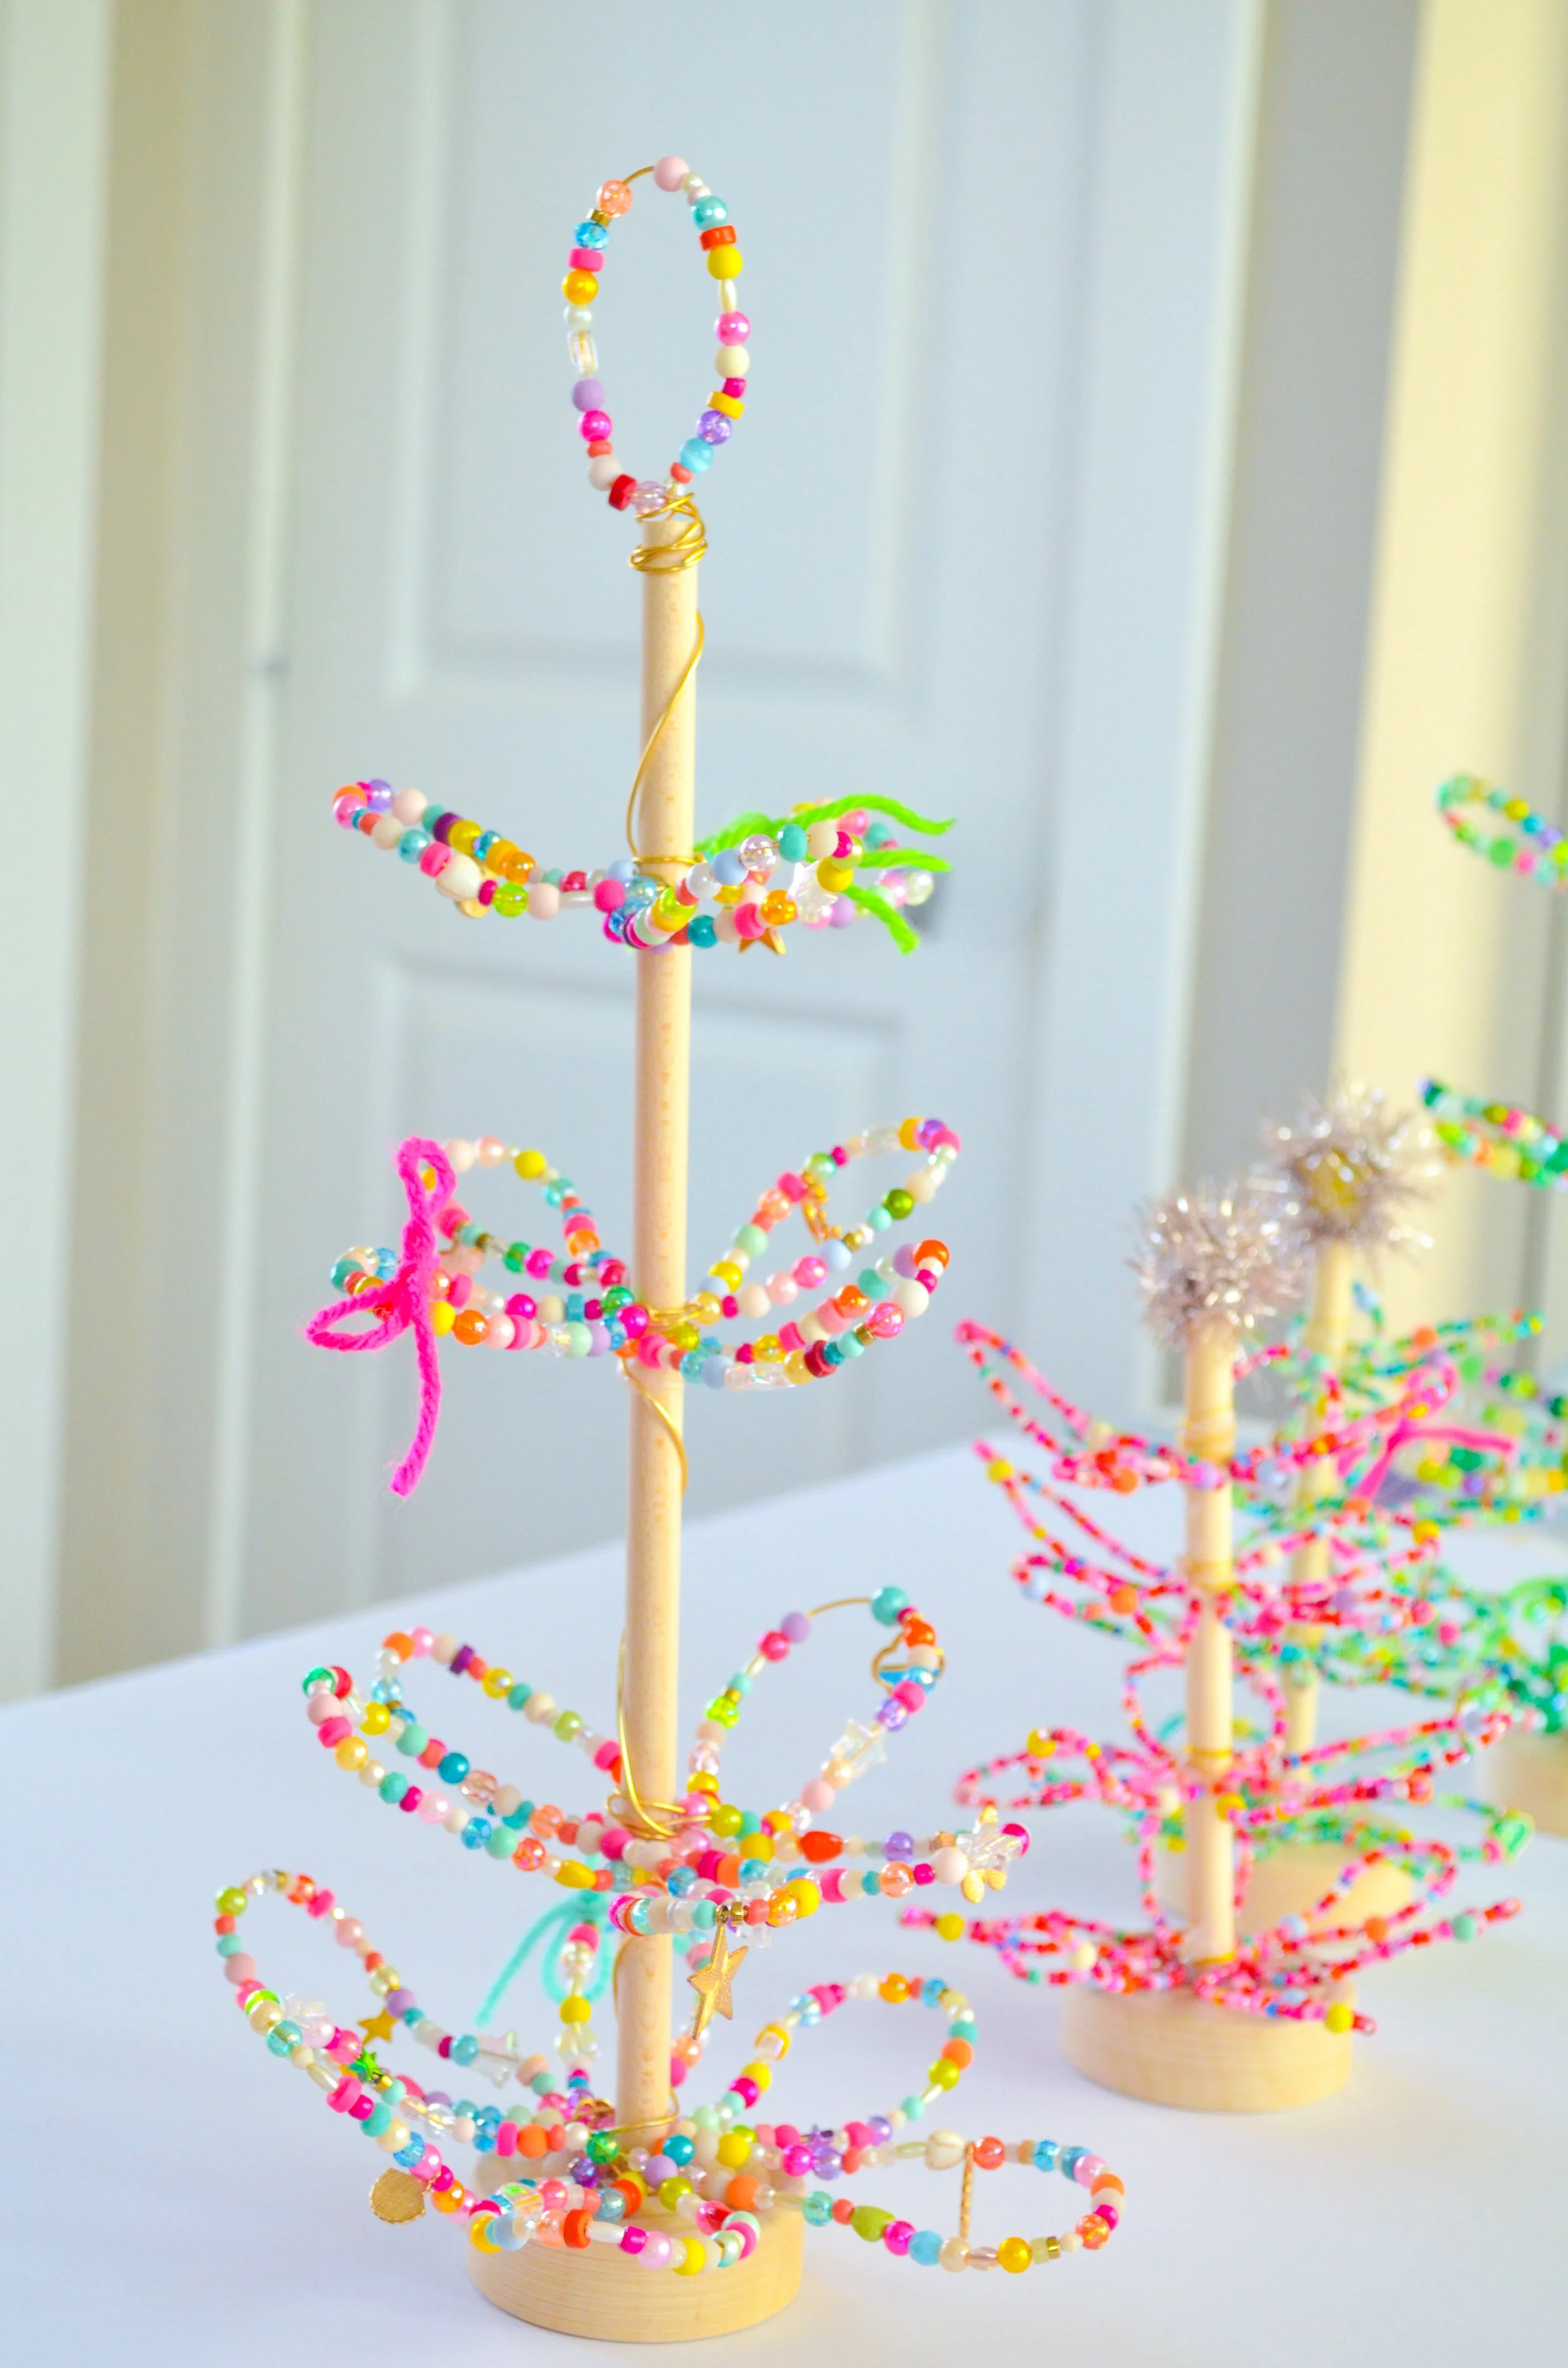
Twist each branch to secure the beads.
Add another beaded wire to the top, like I did, or add a star or bow.
You can paint your dowel beforehand if you would like, but I liked the look of the natural wood.
It’s easiest to cut a long piece of wire at the beginning of each layer of branches. If you have excess once all the beads are strung, cut the remaining wire. If you don’t have enough wire, finish one branch, then add another piece of wire like you did at the beginning by hot gluing it to the base of that layer.
I will have two more tree tutorials coming up using this same technique! Once you have this method down, you’ll be able to do the other two projects as well. Stay tuned for those!