Faux Embroidered/Stitched Sweatshirts

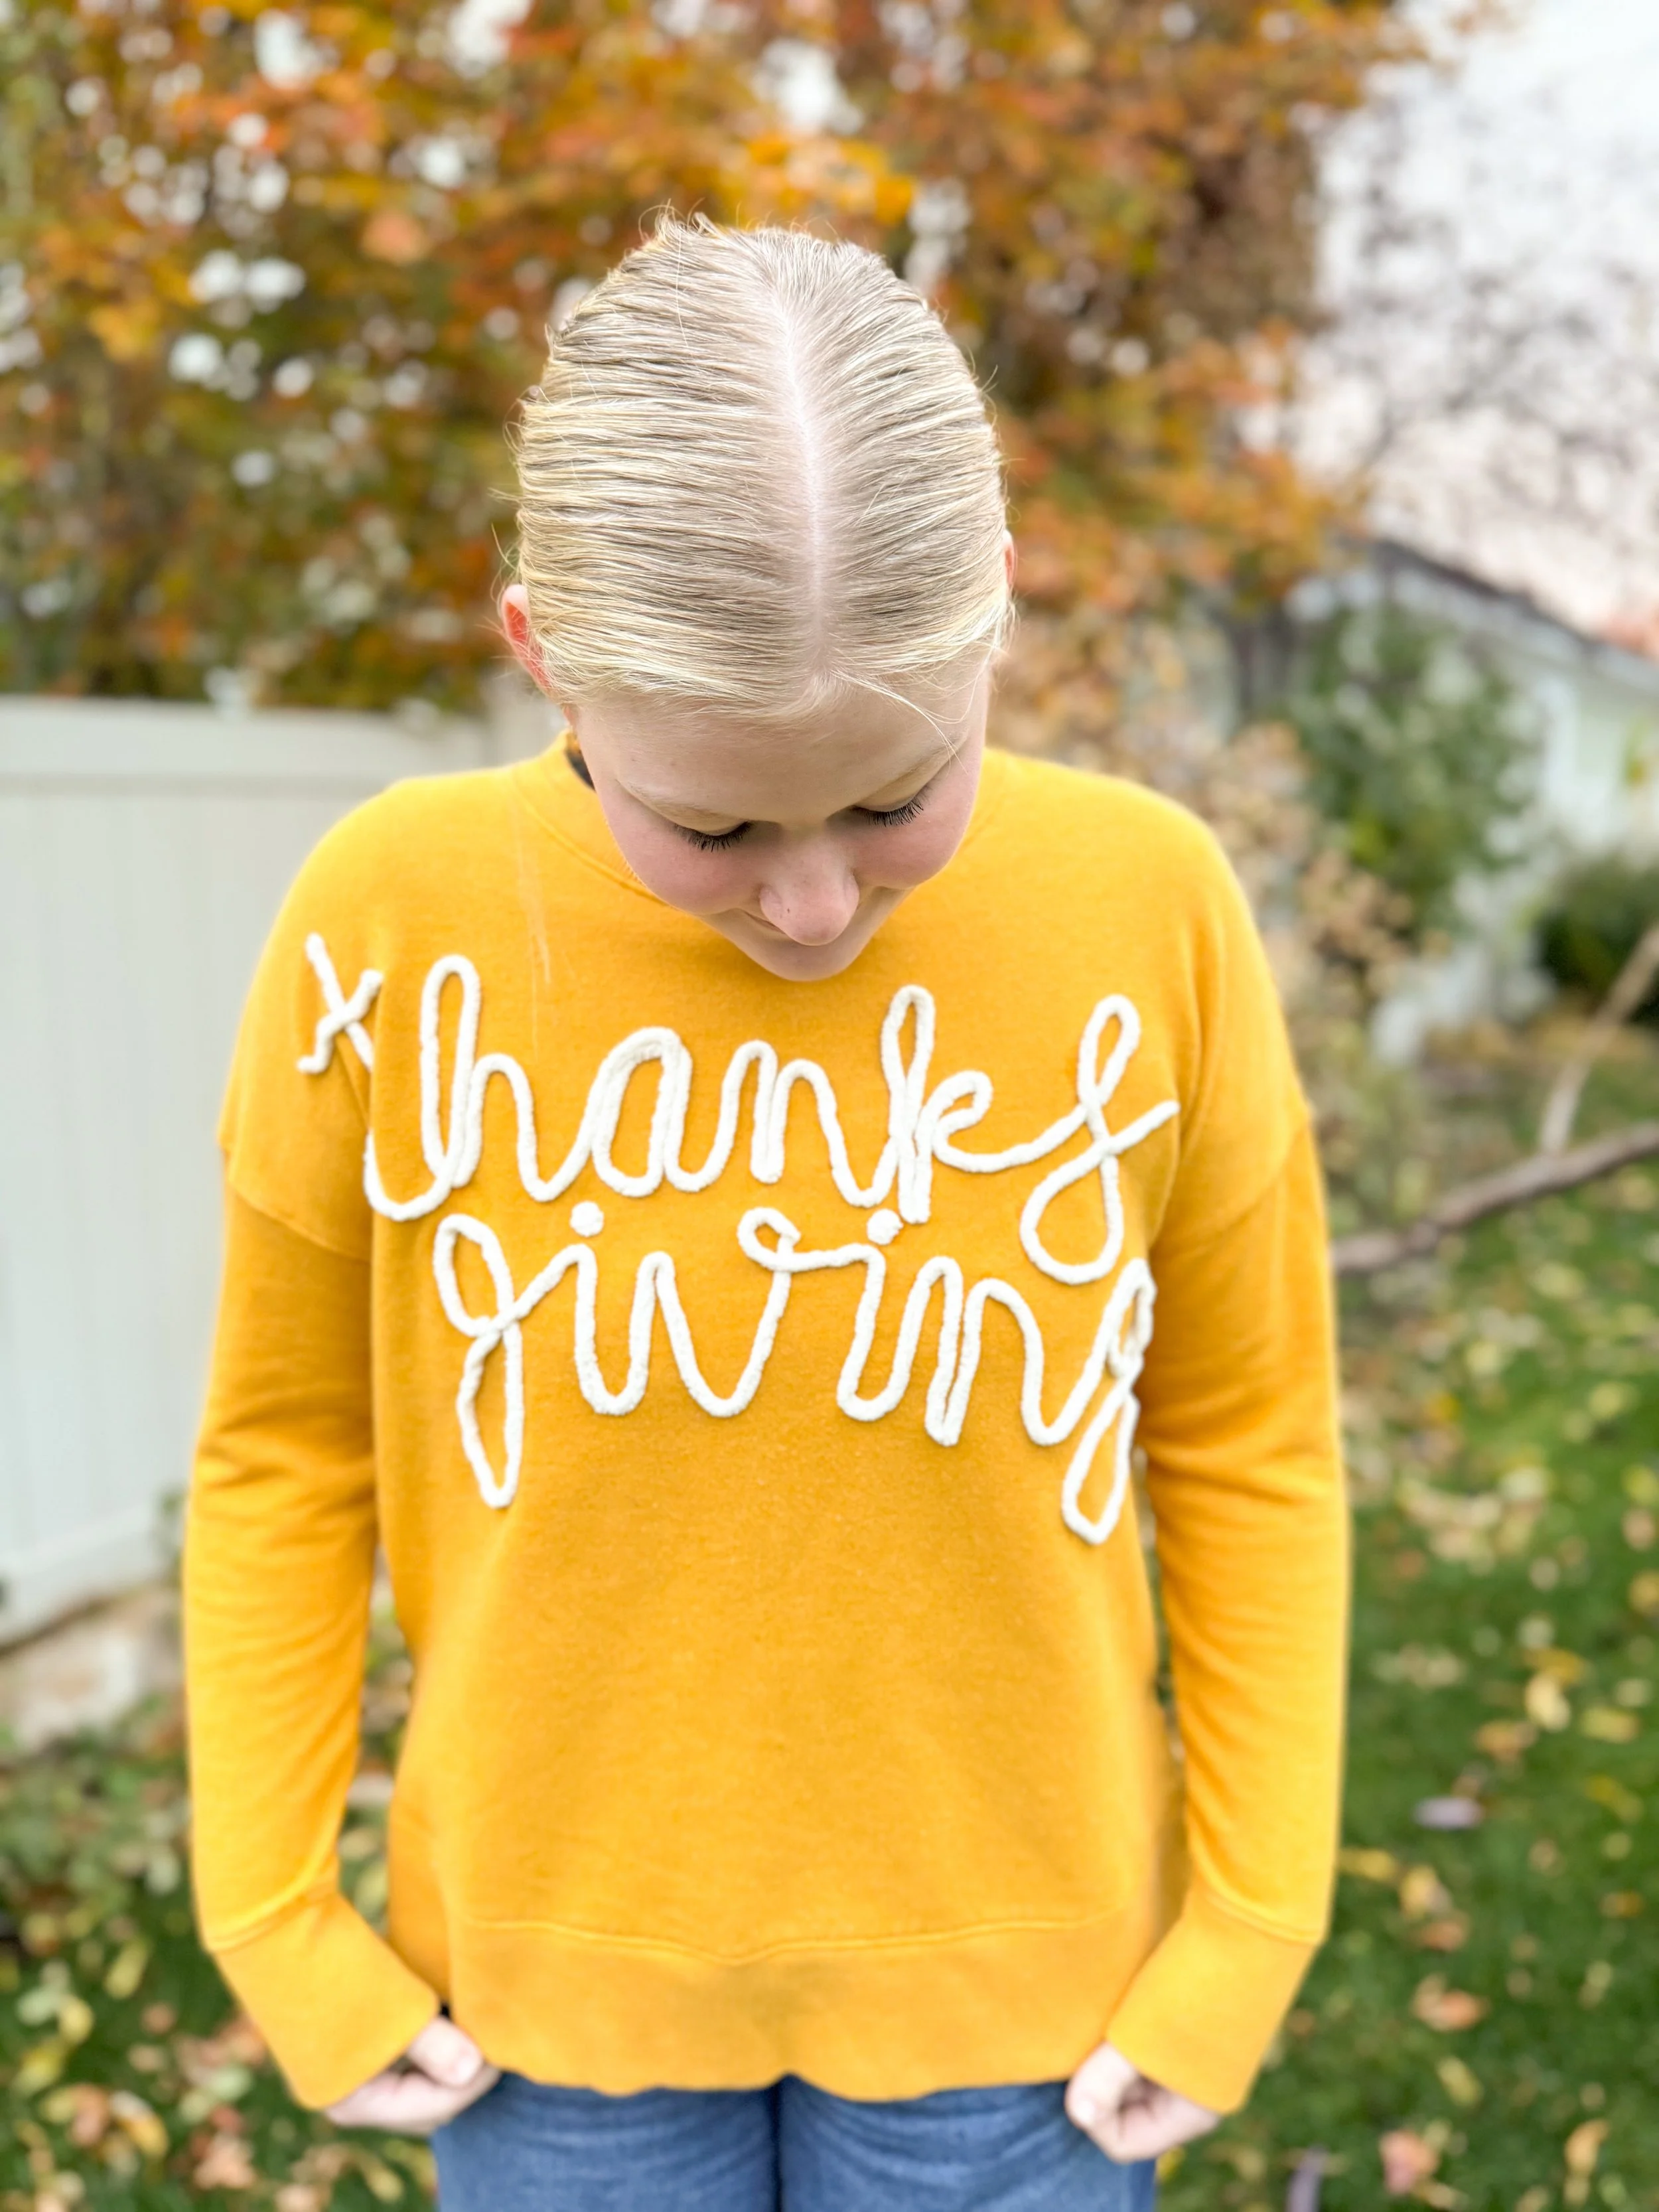
Cute, festive sweatshirts and sweaters are having a moment for the holidays! Everywhere I turn, I see whimsical holiday sweaters. I think we have the “ugly sweater” trend to thank for an increase of holiday sweaters. Luckily, they have evolved from the “ugly sweater” to cute sweaters! In the 80s, I remember my mom making me sweatshirts for the holidays using iron-on pictures and puff paint. I loved those sweatshirts! I couldn’t help but think about the festive shirts while making my own!
If you search for “embroidered sweater or sweatshirts” online, you’ll see a colorful collection of shirts with words stitched across them. While I love yarn and string and all things fiber, I am not a seamstress. I hardly ever use my sewing machine, and when I do, it is to stitch straight lines. I love crocheting as well, but I haven’t tackled a sweater project before. I was drawn to these cute sweatshirts online, but I wanted to find a different way to get that cute embroidered/stitched look…without having to actually stitch it! Bring on the fabric glue!

I knew that if I was going to attempt a festive sweatshirt, I wanted it to be durable and washable. I didn’t want to only be able to wear it one time only to have it fall apart in the wash. An experiment was in order! I bought three types of fabric glue from Amazon, and pulled out different types of yarn. I wanted to see what would hold up in the wash. I tried a variety of yarn from chenille, to thick multi-strand yarn, to normal acrylic, to a crochet chain that I stitched up. I glued them all to a sweatshirt that had seen better days, then turned it inside out and washed it in the wash. I decided to hang-dry the sweatshirt afterward, then waited to see the results!

The above photo shows how the different yarn and glue held up in the wash. As you can see, the yarn that was made of multi-strands didn’t fair very well. The ends frayed pretty much all across the board. The ones that did the best were the chenille yarn, the typical acrylic yarn, and the crocheted chain. The glue that worked the best and showed up the least was the Aleene’s Fabric Fusion glue. The other two either didn’t hold well or were very visible after it dried. I only ended up using the Fabric Fusion glue after this experiment.
Supplies
Sweatshirts. You can use an old sweatshirt that you have on hand, or you can buy a cheap one. Craft stores like Michael’s always carry inexpensive sweatshirts, as do places like Walmart and Amazon. I ended up buying mine online from Walmart and Amazon because they were delivered the quickest. Most were in the $10-$12 range.
Yarn. Like I said earlier, chenille yarn and typical acrylic yarn work best. You can do different thicknesses of the chenille yarn, but if it is too thick, you might run the risk of it being too thick to hold to the glue. I thought the thinner chenille seemed to work best. You can also crochet a chain made from typical yarn if you want a more crocheted or stitched look.
Aleene’s Fabric Fusion Glue. I bought mine from Amazon for about $6.
Water Soluble Marking Pen. You may or may not use this depending on which method you use for tracing your letters, but it found that I liked it for some of my designs. It costs less than $3 so it isn’t a huge investment, and it does work well. I love that it comes out super easily with water.
Cardstock with word printed on it. If you don’t trust your freehand skills on this sweatshirt (hi, me!), then you can print your word on cardstock. Print it as large as you would like it to be on the shirt.
How To
Begin by washing your sweatshirt. Sometimes the colors will run in the wash, and you don’t want to turn your white yarn red or something like that. Also, you don’t want your shirt to shrink but the yarn to stay the same. I didn’t have that happen, but I can’t imagine it’s a great look.
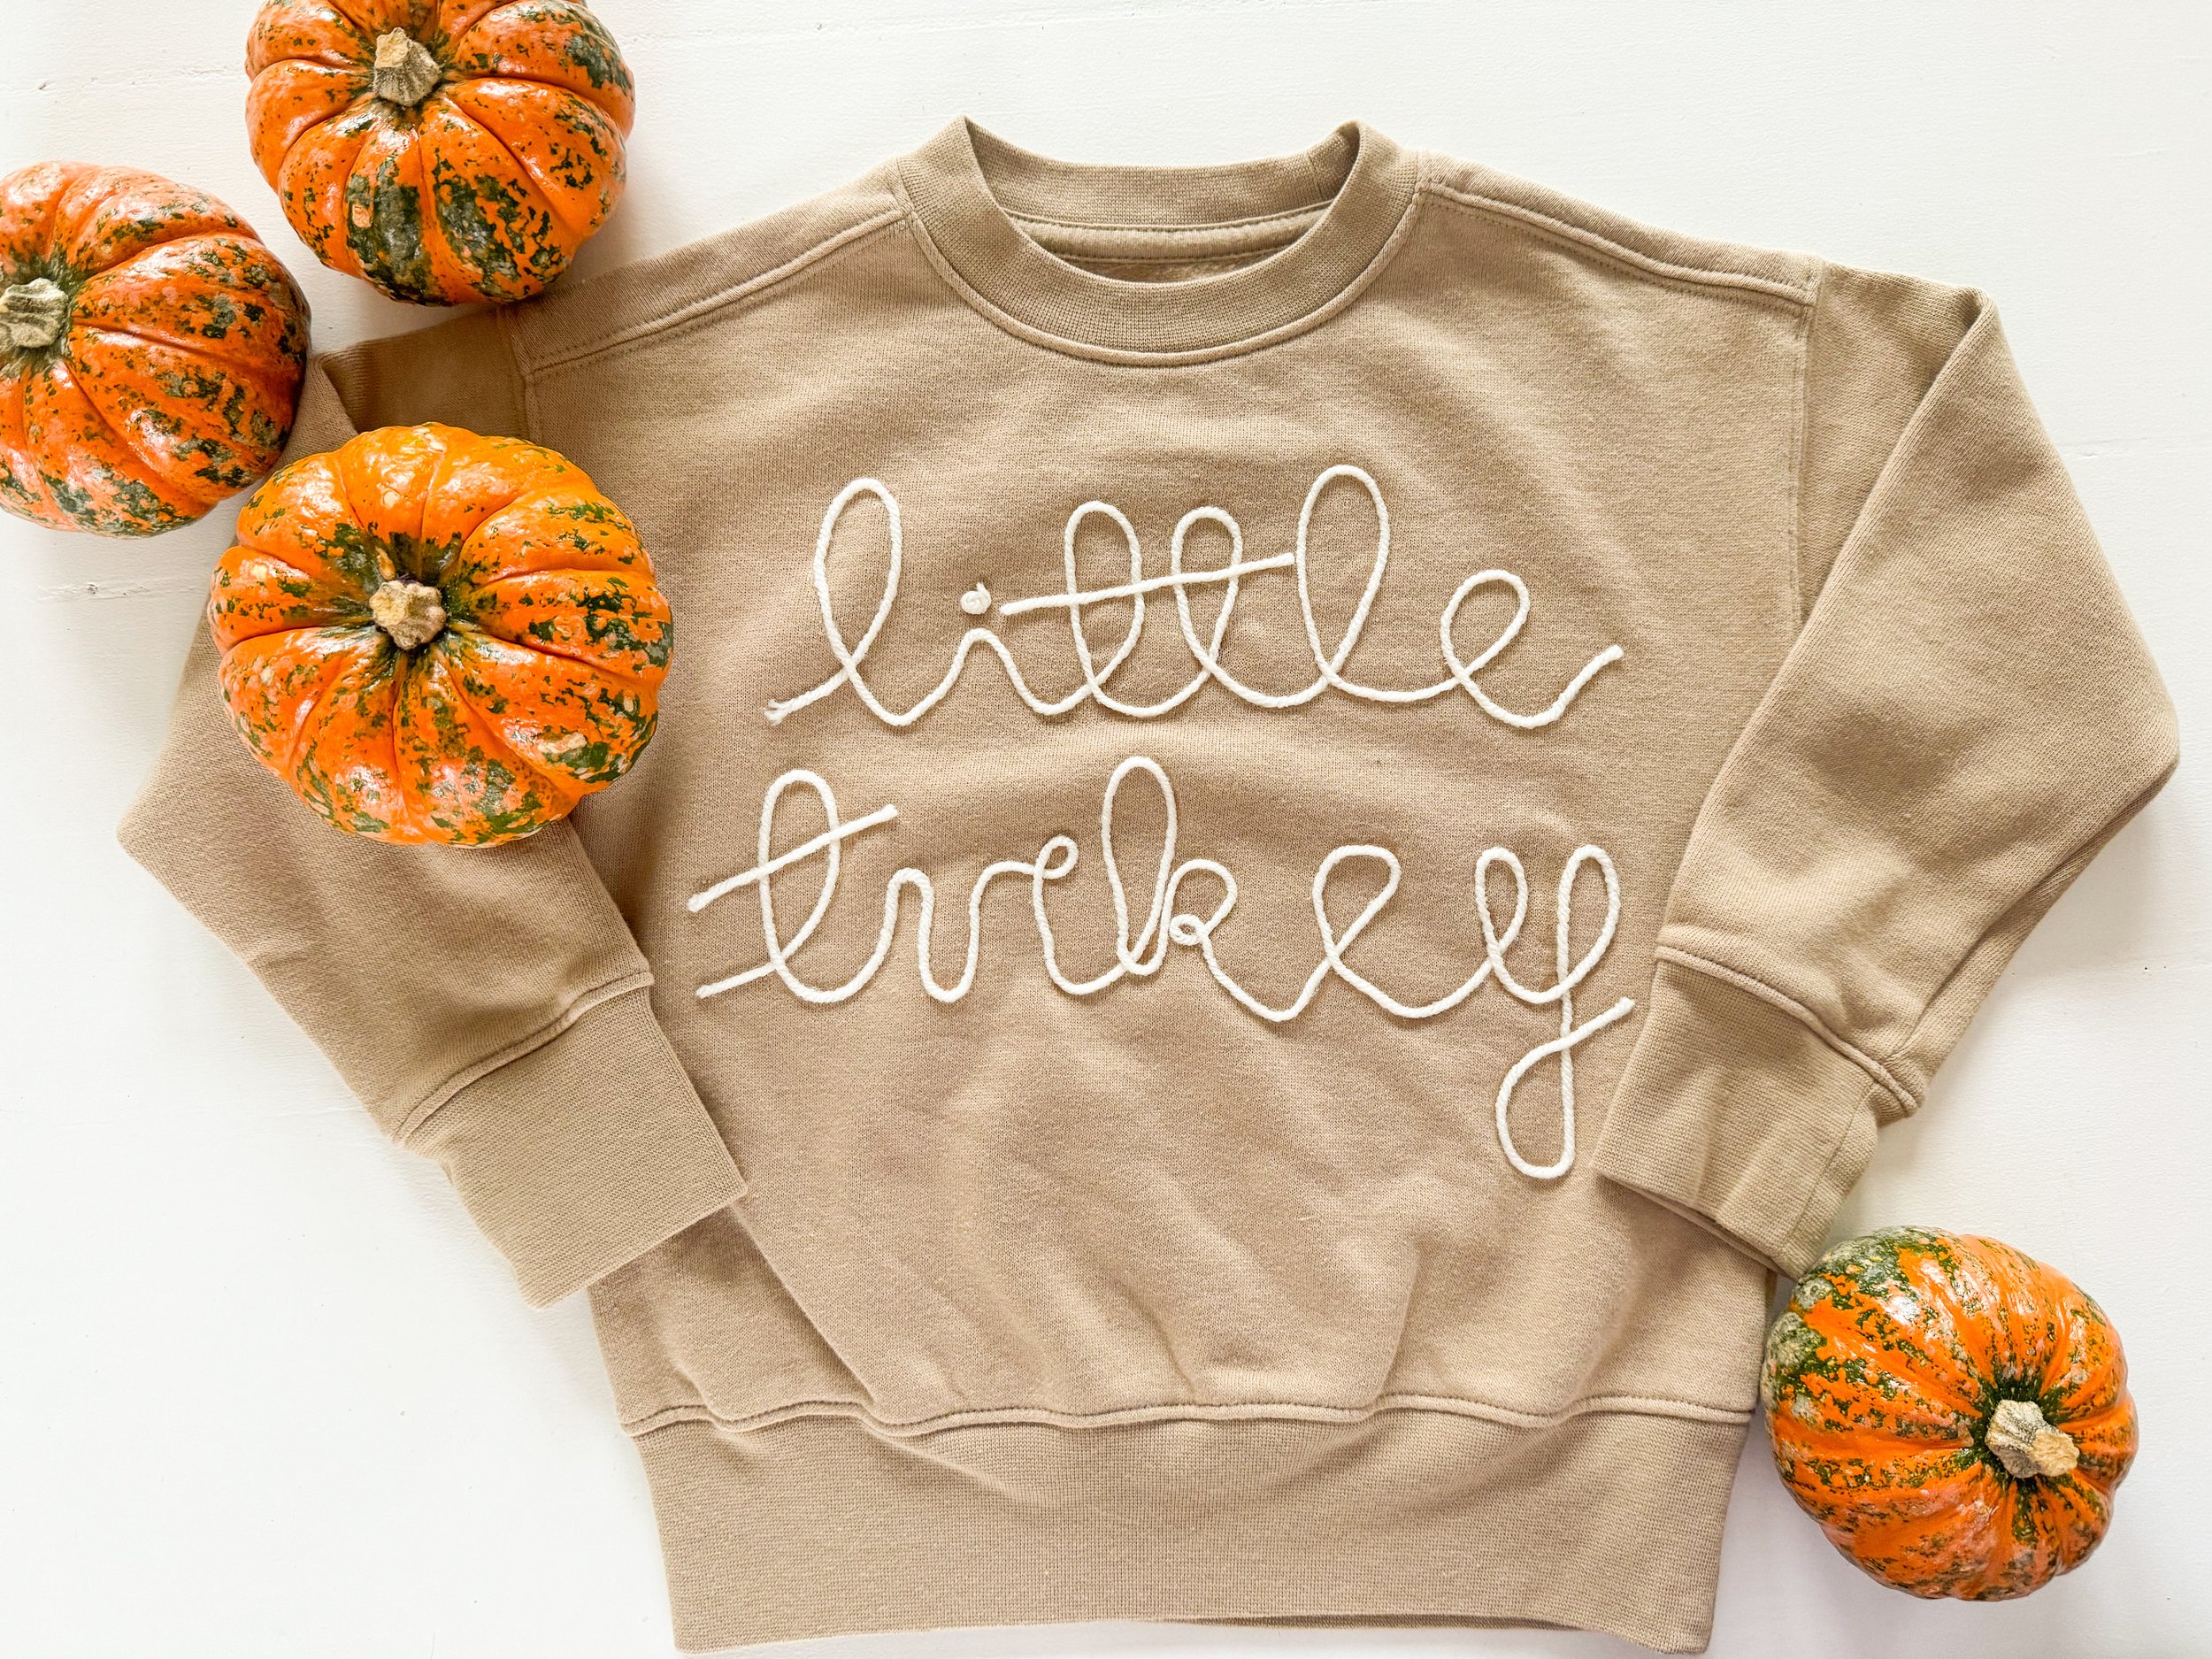
Decide what words and lettering you want to use. Shorter words/phrases are easier. If you have a phrase with a lot of detail, you’ll want to opt for a thinner yarn (like my “little turkey” shirt above), as a thicker one will take up more space.
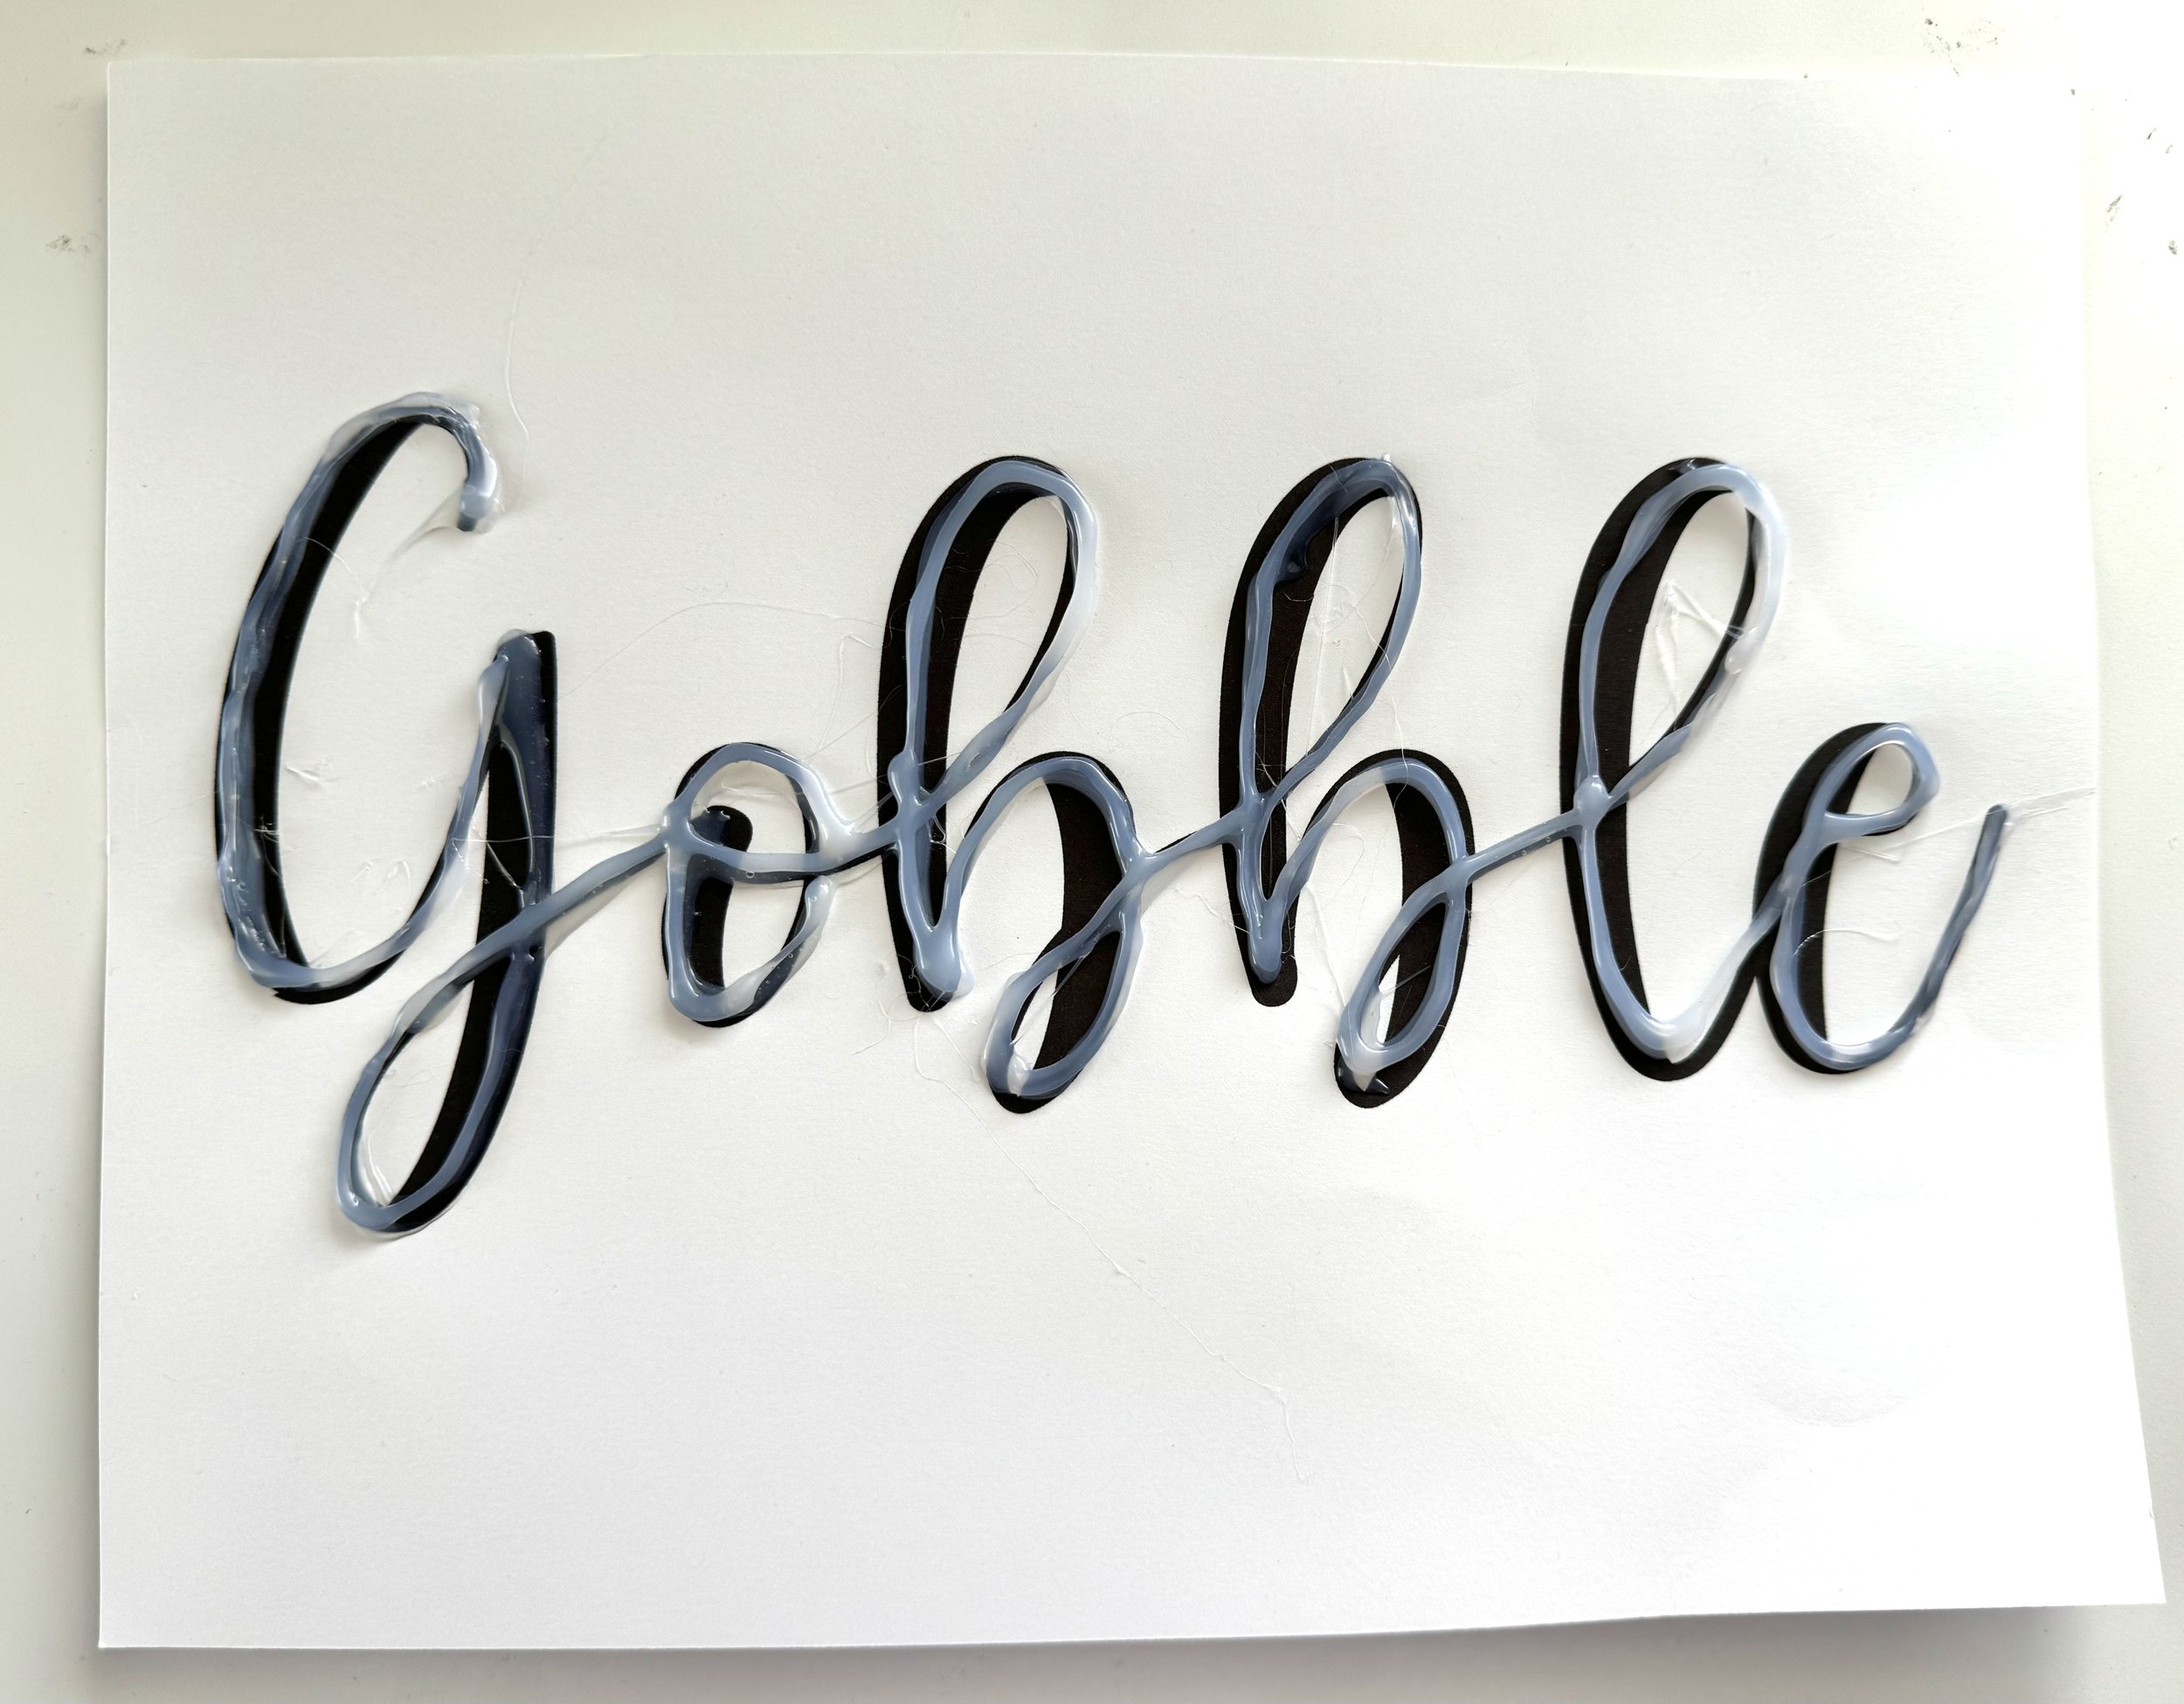
Choose how you want to design your sweatshirt. There are a few options for getting your lettering onto your sweatshirt. You can free-hand your design by laying your yarn out directly on the sweatshirt. The thing that is tricky about this is that it is hard to get the spacing and sizing really accurate. Plus your yarn will want to move as you are trying to glue it down. These are supposed to have an air of whimsy and aren’t supposed to be perfect, but you don’t want your letters all different sizes either. Another option is to use the water soluble pen to free-hand a design. Another option (and this one is kind of amazing! Thanks to my friend Laura for thinking this one up!) is to print your word onto cardstock, then using hot glue, trace directly onto the word. I ended up doing two layers of glue to raise it up even more. Then once the glue has set, you can put it under your shirt and feel the glue from above. Depending on the color and fabric of your sweatshirt, if you rub the shirt where the glue marks are underneath, you can even see an outline of the design! It’s really cool!

Once you have decided how to letter your shirt, you can start to glue your yarn. It is easiest to do like a letter at a time, so that your glue doesn’t dry. Pull your yarn taut as you go so that it makes the cleanest lines. Make sure to use enough glue so that it can hold the yarn. If you use too much glue or make an error, scrape the excess off, or use a wet towel or Q-tip to remove it. Depending on the color of your shirt, extra glue may show up when it dries. Lighter colors show less. Darker colors show more. When the glue is still wet, you can wipe it off with a wet towel or Q-Tip to get as much off as possible.
Make sure to glue the parts where the yarn overlaps as well.
If you are using a yarn other than chenille, you will also want to make sure your ends are securely glued to the shirt to help prevent unraveling.
When you are finished with your design, allow to air dry for about two hours. Then cover with something heavy to make sure the yarn is really stuck in the glue. Keep covered overnight, then check to make sure all the glue is dry the next day.

These sweatshirts could be a perfect girls night activity or a great activity to do at Thanksgiving dinner with the whole family. You’ll find yourself thinking of all the cute words and phrases that you want to put on a shirt! The non-seamstress in me loves how easy and playful these sweatshirts turn out!