Kids Craft Camp 2019 - Week 1: Painted Rock Houses and Clay Trees

It’s summertime! And that means that the kids are home EVERY DAY. Even though we try to do day camps here and there, there are still a lot of summer days when we are home and my kids are saying the dreaded words: I’m bored. My kids love crafting, and often in their bored moments, they want to do big, elaborate crafts that require my help. To keep my sanity and to keep my kids happy, I decided to do a kids Craft Camp once a week for my kids. They know that once a week we will do some crafty project together. They can always do other crafts on their own during the week, but those are kid-directed. The craft camp craft is mom-directed. They look forward to that day each week (it changes from week to week based on out schedule), and I can think about it ahead of time and have the craft supplies ready to go. We started these craft camps last summer, so scroll back through my website to see our crafts from last year! This has become one of our favorite summer traditions, and it is some fun, creative, togetherness time!
For our first craft of the summer, we made painted rock houses with clay trees. This is a really inexpensive craft, since most of the materials can be found in your own yard! We have TONS of rocks in our yard. Like tons. If you dig a hole in the ground outside, you hit rocks almost immediately. We have planted quite a few perennials this spring, so we have rocks a plenty. I thought this would be a fun craft to kick off craft camp this year, and a good way to re-purpose some of those thousands of rocks!

Supplies for Painted Rock Houses
Rocks. Gather these from your yard, beach, hike, etc. Look for ones that can have a flat side that can be the base of your house, and ones that have a “roof-like” top.
Paints. I have a bunch of paints at home, but you can buy these fairly cheaply from any craft store.
Paint brushes. Thinner ones work really well for the details, and thicker ones are great for painting the house itself. (This set from Amazon is great and has a bunch of different sizes.)
Tiny jewelry boxes. These are optional, but they are fun if you want to make a mini diorama with your tiny houses and trees. (I found these mini boxes from Amazon that were perfect.)

How To:
Begin by washing and drying your rocks. Dirt can keep the paint from sticking, so make sure these are clean rocks.
Paint the roof on each rock house. You can just freehand a straight line for the edge of your roof.
Paint the house itself. If you want a very straight line between your roof and house, you can use tape to make sure the line will be straight. I like the not-so-perfect look, and my kids definitely didn’t have patience for tape, so we just decided to paint with as straight a line by hand as we could.


4. Now paint the house itself.
5. Once it’s dry, you can add windows or doors using a fine paintbrush.
Now that you have your little village, you can create some greenery (or pinkery, or bluery!) to go along with it!
Supplies for Tiny Clay Trees
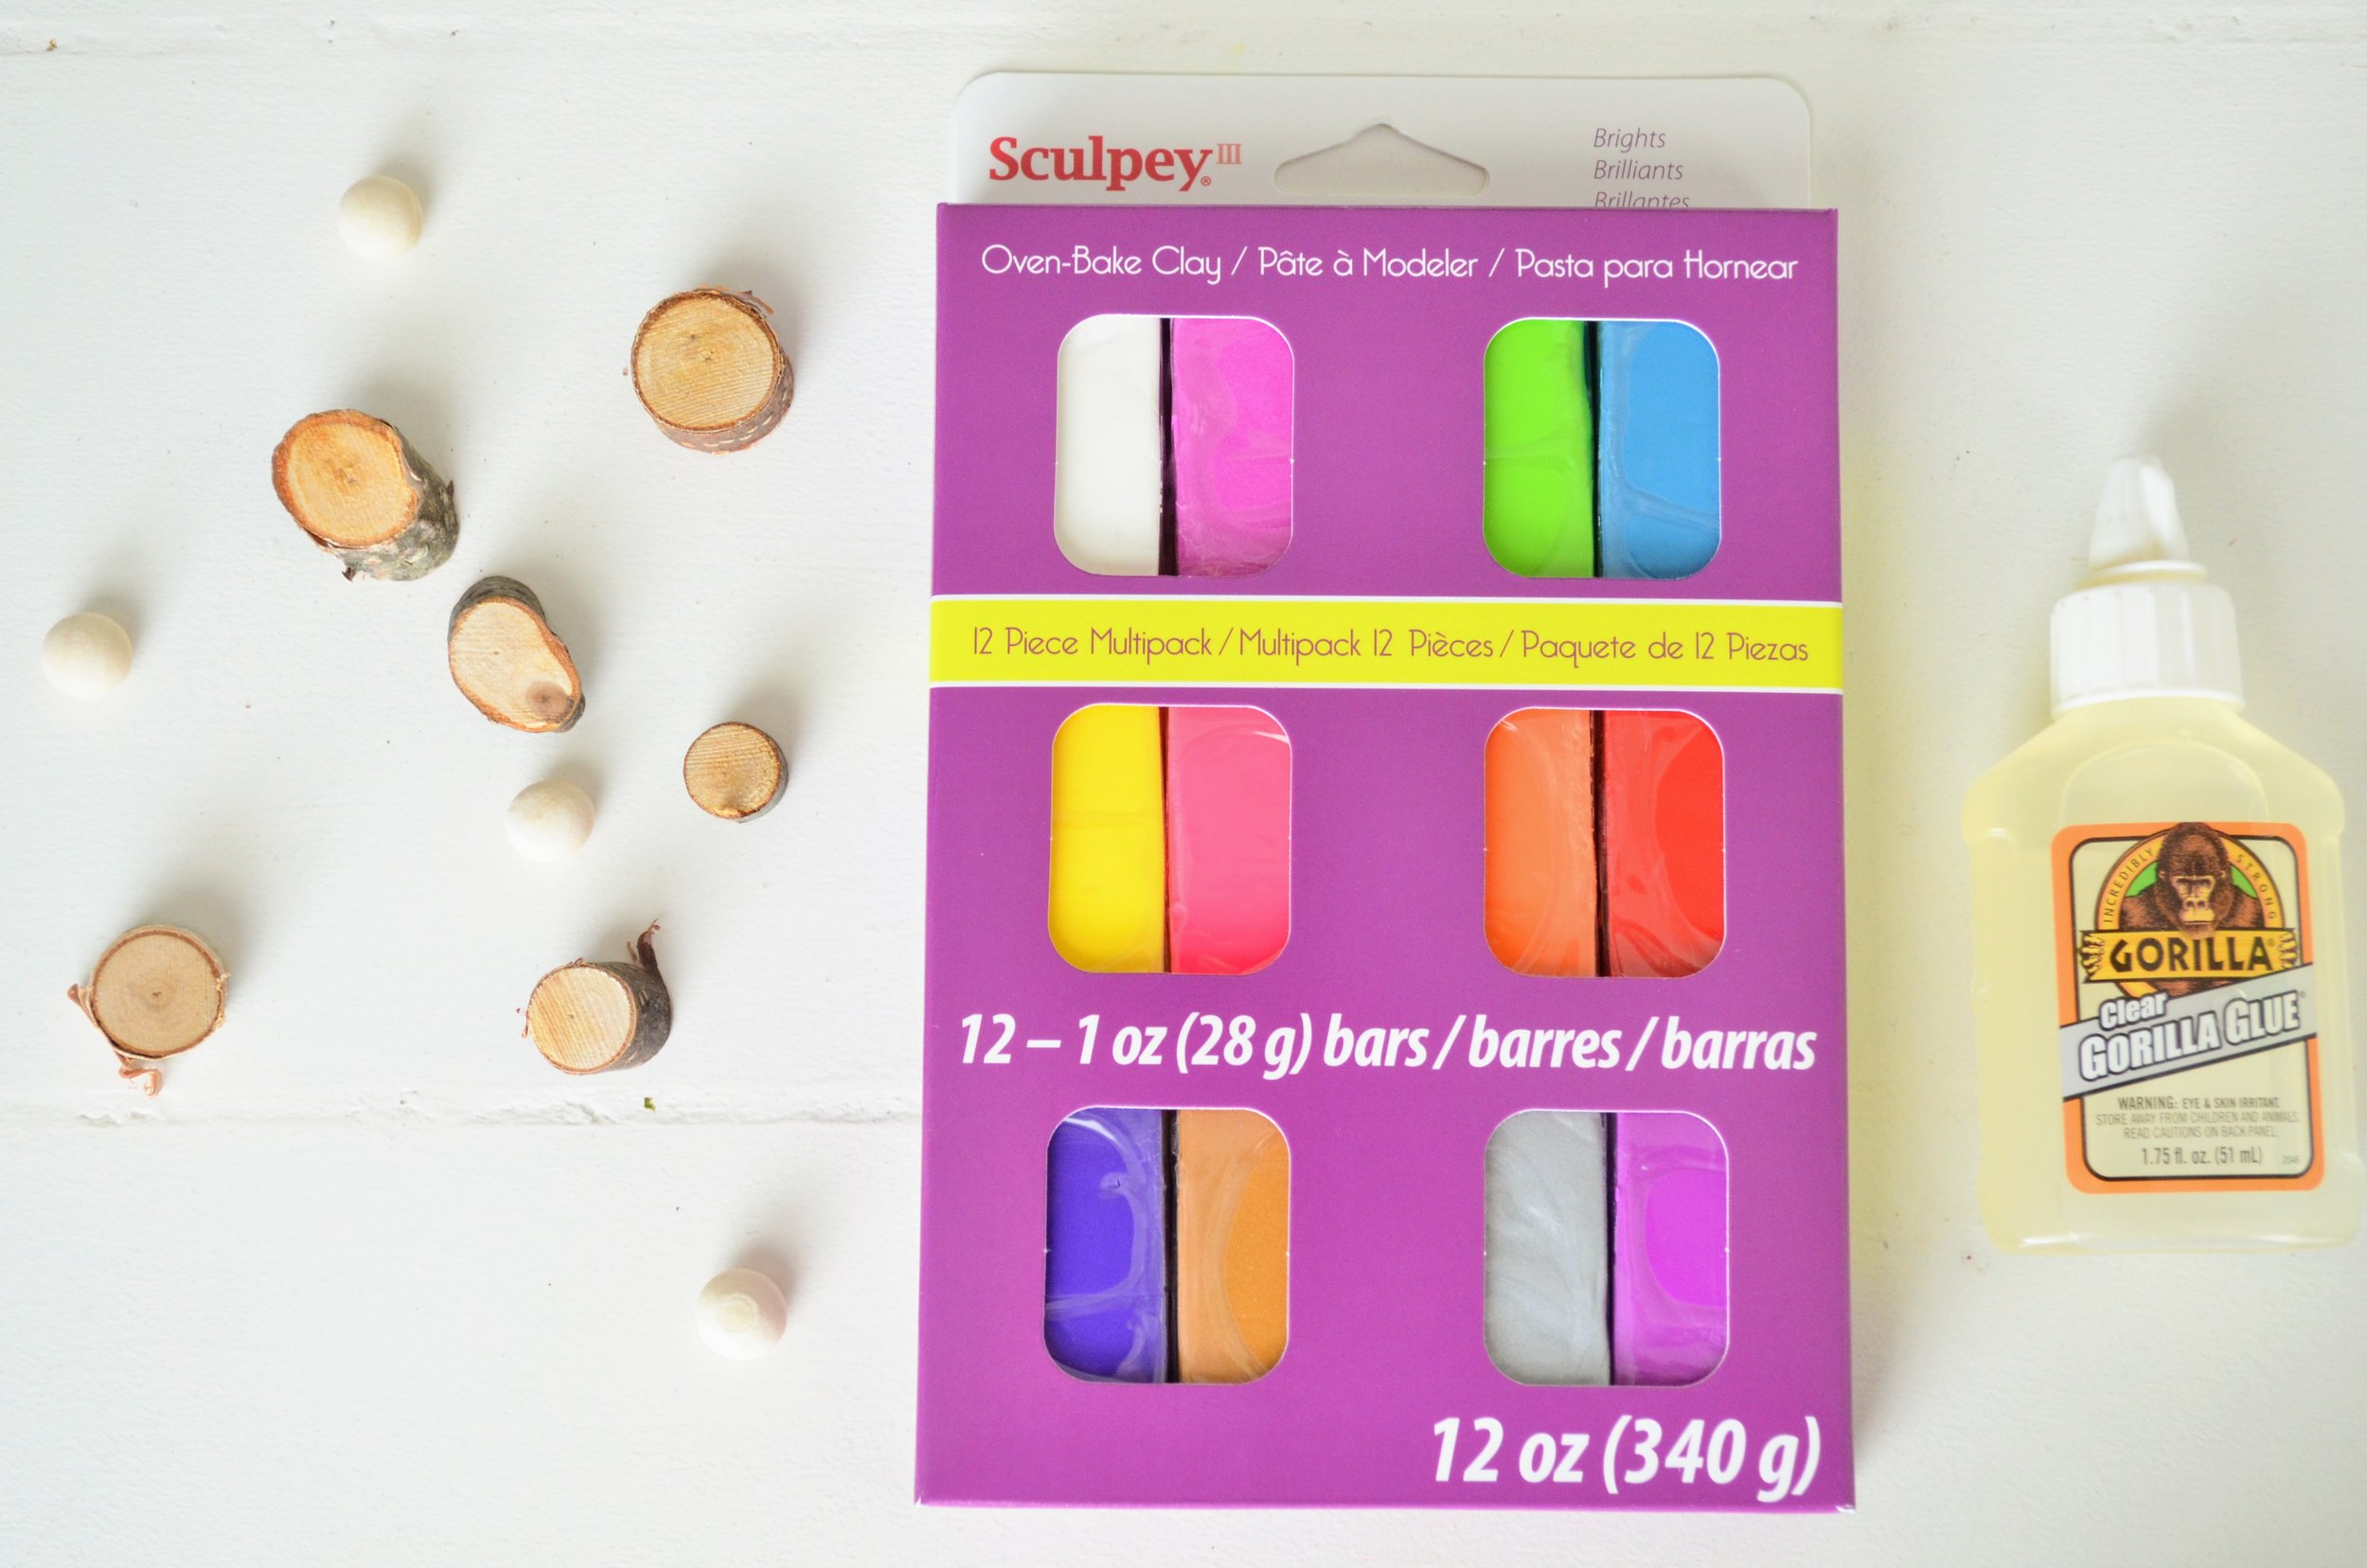
Oven-Bake Clay. I love to get the multipack of Sculpey clay (like this one from Amazon) because it give us lots of color options. Since you only need a little bit of clay, you can use the rest of the clay for another project! (You can even make these snowglobes that we made for Craft Camp last year!)
Small wood pieces. You could cut up a branch from your yard, or buy these tiny, pre-cut slices from the craft store. I also found some tiny, round wood pieces that are rounded on one side and flat on the other. These were both in the wood section of the craft stores.
Gorilla Glue. I love this glue because it dries clear and lightweight. (You can find it here on Amazon.) Hot glue can also work.

How To:
Work the clay with your hands to get it soft and easier to work with. Mold your clay into a tree shape. Make sure that your tree can fit on the wood “stumps.” For the ones that I wanted to glue onto the rounded wood pieces, I had to poke the round end into the bottom of the trees to make sure that it would stand up straight. For the other stumps, I just made sure that the bottoms were flat.
Bake the clay according to the directions on the package.
Allow the clay to cool, then glue the stumps onto the trees. If using Gorilla Glue, make sure you follow the directions on the glue bottle. You need to wet one side of the two pieces you are gluing for it to work properly. Even though it is clear, if you get too much extra glue on your pieces, you will see it once it dries. It leaves a sort of “foamy” looking dried residue. Just make sure to only apply a little glue.
Allow the glue to dry.


These tiny little villages can now be made into tiny dioramas using the tiny jewelry boxes. Just hot glue your house and tree into a box. Make sure you pick itty-bitty houses and rocks!


Or you can put these little houses in a fairy garden in your yard. We let our girls plant fairy gardens this year in old pots, and they loved putting these rock houses in with their flowers.

And if you don’t want to make a diorama or plant a fairy garden, you can always just put these on a shelf or a mantle! The possibilities are endless! Enjoy your rock houses!