How to: Fiber Rainbows

Other than my family and cookies, yarn and rainbows may be two of my next favorite things. As I’ve been perusing Insta lately, fiber art rainbows have been catching my eye. I’ve seen some as wall hangings and some worked into weavings. I am always in awe at these beautiful creations, and I decided that it would be fun to try my hand at them! I mean, yarn and rainbows! How could I not?!

These rainbows don’t require a lot of supplies, and the cost for this project can run anywhere from $5-$30 depending on how big you want your rainbow to be. I would recommend starting smaller so that you can practice, then when you have had a little more experience, you can buy the more expensive supplies to make bigger rainbows. There are luckily lots of inexpensive ways to make these so that you can make a bunch and perfect your rainbows!

Supplies
Cotton rope - I like the cotton variety because it is softer and easier to cut through. Regular roper would work to. You can find some smaller varieties at the craft stores, but I found the thicker cotton rope from Amazon. I bought a 1” wide rope from Amazon HERE. I also bought the 1/2” pink rope from Amazon HERE (this link also has a bunch of different colors of rope).
Roving Yarn - if you prefer the look of roving for your rainbows, you can use this in place of rope. I bought mine from Michaels.
Yarn in various colors.
Scissors.
Scotch Tape.
Yarn needle. Like the one from Amazon HERE.
White cotton string. From a craft store or Amazon HERE.
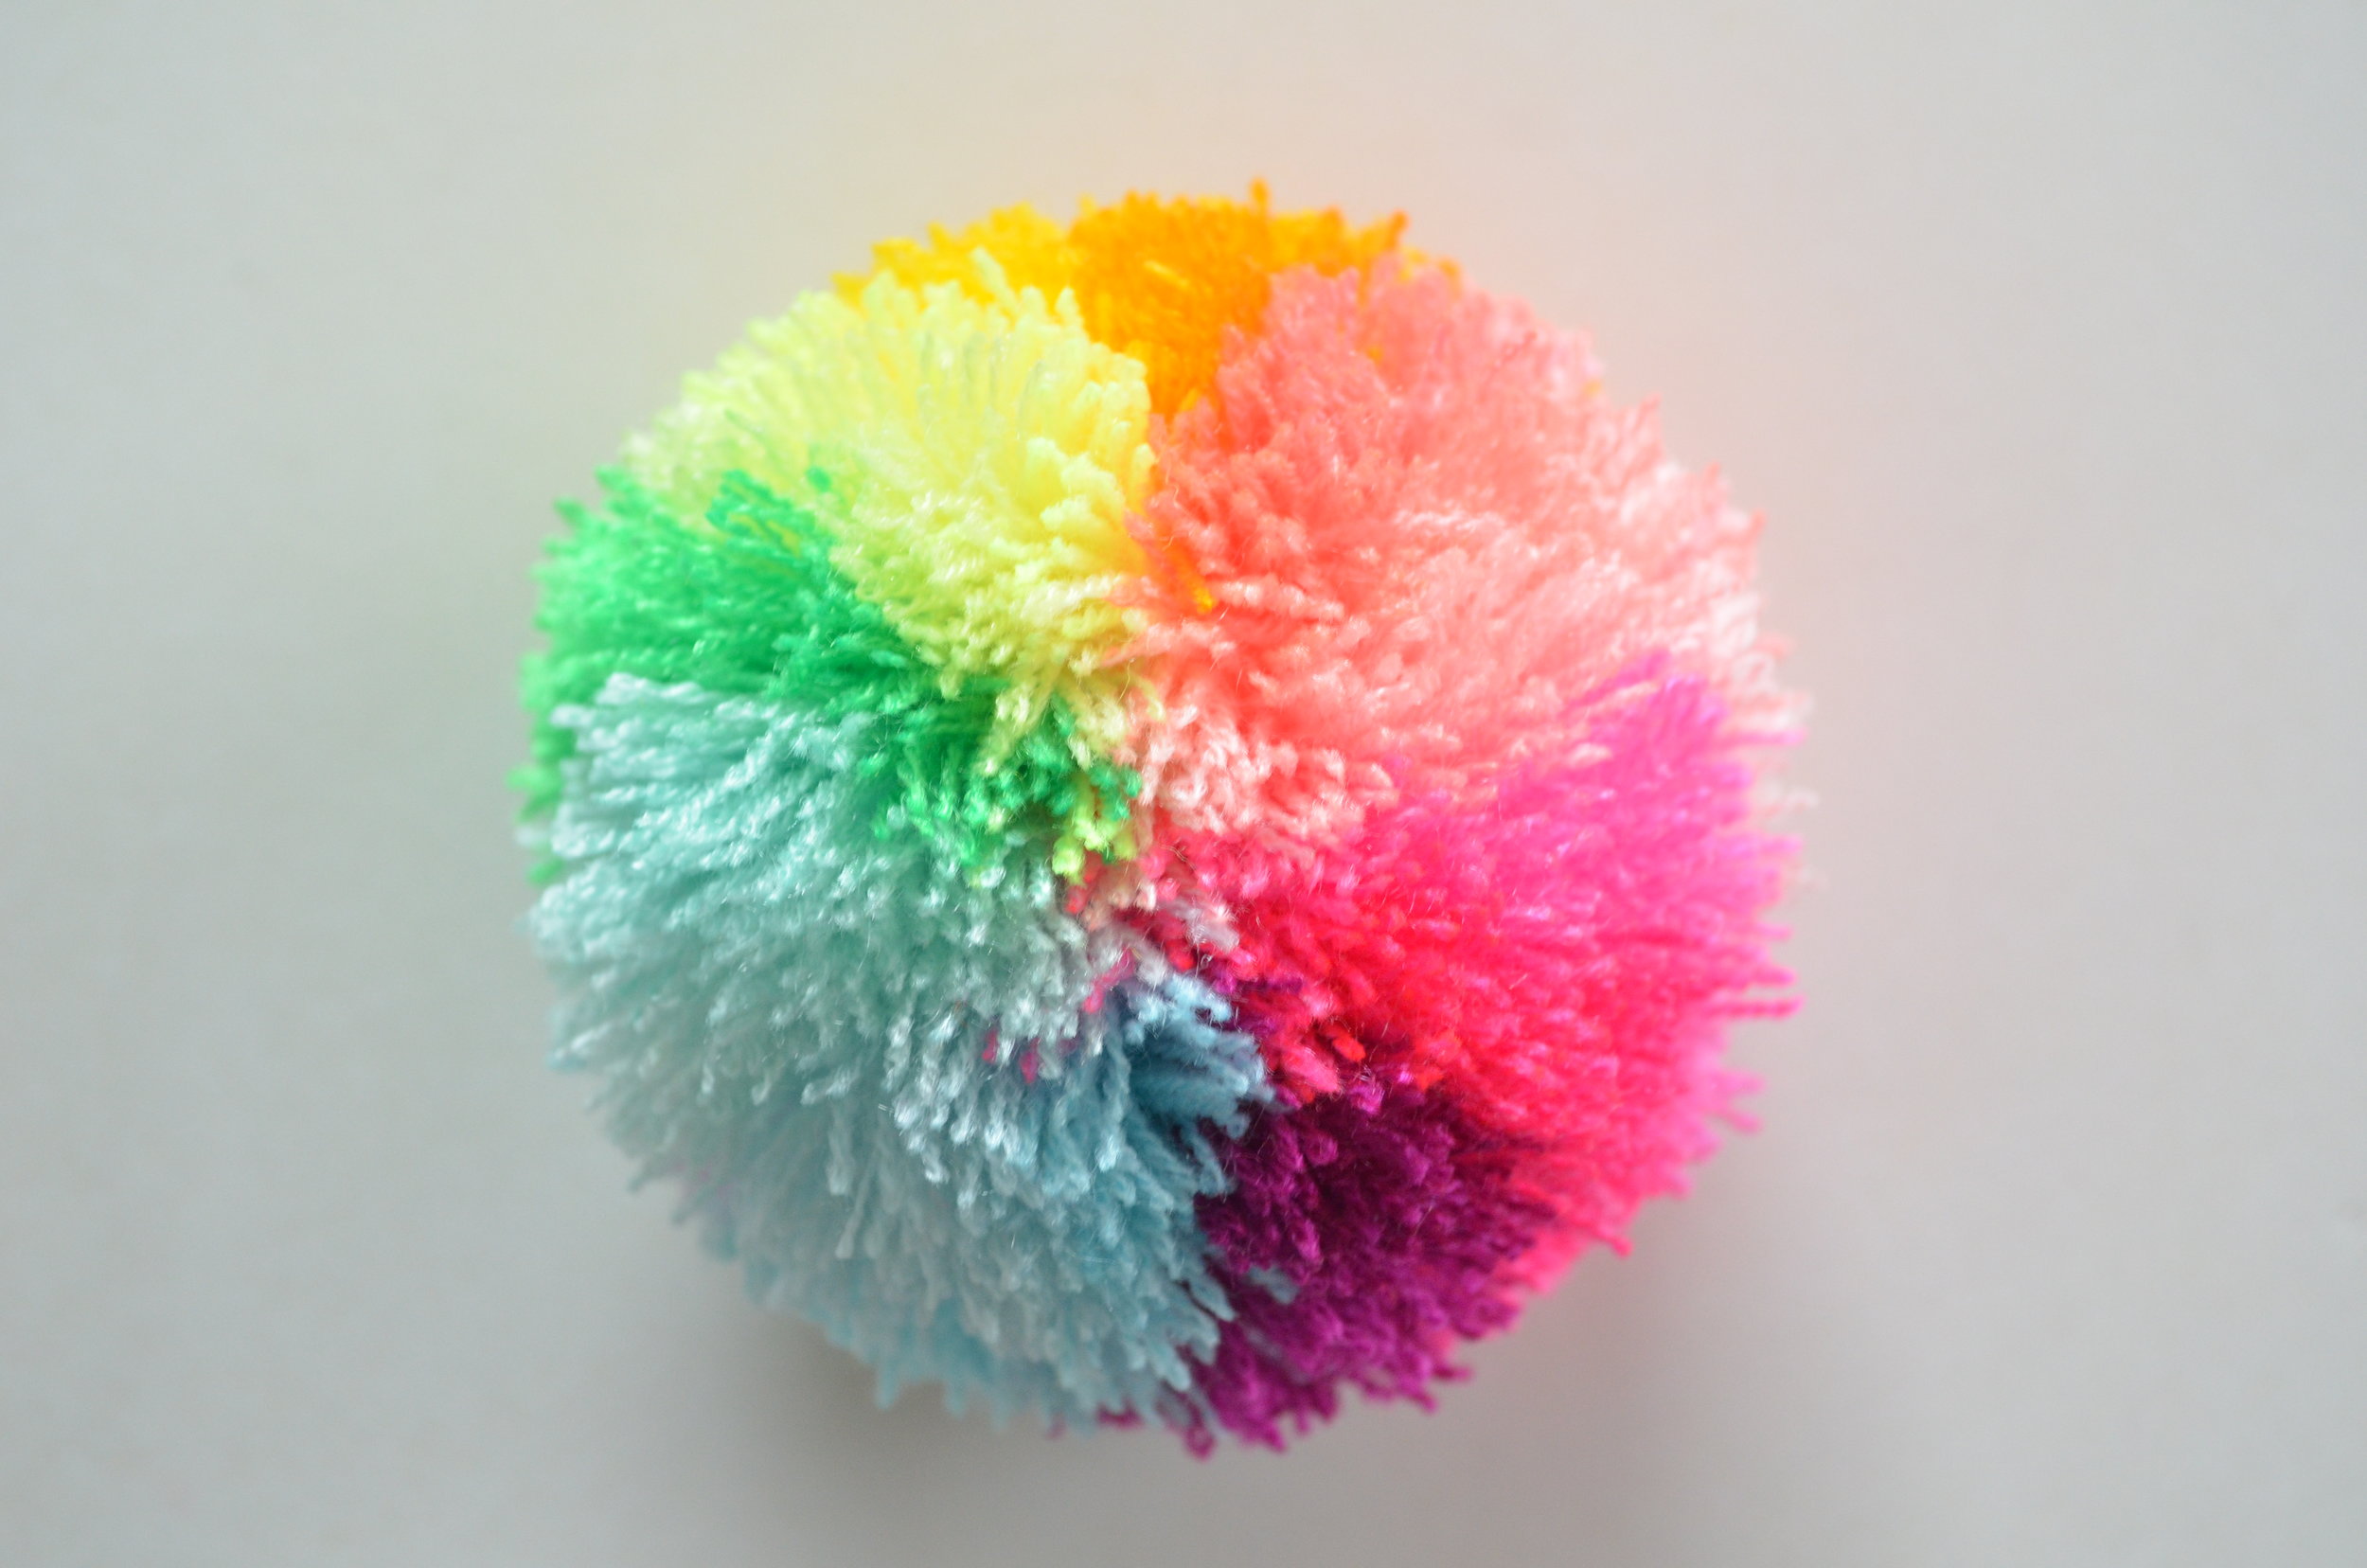
Embellishments like pom pom trim, twine, handmade pom poms.
I also made a list on my Amazon page with all of these supplies together in one place. You can find my idea list HERE.

Step 1:
Cut your rope into several pieces. I like to lay them out while I cut to make sure the ends are almost even.
If you don’t want to buy thicker rope, you can combine several strands of smaller rope (or even yarn!) to make one thicker strand. Use scotch tape to hold the strands together, but make sure to not tape too close to the ends.
If your rope is wanting to fray, you can also use scotch tape to keep it together while you wrap it.

Step 2:
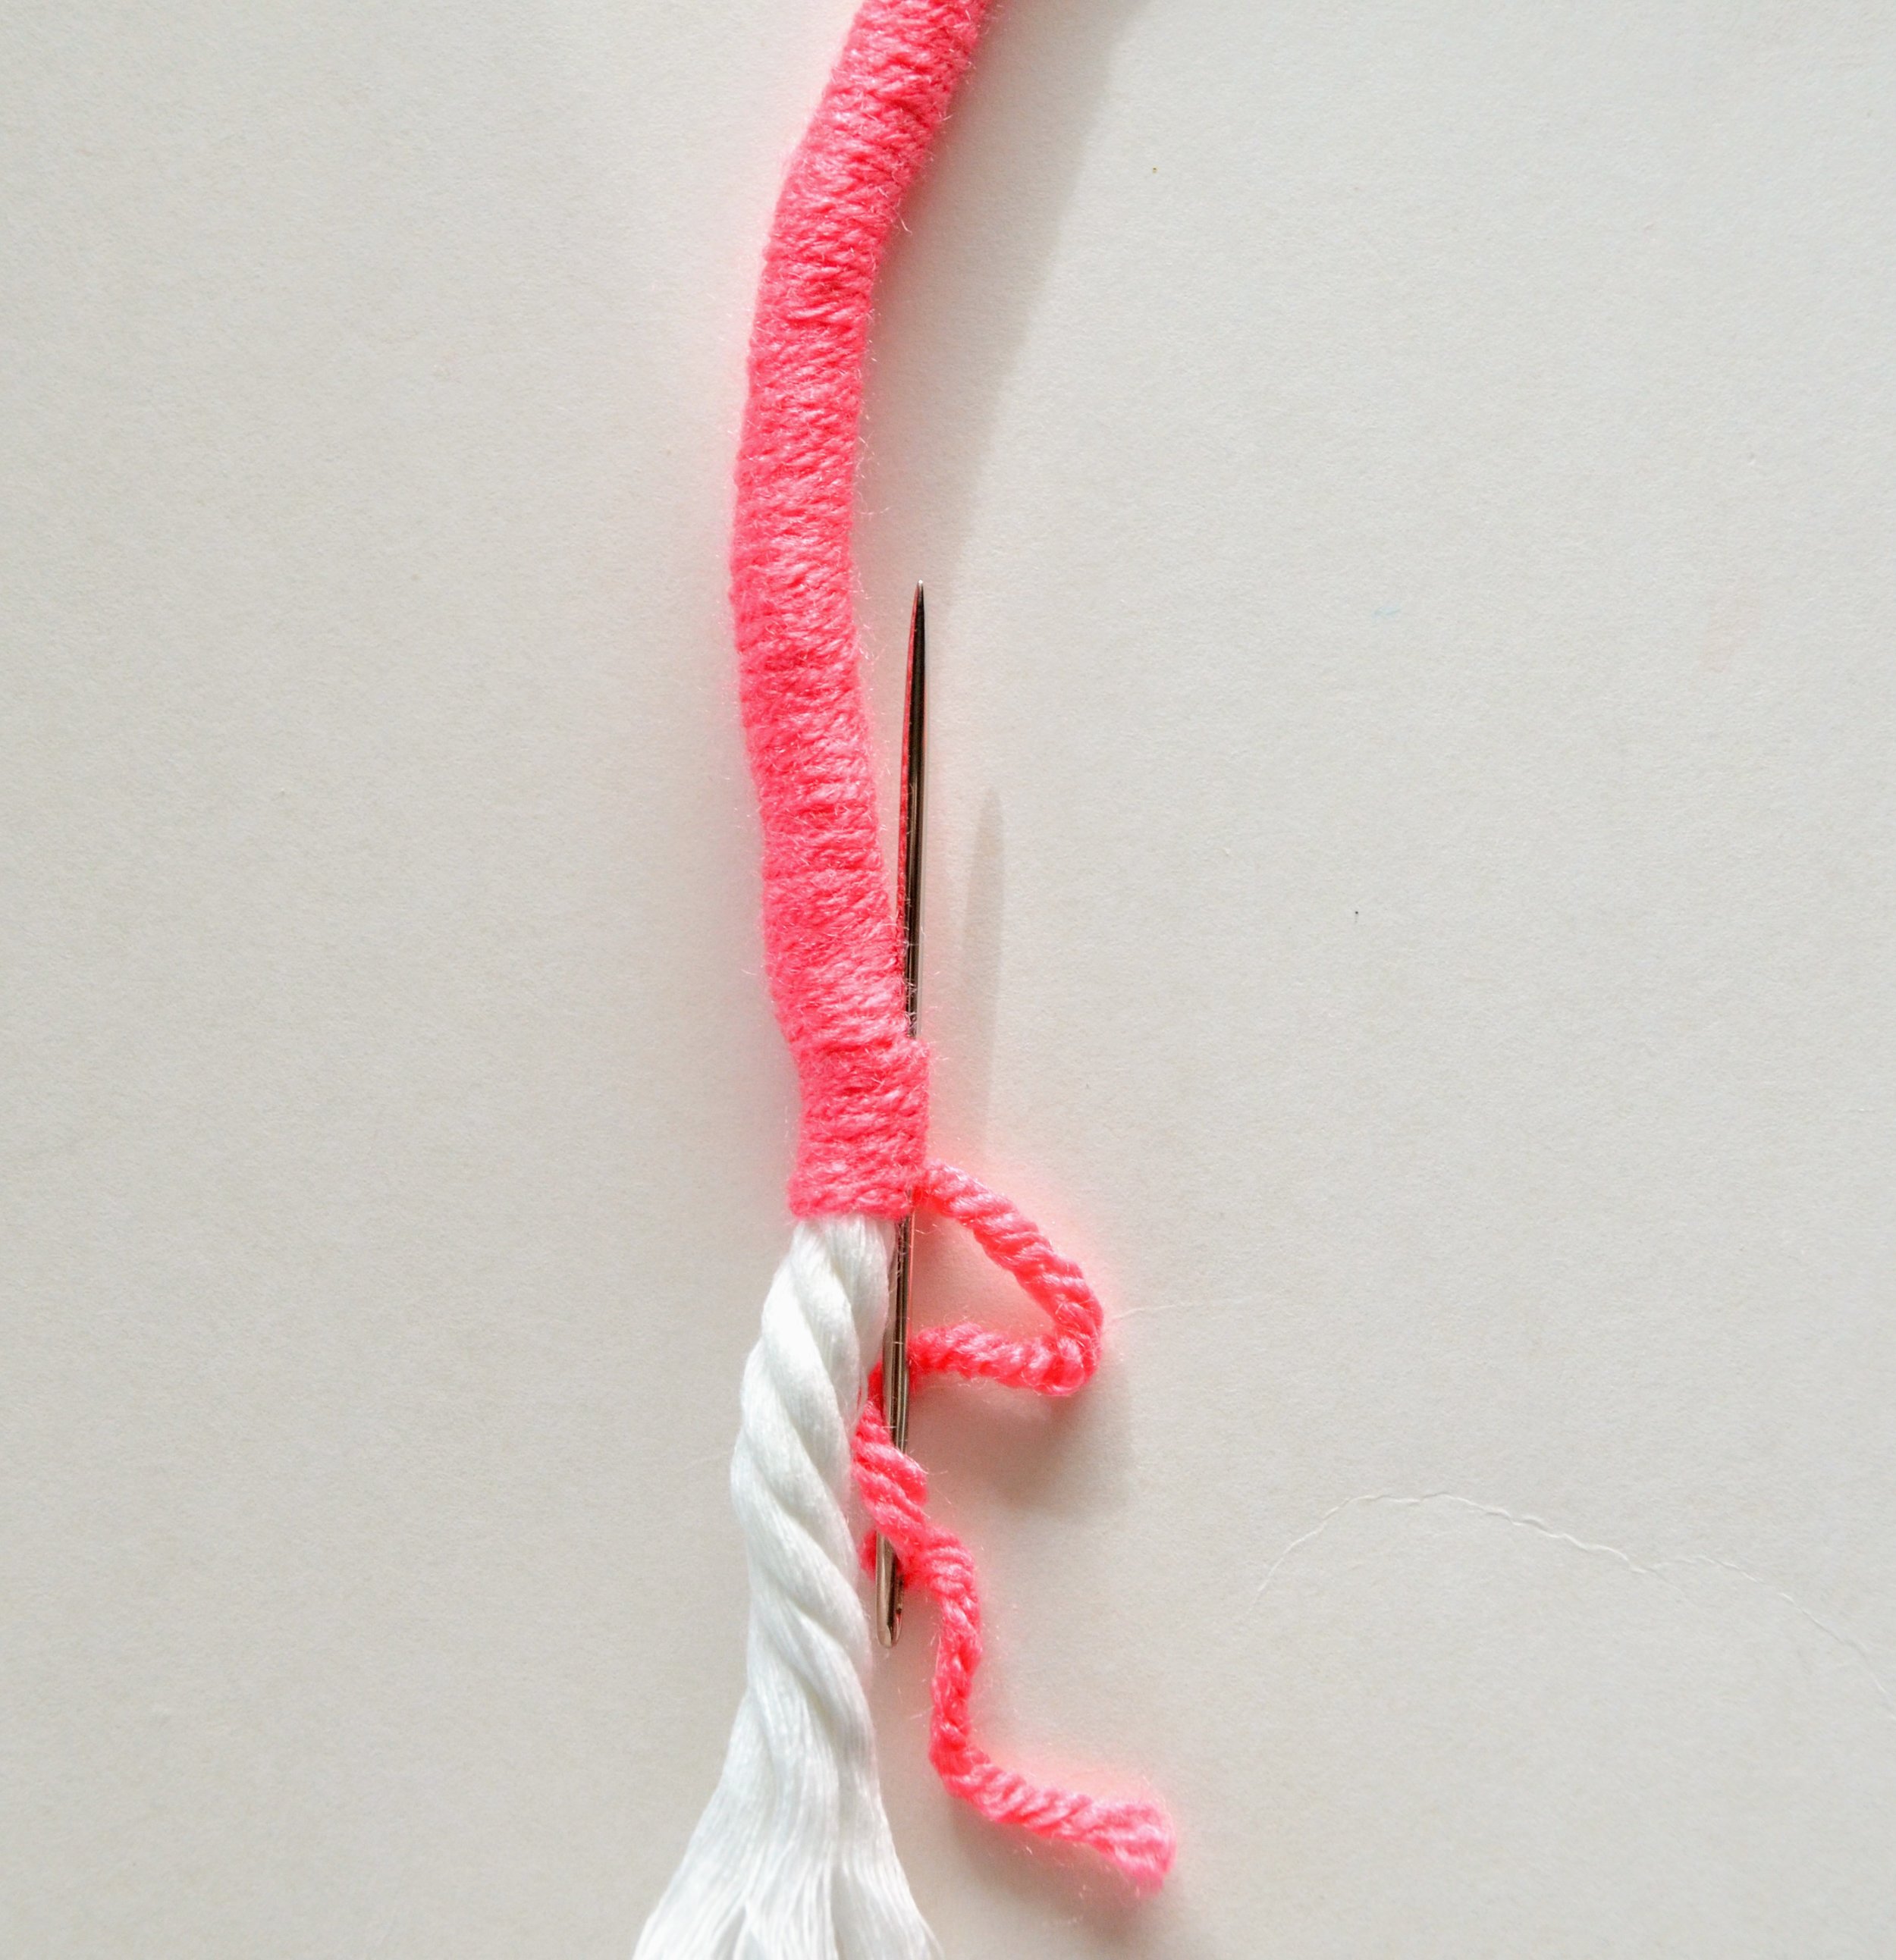
Start wrapping the outer arch of rope with yarn. I like to wrap the end of the yarn around once or twice, then cover it as I’m wrapping the rest of the yarn. This will hold the end in place and hide it.
Leave some rope at the end unwrapped to give your rainbow a “cloud” look.
Wrapping your rope will actually lengthen it. And certain yarn will lengthen it more than others. It is not uncommon for the ends of your arches to be different lengths after wrapping. If you want your ends to be even. make sure you leave enough space at the ends so that you can trim them to match up.
As you wrap, try to keep your tension consistent so that it has a uniform look. Also try to make sure that you are covering all of the rope so that you don’t have bare spots.
If you choose to leave one arch without any yarn, make sure to at least tie some twine or string around the ends of the rope so that it doesn’t unravel completely.
I also like to try to match my starting points and ending points for each arch to make a more uniform look.
When you reach the end of your arch, cut your yarn, tie it around to make a sort of knot, then using a yarn needle, go up and through some of the wrapped yarn to hide and secure the end.

Step 3:
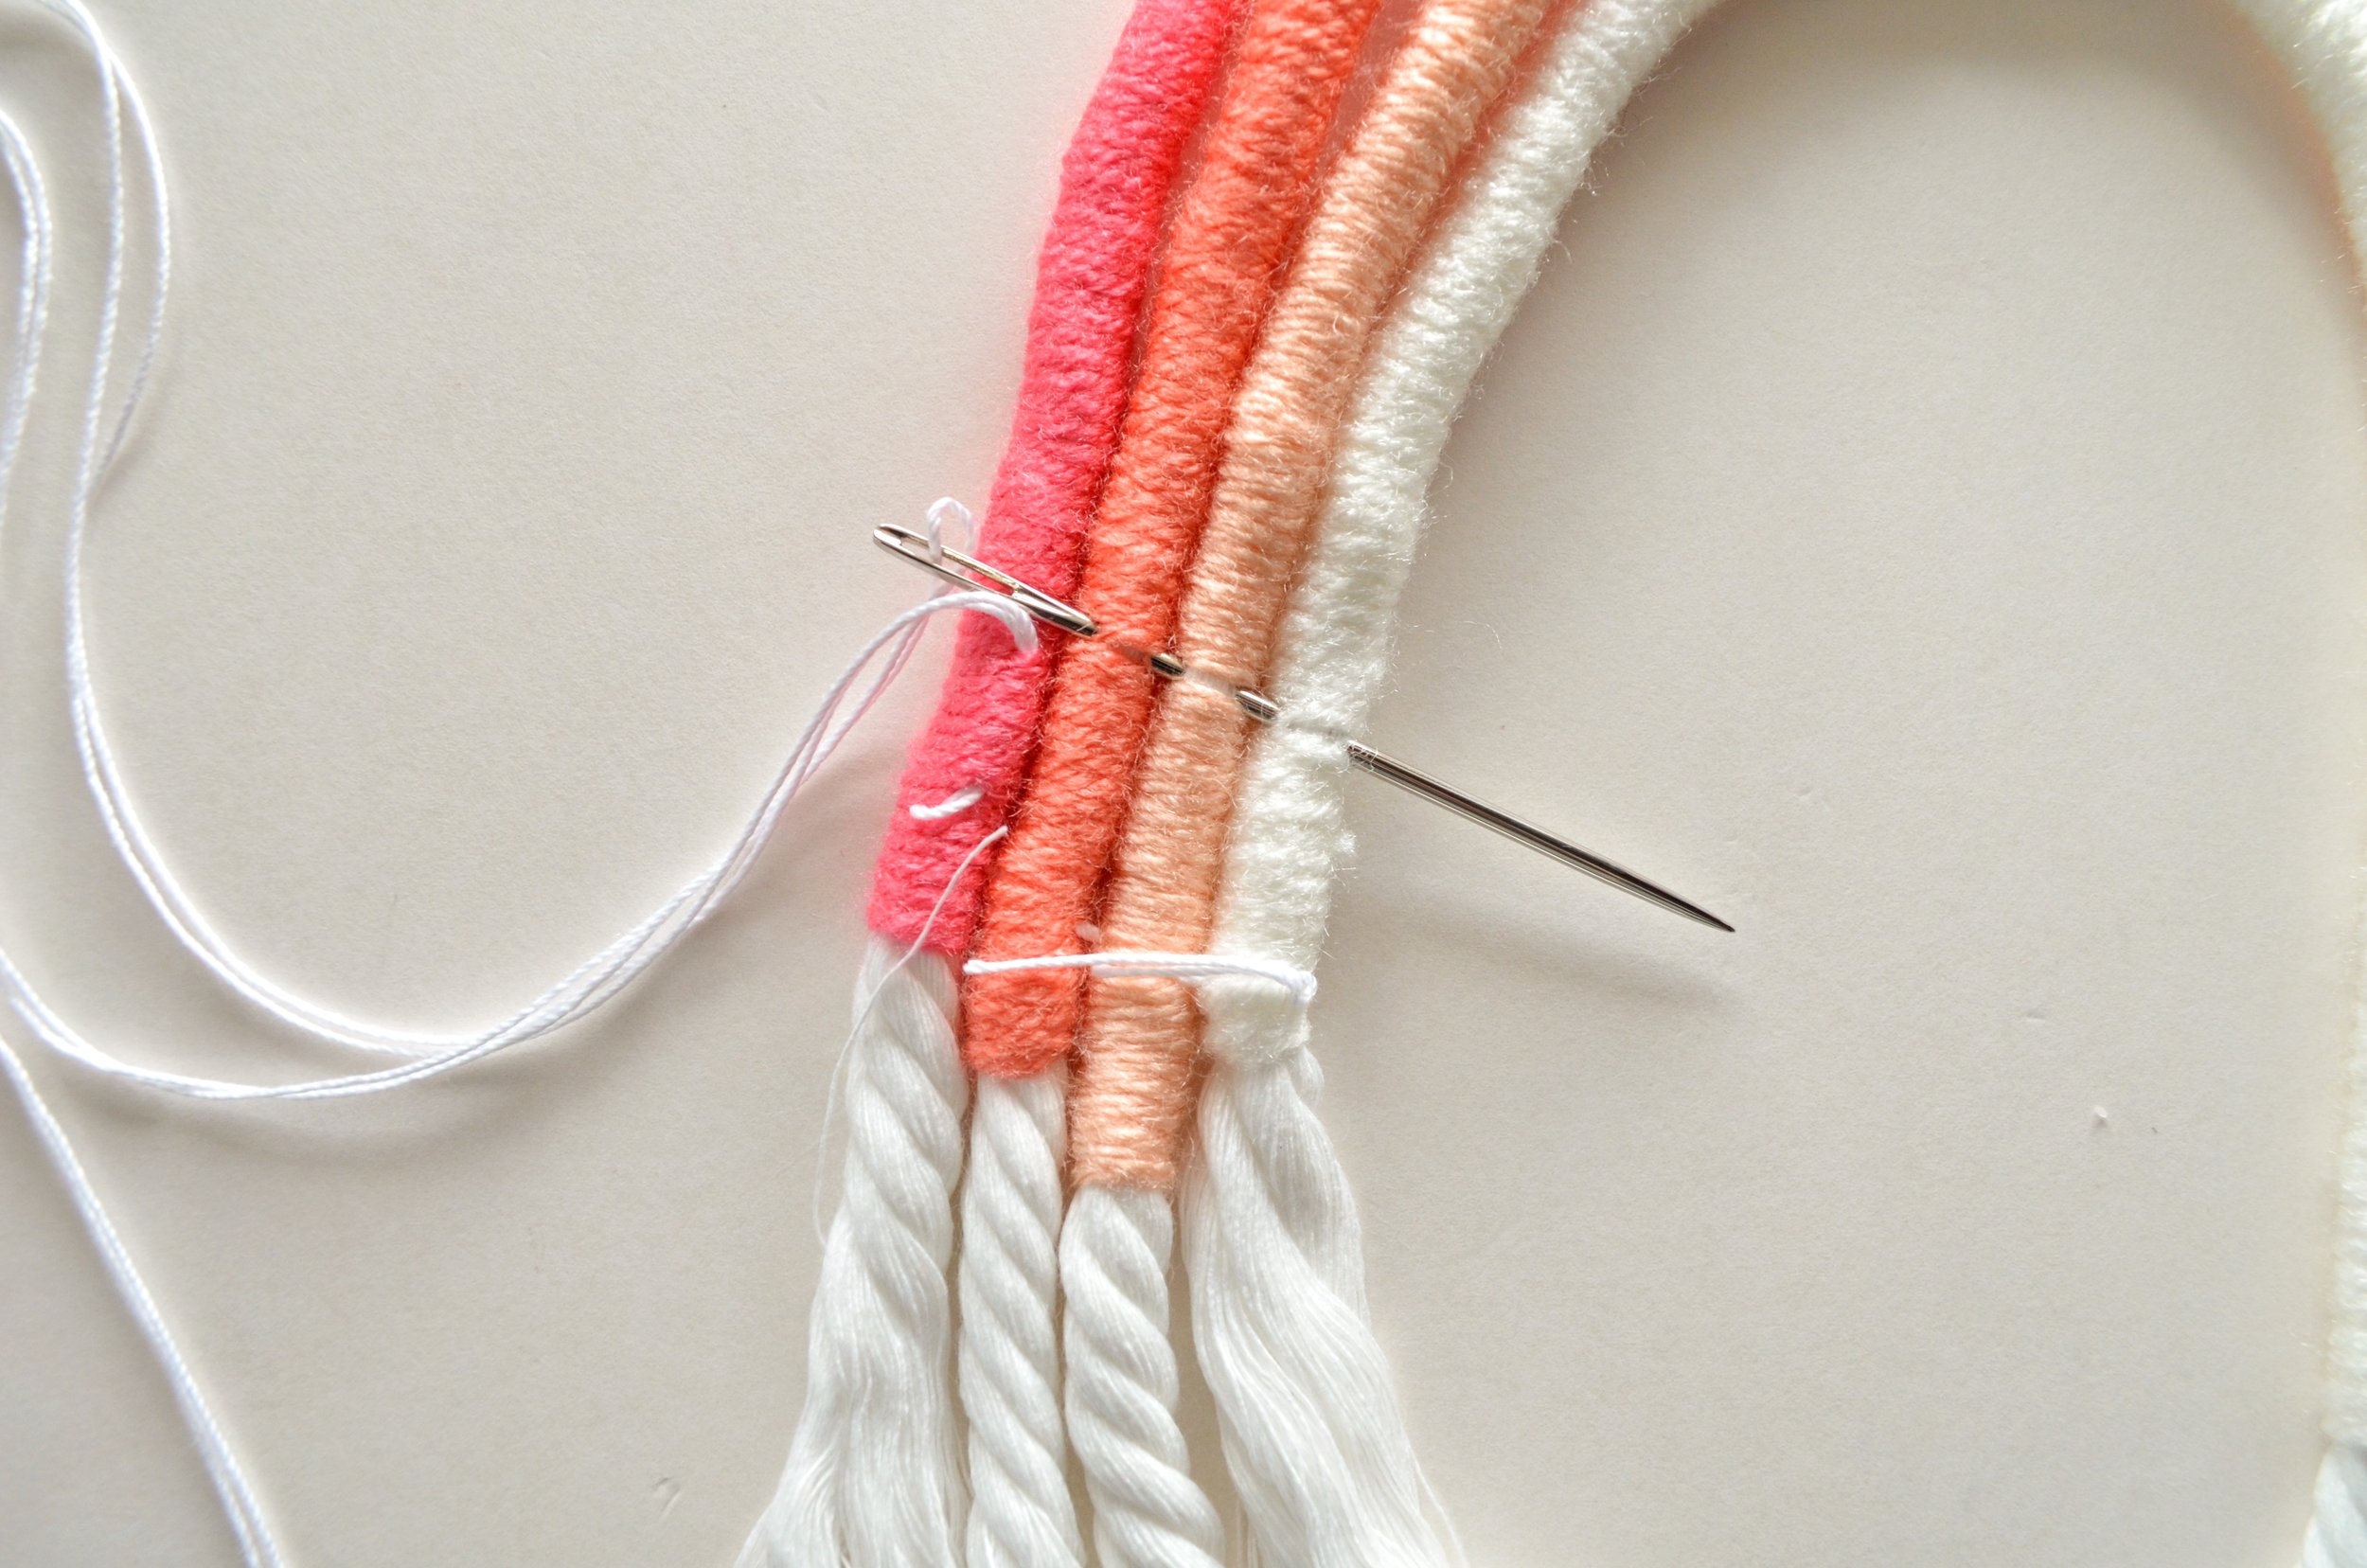
Once all of your arches are wrapped, you will stitch them together using a large yarn needle and white string.
String your needle doubling up the string, and tie a knot at the end.
Feed your needle through just a bit of the back of each arch on the back side like in the photo below. You are trying to run the string back and forth around your rainbow to secure it.


In order to keep the string as hidden as possible, I fed the string under the yarn in between stitched rows.
Continue stitching through the rainbow all the way around.

The back of your rainbow will look something like this when you are done.
Step 4:
If you want to add embellishments like pom poms, now would be the time to hot glue those on.
You can also trim your ends to make them more even at this point as well.
Now you can display your rainbow beauties! I actually did this craft with my seven-year-old daughter and her friend, and they were totally able to do it! They needed a little help with tying the yarn onto the rope and again at the end of the rope, and I obviously didn’t have them stitch the rainbow together. To speed up the process, I tried hot gluing the arches together, and it worked! I don’t think I would use hot glue on my rainbows because I like the way the stitched rainbows look more, but hot glue can work in a pinch!
Now you can enjoy your rainbows! Make tiny ones as pins, little ones as key chains, and make big ones to set on your mantle! These, of course, make a darling wall hanging, but you can do so many things with this technique!

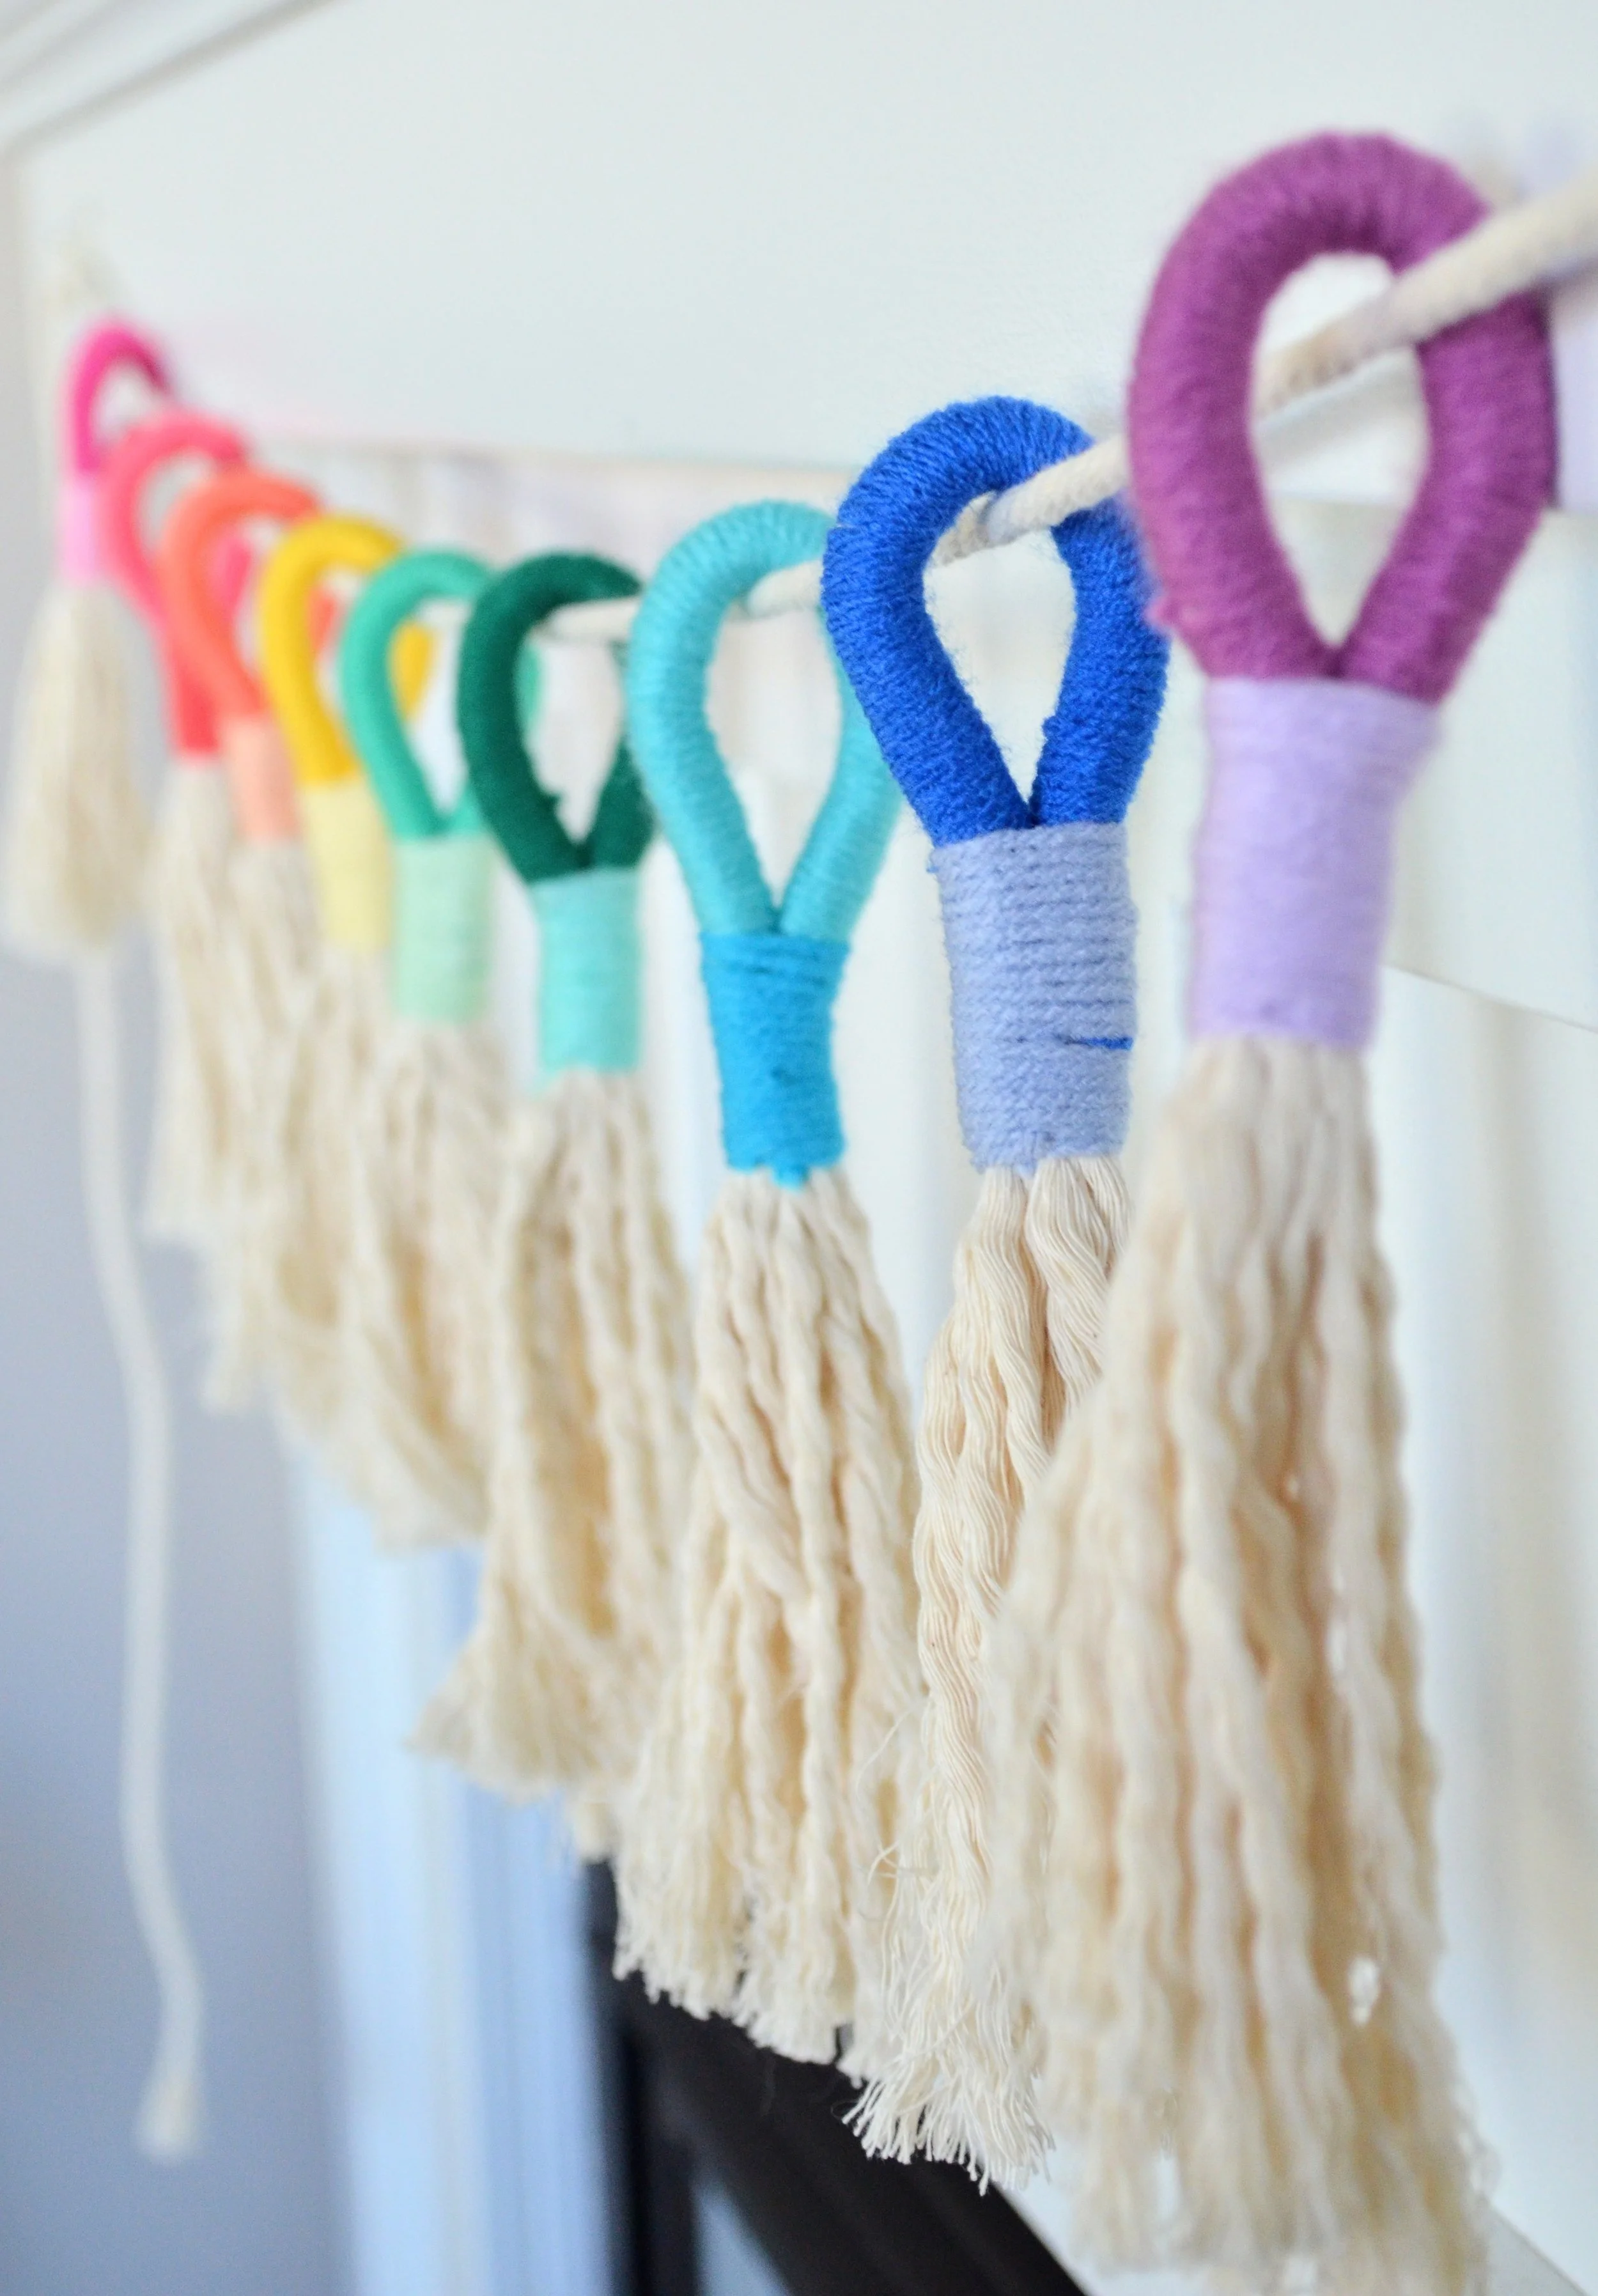
I even made a garland using the yarn wrapping technique! Instead of leaving the rainbow shape open, I tied it together to make a loop. Super easy, and really fun! I’m sure that these colorful rainbows will brighten up your March and spring decor too!