Summer Kids Craft Camp Session 4: Colorful Round Weavings

This session of Craft Camp is actually inspired by a craft we did at my 10-year-old daughter's birthday party last year. We learned a few things after making these round weavings the last time, so we gave it another go with some new techniques. These weavings are easy and eye catching, and you won't mind having your kids hang these up afterward because they look so cute!

Materials
Macrame hoops. I bought mine from Amazon, and they have a great selection of different sizes. I really like the 5" size, but any size will work.
Fabric
Fun Yarn
Scissors

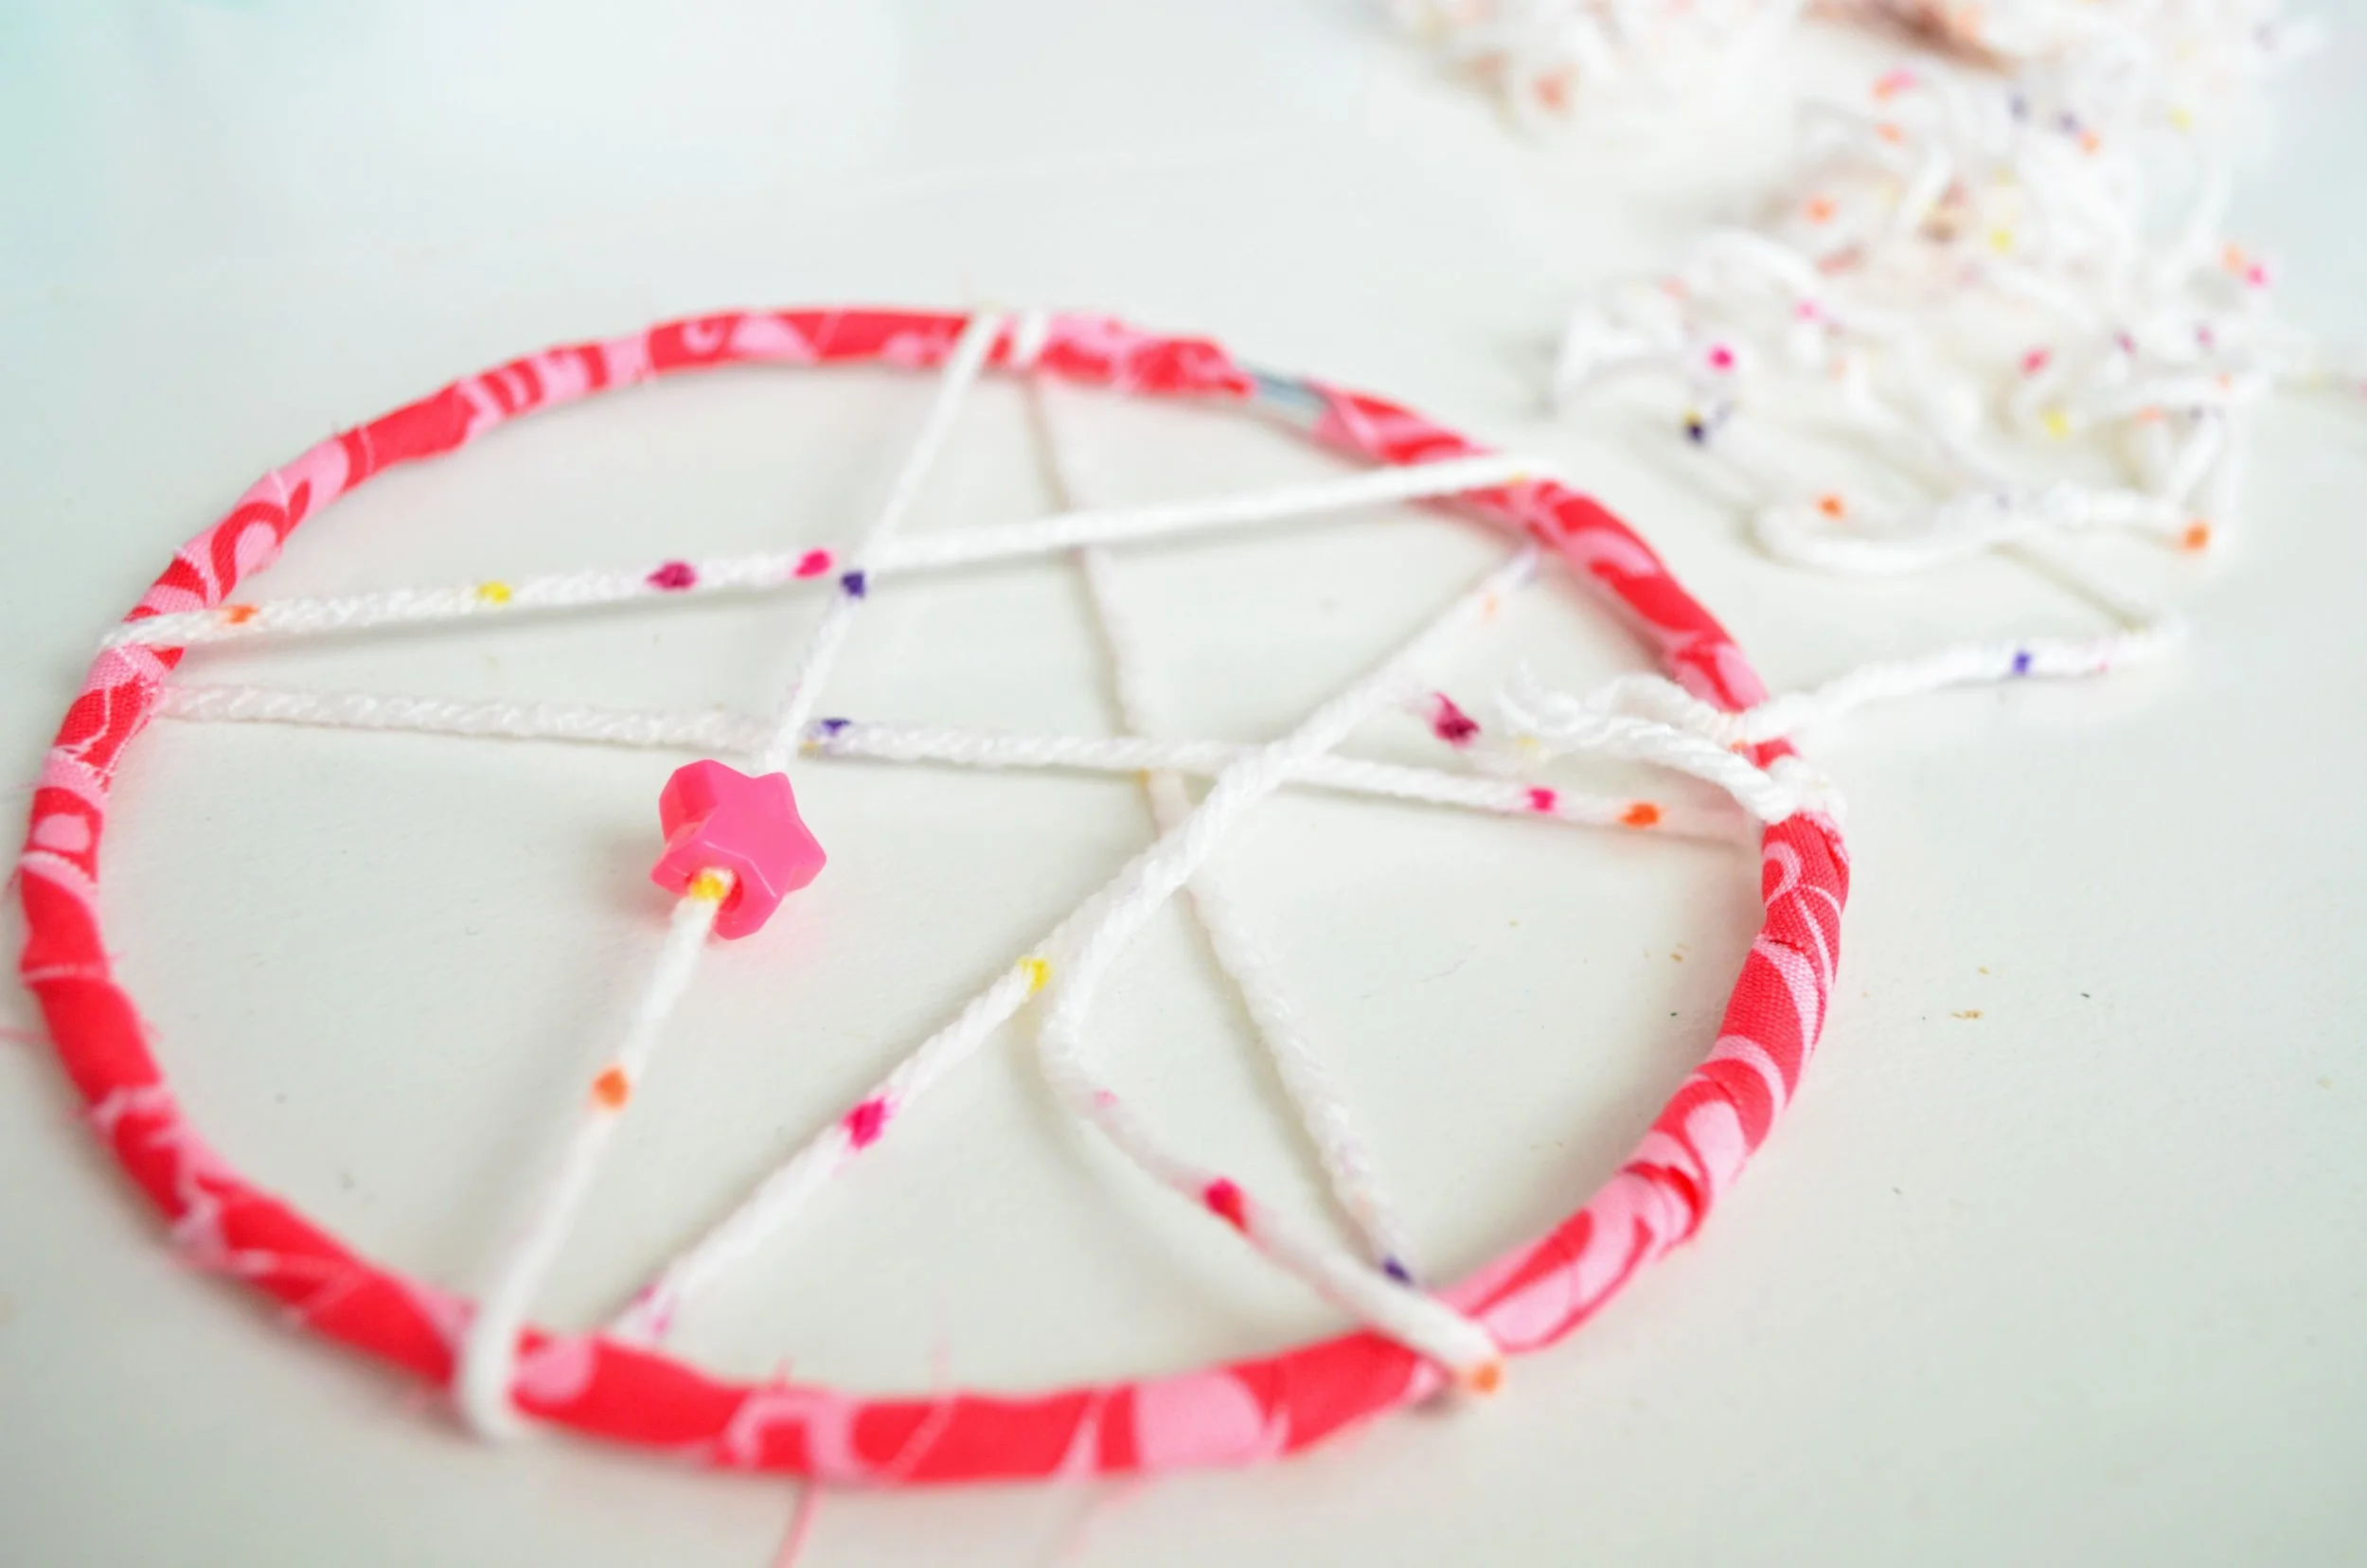
To begin, cut a strip of your fabric to wrap around your hoop. The fabric gives the yarn something to grip to as you are creating your inner design. When we made these at my daughter's birthday, we didn't cover the hoops with anything first. The result was a lot of slipping yarn that wouldn't stay put on the ring. You could also cover your ring with yarn if you would rather, but it takes a bit longer to do that. I used just a dot of Tacky Glue to secure the fabric to the ring and wrapped the fabric all the way around the hoop.

Now you can begin making your design inside your hoop. Tie your yarn to your hoop by making a knot. I didn't worry about the tail end of my yarn because the design on the inside helps hide that tail. Then start going over and around your hoop to make a design. For every few turns, I wrapped the yarn around the hoop almost making a knot to help secure your design. If it comes unraveled, this can help keep it from completely unraveling. You can add beads here and there as you go, and the beads can be moved around on the strands after you have your design complete.

When you feel like you like your design, you can again tie your yarn to the hoop with a knot. Add a hanger to your hoop as well using a piece of yarn that you tie to the top.

Now you will add your fringe to the bottom of your weaving. Cut strands of yarn to tie to the bottom of your hoop. I like to double the length and tie in the middle of the strand so that I can get double the strands with only one cut and tie. You can find really fun yarn at your favorite craft store. I love the yarn that looks feathery. I found this aqua yarn at Hobby Lobby and it is called Haute Fur yarn. I also like the soft, chunky, colorful yarn as well. You can even add beads to this fringe if you'd like.

Continue to add your yarn to the bottom until it is as full as you would like it. And that's it! You have a cute, colorful round weaving to hang in your kids' rooms. These are such a fun, easy way to add some color and personality to their rooms!